Hi creative friends,
Yesterday didn’t quite go to plan…
I had every intention of sharing a full Craft Room update along with a step-by-step tutorial for a sweet Easter bunny banner I’ve been working on.
But as life sometimes does, the day shifted in an unexpected direction with a few family things needing my attention… and by the time I came back to my craft room, the moment for filming had quietly passed.
Today was much the same… full, a little chaotic… but by late afternoon I finally found my way back into my creative space.
And sometimes, that’s all we need.
I’ve created a short video to give you a quick peek around this little corner of my Craft Room.
It’s just a glimpse for now… but I’ll be back next week to share more as the space continues to come together.
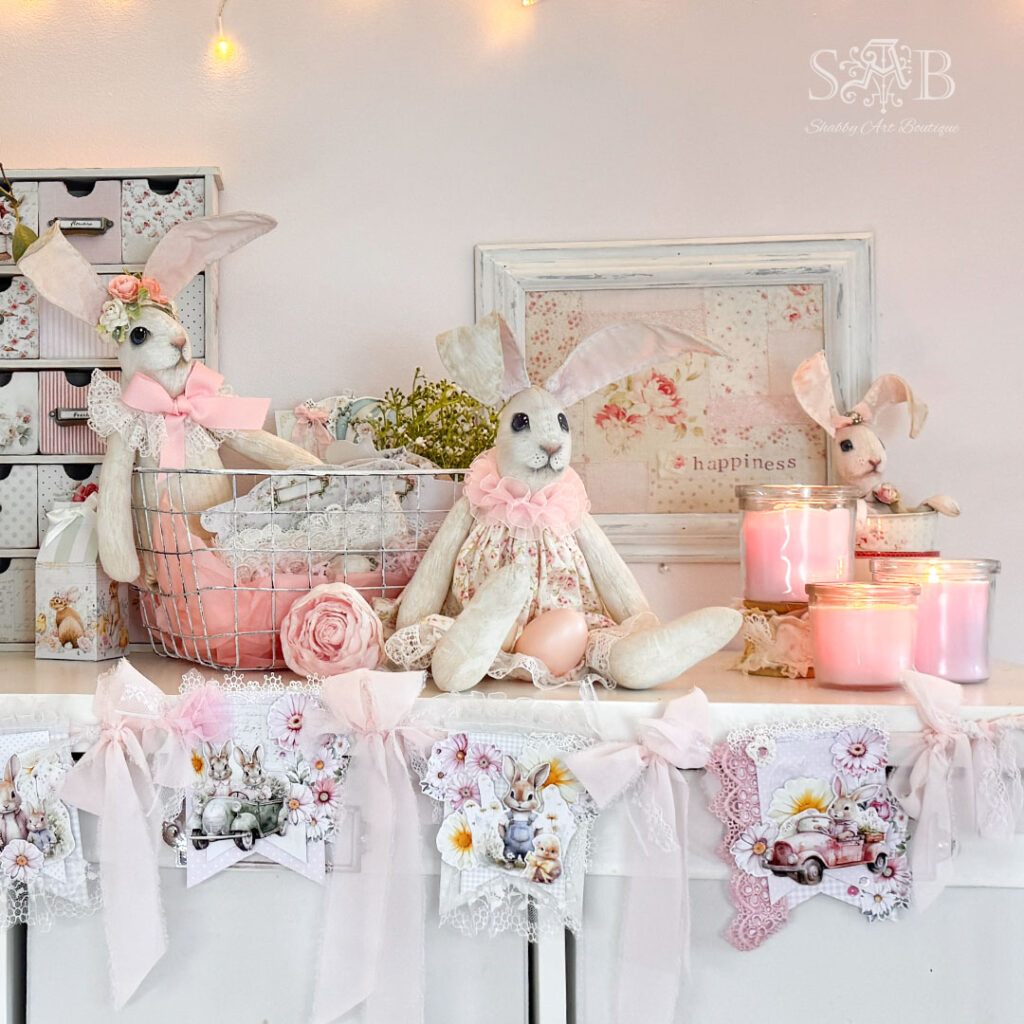
Even though autumn has officially arrived here in Australia, my Craft Room has gently stepped into spring…
Soft pastels, bunnies, and a touch of Easter sweetness have begun to appear around the room, bringing that familiar sense of calm and quiet joy.
This post may contain affiliate links.
As an Amazon Associate, I earn from qualifying purchases.
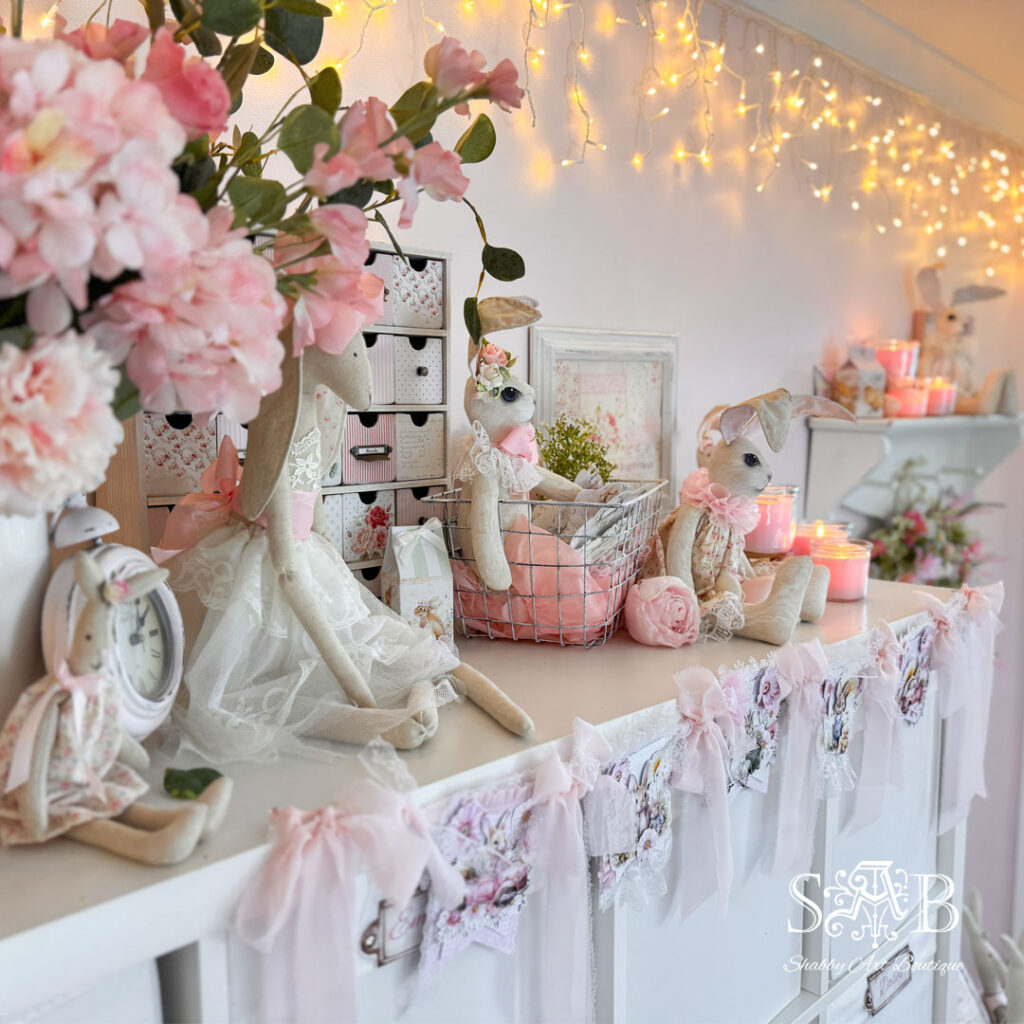
I’ve only finished decorating one side so far, but I couldn’t resist capturing a little peek to share with you.
There’s something so lovely about these in-between moments… when a space is still evolving.
While I didn’t manage to film the tutorial I had planned, I did finish my sweet bunny banner… and I’m so happy with how it came together.
I used the Whimsical Bunny Tales kit from my Etsy shop as the starting point, layering the soft, storybook-style elements with flowers, lace and lots of the palest pink chiffon ribbon.
You can see the Etsy listings HERE (letter – USA) and HERE for A4.
![]()
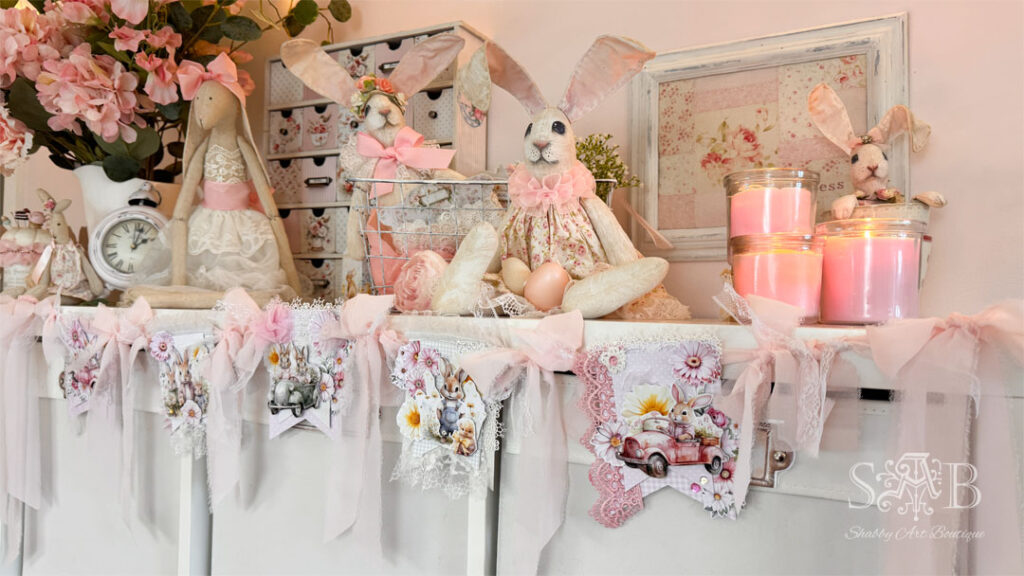
Perhaps my most favourite decor item in my Easter decorating are my handmade and hand painted bunnies.
I make them using muslin, and then build up several light coats of acrylic paint, gently sanding between each layer.
It gives them the most beautiful soft, almost kid-leather feel… and creates the perfect surface for painting their sweet little faces.
I also add a little wire inside the ears so they can be gently shaped… such a simple detail, but it brings them to life.
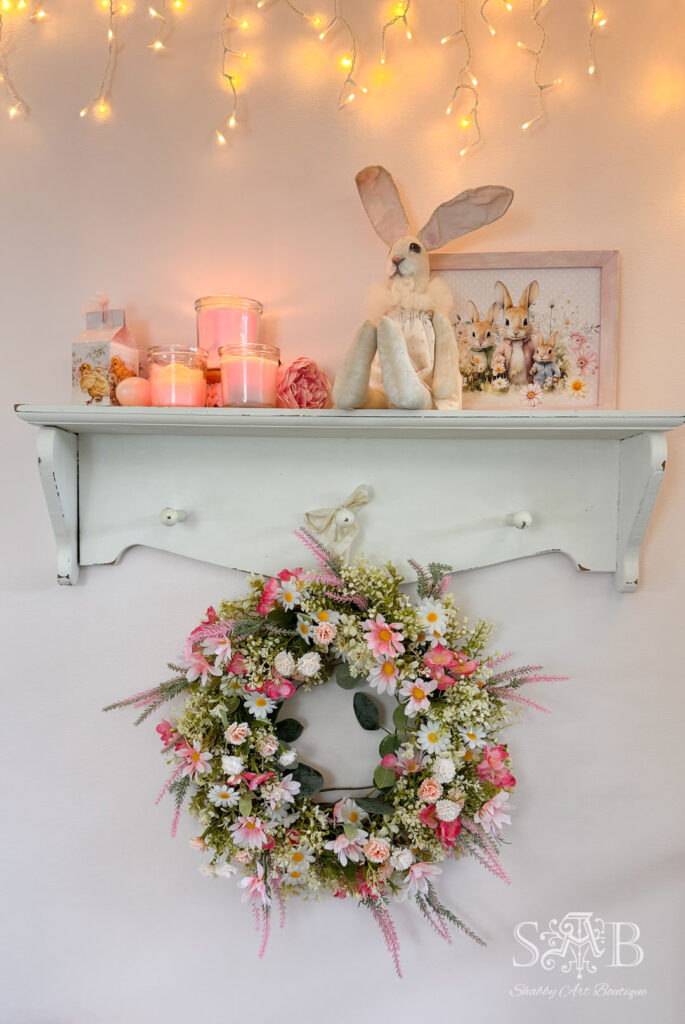
The wreath was made with this wreath as a base, and I added in a few sprigs of pink jasmine, carnations, lavender and chamomile flowers… to make it pop.
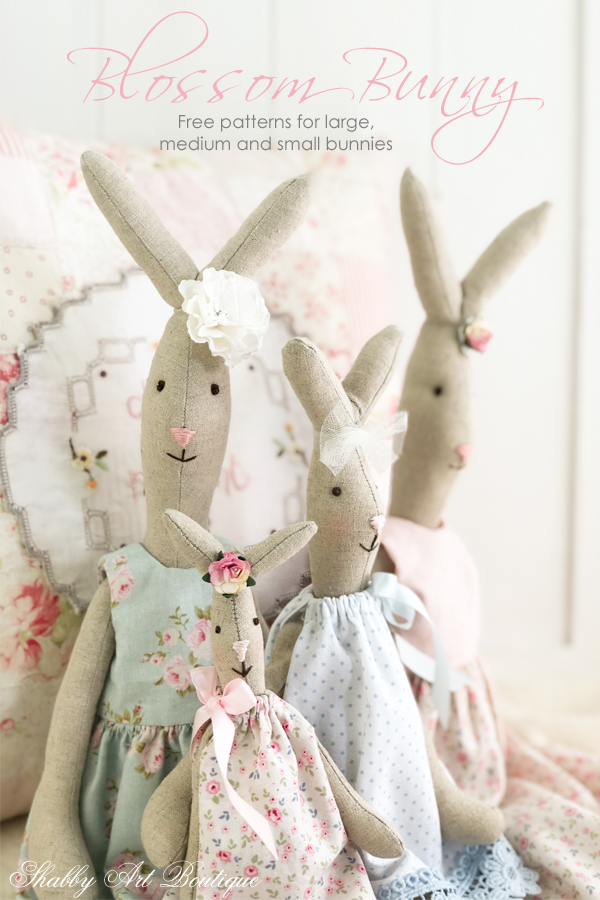
The bunnies on the chair are a perennial favourite too… they are my free Blossom Bunny pattern HERE and HERE , and dress and shoes.
Sometimes the beauty is simply in showing up when you can… creating what brings you joy… and sharing a little glimpse along the way.
And that feels more than enough.
Happy crafting,
Hugs
♥
Kerryanne
Let’s be friends on….


Get instant access to the free printables in my Newsletter Printables
Library by joining my email newsletter subscriber’s list.
I send out a weekly newsletters with updates on all things
‘shabbilicious’ at Shabby Art Boutique.
I invite you to join our fabulous and friendly
Facebook group – Simply Shabbilicious
where you’ll enjoy our friendly banter and inspirational creativity.


Gosh its all just absolutely beautiful. I can’t stop looking at it all & smiling. So pretty. ♥️
Preciosa decoración, me gustan mucho los conejitos de tela.
Besos