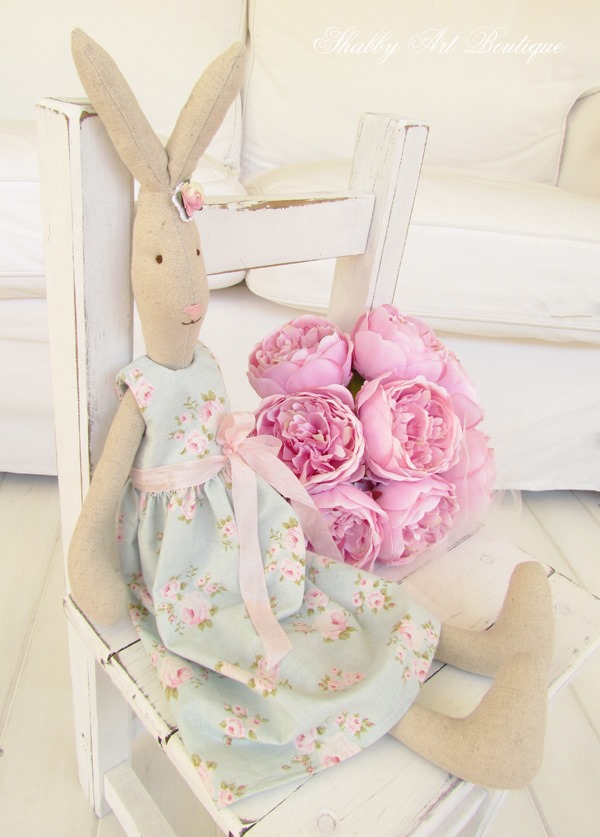
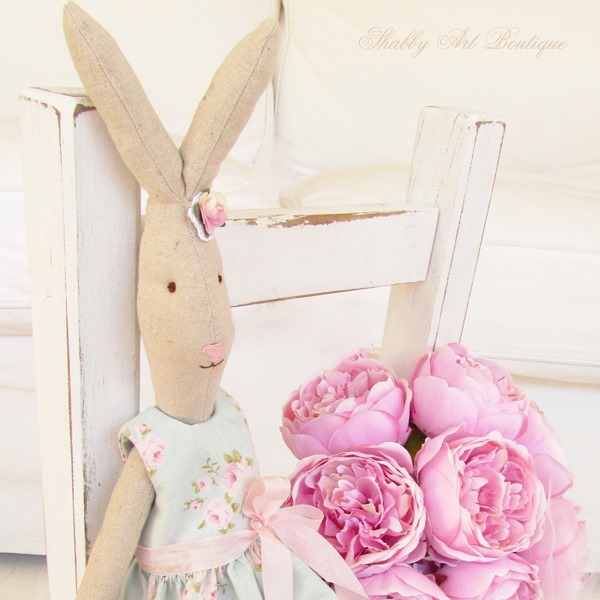
Let me introduce you to Blossom…
She’s a Maileg Rabbit doppelganger…. sort of ‘same, same but different’.
While Blossom looks like one of those adorable Scandinavian Maileg Rabbits, she is actually a homemade version, but I think she is still pretty cute!
At 22 inches tall, Blossom is the perfect size to incorporate into your cottage styling. I shared a full sized pattern and tutorial on how to make Blossom in this post.
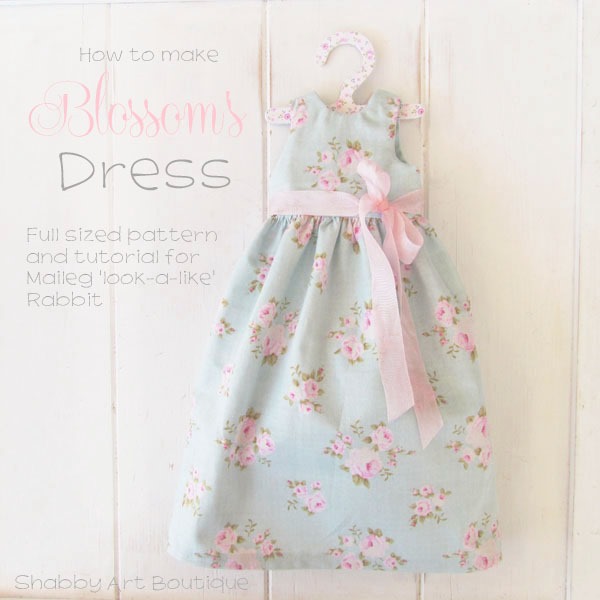
Today I’m sharing the pattern and tutorial for how I made the dress she is wearing.
It’s just a basic dress with easy instructions, but once you’ve made one, I think you’ll be adapting the pattern to make a whole wardrobe of outfits for your ‘look-a-like’ rabbit.
How to Make Blossom’s Dress
Materials
1 fat quarter of fabric,
1 metre (1 yard) silk ribbon for bow – optional,
Normal sewing supplies and sewing machine,
Download Blossom Dress Pattern HERE.
Preparation
Cut out pattern pieces.
Cut from fabric:
– Two bodice fronts (one is for the front of dress and the other is the lining).
– Four bodice backs (2 back panels and 2 lining pieces).
– One rectangular skirt panel measuring 25 cm x 48 cm (10” x 19”).
Instructions
1. Cut out your bodice pieces. I used the same fabric for both the fronts and lining pieces, but you could use a coordinating fabric for the linings.
2. Sew the bodice fronts to backs at shoulder seams. Press seams open.
3. Place both bodice pieces on top of each other with right sides together and sew the neck and back edges.
4. Clip seams and turn your bodice right side out by gently pulling the back panels through the neck opening, to the front. Press. Tip – I used my doll making chopstick to gently push the corners out.
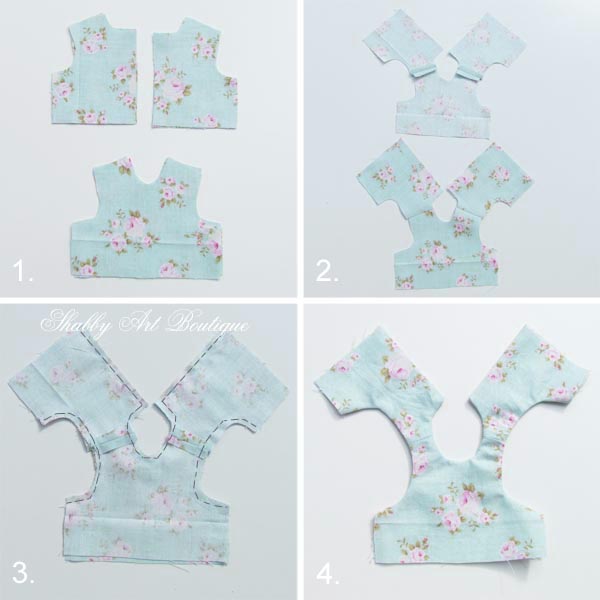
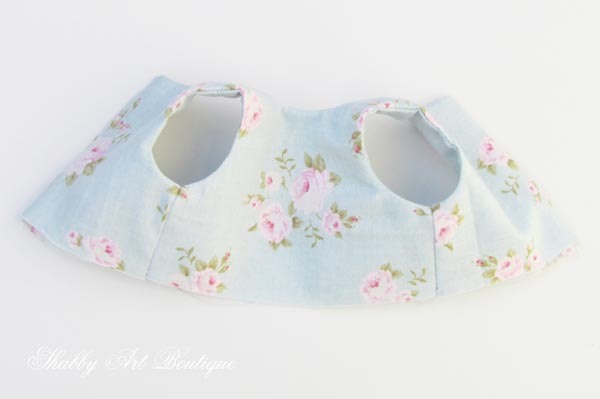
5. Now it is time to sew up the bodice side seams. This is a little tricky…. the bodice pieces get sewn together and then the linings get sewn together. This way, the seams are all hidden inside of the bodice when the dress is complete. Start by pinning the front left bodice piece to the back bodice piece with right sides together. Sew this seam. Repeat with the other side of bodice. When you have sewn up the bodice pieces, repeat process with each side of the armhole lining pieces. Press seams open and then turn bodice out.
ADDED LATER: The bodice is not attached to the lining under the arm holes – they are separate pieces. The front bodice piece (that on the outside of dress) is sewn to the back bodice pieces (those seen on the outside of dress) under the armhole. As with the bodice, the lining bodice front piece (the fabric inside the dress) is sewn to the back bodice pieces (fabric inside the dress) under the armhole.
6. To make the skirt of the dress, turn over the short ends of the skirt twice and stitch down. These edges will be the back closing of your dress.
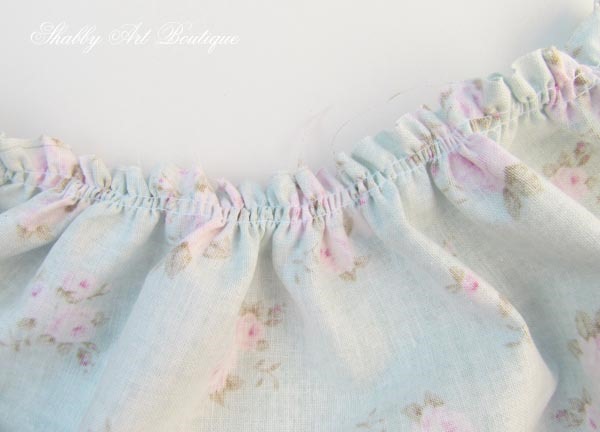
7. Next we will gather the top edge of the skirt. Set your machine stitch to its longest length. We are going to sew two rows of stitching along the top of the skirt. The first few stitches are secured by reversing back over them and then continue sewing to the end of the skirt top – instead of securing this end, we leave a long length of thread which we will use to pull the gather later on. Reposition your skirt under your sewing machine foot about 1/8” below the first seam and repeat process, so you now have two rows of stitches 1/8” apart.
Take both of the long lengths of cotton and gently pull them to gather the fabric. When your skirt top is the same width as the bottom of the bodice, secure the cotton and discard left over cotton.
8. Pin the gathered skirt to the outside of the bodice with right sides facing and stitch below the lower edge of gathering.
Then fold the bodice lining piece up, enclosing the raw edges of the skirt inside of the bodice. Hand sew the lining closed.
9. Fold the hem up, press and sew.
10. I used press studs/snaps to close the dress at the back. To finish, I added a silk ribbon tied around the bottom of the bodice in a coordinating colour.
Options: you could add all sorts of embellishments to your basic dress pattern, like fancy trims, coordinating fabrics and hand embroidery.
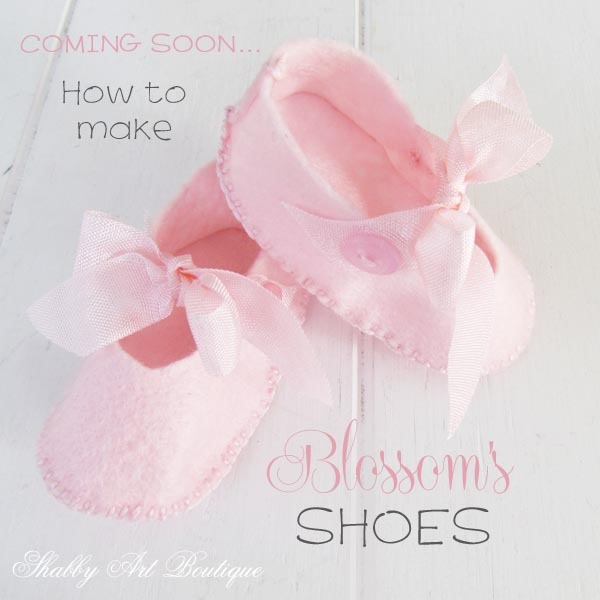
It’s not a stylish outfit without a pair of shoes…. so I’ll be back in the next post to share a pattern and tutorial for Blossom’s sweet little Mary-Jane shoes.
[Pin for later]
Happy crafting
♥
Kerryanne
I’d love for you to connect with me at:
Follow on Bloglovin
or if you’d like my posts delivered directly to your Inbox
Subscribe to Shabby Art Boutique by Email
If you’d like a private pass to all things ‘shabbilicious, sign up today for my fortnightly newsletter. It contains personal stories, sneak peeks, recommendations, discounts and freebies.



Thank you very much for sharing the pattern and instructions for the rabbit and the sweet dress. I have saved them and will let you know when I have made a dressed rabbit -= may be some time as I have a list of things I ‘need’ to make as long as my arm! I am looking forward to seeing your pattern for those gorgeous mary jane shoes – they look adorable. It is so very kind of you to share with your fellow crafters – I am in the North East of England in the UK Mary x
I am tickled pink to receive your instructions and patterns. Thank you. Will send you a pic once I have completed them. I love rabbits and shabby chic.
What a great tutorial and a very generous share!
Those little shoes are adorable too.
Thank you so much!
Thank you for the lovely patterns. Can’t wait to make one for an expectant grandchild.
You are most welcome Anne. I hope you enjoy making Blossom 🙂
I have stitched the rabbit without any problems and also I have made the shoes, no problem. However, I am completely stuck when it comes to stitching the bodice of the dress. I have completed steps up to Number 5, when I can not understand which pieces i should sew. I have already unpicked the bodice and started again, At what stage do I sew the armhole bodice to the armhole lining whe n the should seam, neck seam and side seams are all stitched? I hand stitched one of the armholes to try and figure it out, but I found it impossible to turn the bodice right way out – any tips please would be gratefully received. thanks in advance
I’m sorry to hear you’ve hit a little hurdle Mary. I’ve sent you an email to explain the process and hope that helps 🙂
Just to clarify for anyone else, the bodice is not connected to the lining under the armhole. The bodice front gets sewn to the bodice back at the seam under the armhole and likewise, the lining front gets sewn to the lining back at the seam under the armhole. They remain completely separate, so that the top of the skirt can be sandwiched between the two layers in the next step.
All sorted now Kerryanne – I kept doing what the instructions told me, but where I went wrong was I was trying to pull the front bodice through the shoulder to turn it out, this was not possible, and I should have pulled the smaller back bodice pieces through the shoulders one at a time – thanks for your help which is much appreciated. best wishes and happy crafting, Mary x
Oh, Kerryanne, I feel the same way about Maileg bunnies, Green Gate and Tilda as you do, so I was thrilled to see all your patterns to make one of my own bunnies although I know it won’t be as lovely as yours. I have problems with stuffing! I’ll send a pic when I’m done (don’t hold your breath as things keeps happening–my purse was snatched; I had minor surgery, my darling 17-year-old cat Monty passed into cat heaven and oh, yes, Hurricane Irma.) Thanks for continuing to be an inspiration for us all!
Love, Linda
Oh Linda, you have had a bad spell. I hope some creative time in your sewing room will be a good tonic for you.
Happy crafting,
Kerryanne
Do the patterns given include seam allowances or should a seam allowance be added?
Hi Nancy, seam allowance needs to be added. I hope you enjoy making Blossom and her outfit.
Happy crafting,
Kerryanne
Great website and very shabby chic! Love the colors etc.! When I saw your beautiful pictures with the rabbit and the pumpkin and roses…I thought why don’t you make those into dividers for an A5 planner? I would love them! You share so many beautiful pictures that just the pictures in a divider layout would be awesome! Hope you will think about it when you can get away from the pc…I know how frustrating that is!
Thanks for the suggestion Marianna. You never know…. it might just happen!
I still don’t understand the bodice. Do I cut it out exactly to the pattern size or leave seam allowance . I really don’t get the bodice and dress are separate, Help !!!!!
Linda J
Hi Linda,
I’m sorry to hear you are having an issue with the pattern. Seam allowance needs to be added to the pattern pieces. The bodice and skirt pieces are separate and the doll dress is made up the same way you would make an actual dress. I hope this helps.
URGENT!!!!
I have to finish this dress urgently for a birthday gift. I have managed everything but the sleeves and really do not understand what you mean. i have tried everything. I am not an inexperienced sewer, but I am stumped and frustrated. Please help – I want this to be nice for my grand-daughter.
Jane
Hi Jane, as you are a sewer, the doll dress is made exactly as you would make an adult dress. The bodice and the lining are not joined together under the armhole. The front and back panels of the bodice (fabric seen on the outside of dress) are sewn together and the lining pieces (the fabric hidden inside of dress) are attached to each other, leaving an opening around the lower edge of the bodice for the skirt piece to be inserted between the bodice and the lining. I have added more information to the instructions and changed one of the photos, so hope this helps you complete the dress.
Thank you. I managed it perfectly until the arm holes. The dress and lining as not attached where you said, so I go that right. But what to do about the armholes has totally defeated me. I have only had an interfacing when making adult clothes and nothing as neatly(potentially….) finished as this.
I just made the Rabbit. So far so good…
Maybey tomorrow I have time for the dress.
Love your site
Thanks for the patterns! ?
Can I send you some pictures when its finished?
Greetings from the Netherlands
Hi Nel,
I’d love to see your rabbit. Why don’t you join our online FB group, where you can share and everyone can see them – https://www.facebook.com/groups/SimplyShabbilicious/
Hugs,
Kerryanne
beautiful, thank you very much!
Thank you so very much for sharing the pattern. My Grandson absolutely loves this rabbit. I adapted the dress pattern to a vest, made the shoes to suit a boy rabbit & made him a pair of jeans, & a very smart bow tie.