For a long while now, I’ve been absolutely smitten with all things Scandinavian.
My love of GreenGate and Tilda has filled my blog posts for many years now and I know that many of you love it all too.
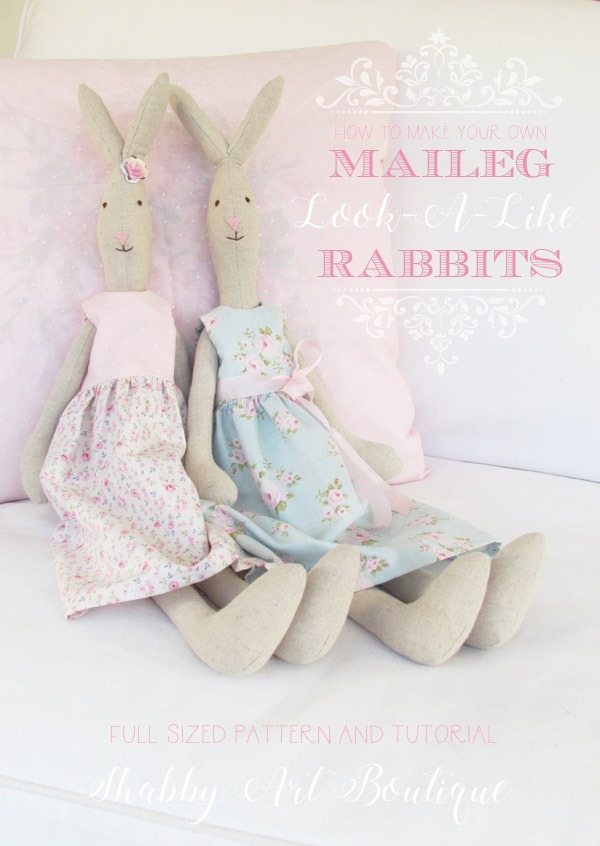
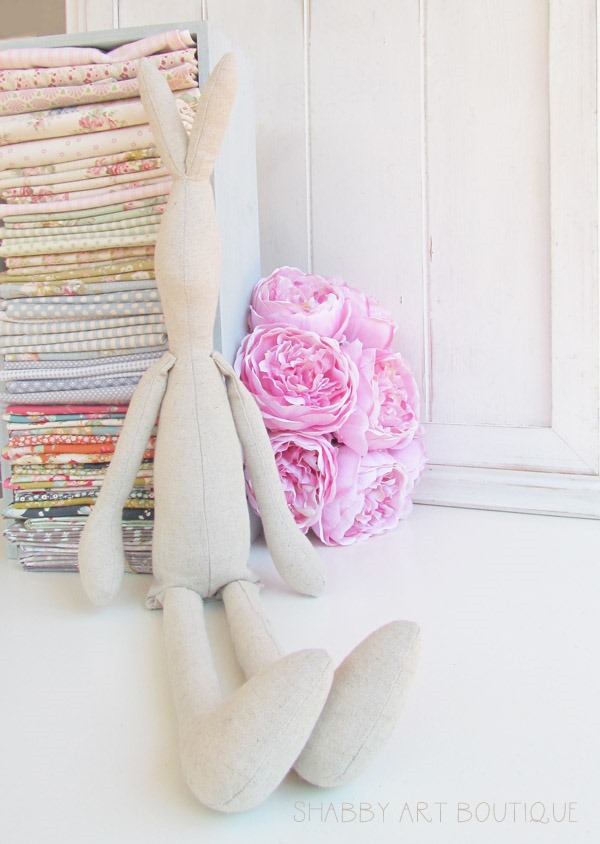
There’s another gorgeous Scandi item I’ve been coveting… the Maileg Rabbit.
They are not readily available here in Australia and any items I could find from the beautiful Maileg collection where incredibly expensive…. so what’s a Scandi loving girl to do?
[Pin for later]
Of course, I’ve resorted to making my own.
I’ve seen a few handmade look-a-like versions online, but patterns and/or tutorials are pretty minimal.
I made my own mini rabbits a few years back and I was happy with their similarity to the adorable Maileg rabbits, so I played around with the patterns a little more… adjusting the length of the arms and the shape of the snout until I felt they had the look I desired.
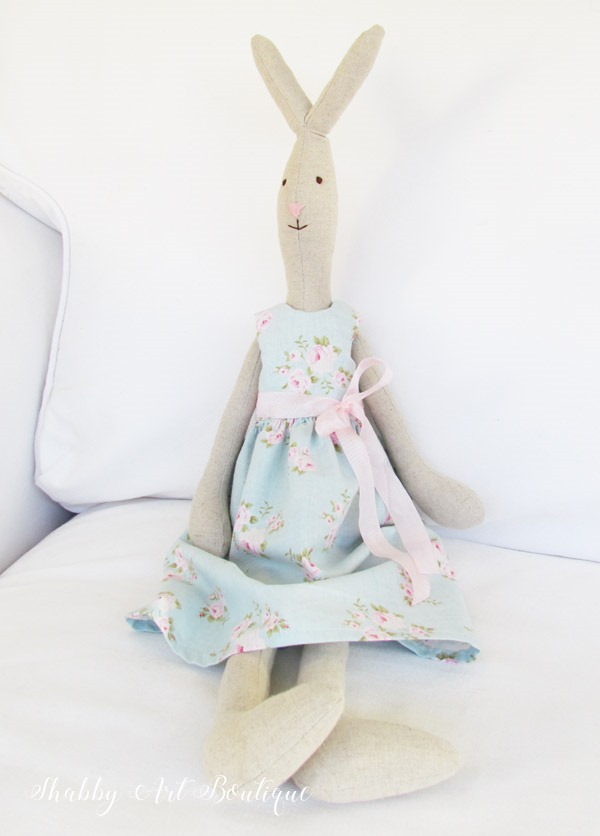
While these rabbits are not exactly the same as the Maileg ones…. or even close to perfect, I’m still thrilled with their simple Scandi look.
To help you with shopping this project, affiliate links are provided to the products I’ve used.
Here’s how I made my sweet look-a-like rabbits:
Materials
-
Pattern – download HERE
-
Linen fabric for rabbit bodies
-
Matching cotton thread
-
DMC cottons for eyes and nose – see note
-
Sewing machine and normal sewing supplies.
Note: I used DMC #776 for the nose and DMC #839 for the eyes and mouth.
Instructions
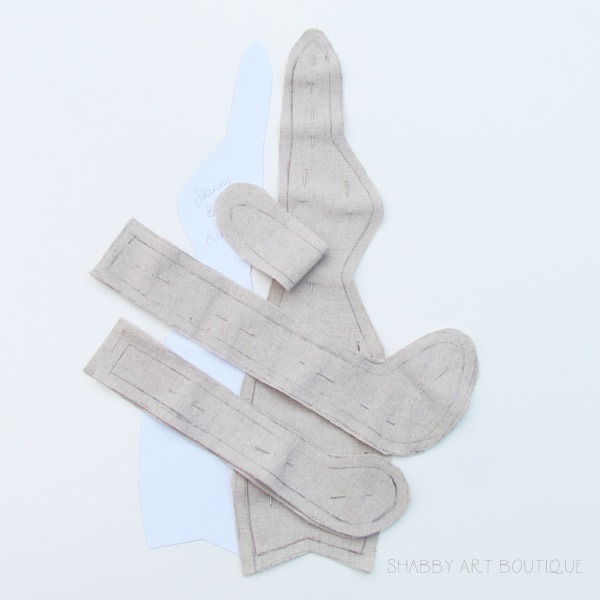
1. Trace pattern pieces onto card to make a pattern template, joining the two rabbit body parts, A to A and B to B to make one pattern piece.
2. Using pattern pieces, cut 2 body pieces, 4 legs, 4 arms and one inner ear (on the fold) from linen.
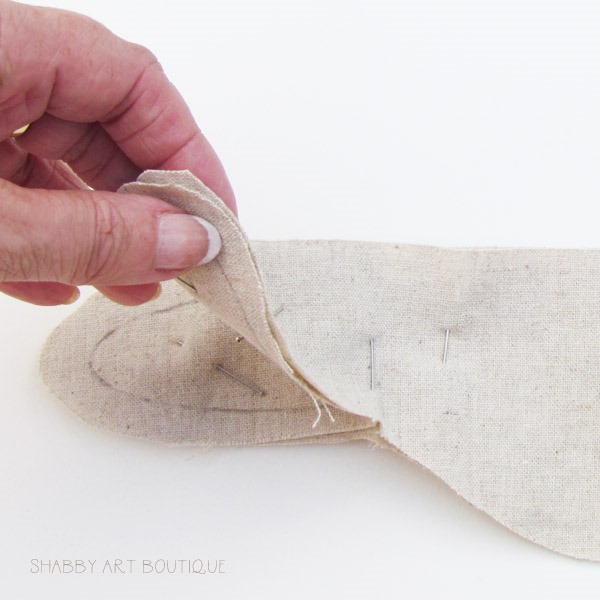
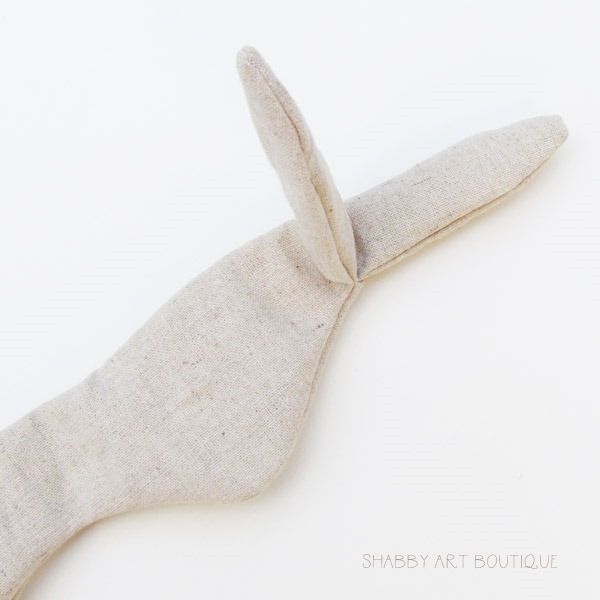
3. Pin the inner ear piece between the two ears of the main rabbit body pieces. as shown below.
Note: When stitching soft toys, I used a strong cotton and small stitch length. Ideally, if you have a triple straight stitch on your machine, use that as it reinforces the seam. Alternatively, you may wish to re-sew your seams twice or even three times to make them durable.
4. Stitch around the outside of the rabbit ears first, then stitch the rest of the rabbit body, leaving the bottom open.
5. Stitch around the legs and arms leaving the ends open for stuffing.
6. Clip seams where necessary and press seam allowances before you turn the pieces right side out. When all pieces are turned right side out, fold the fabric inward on the closures for arms and bottom of rabbit body. Press. This may seem silly, but make sure your rabbit arms are the same length when you press the closure in place.
7. Stuff all body parts with toy fibrefill.
Note: Remember to use small wads of stuffing to prevent bunching. We don’t want our rabbits to look like they have cellulite!!
I start at the ears and move downwards, ensuring that I fill every little space as I go. My tool of choice for stuffing is an old wooden chopstick with a narrow point at one end and a larger flat end at the other. For the arms and legs, I like to make the stuffing quite firm at the end (hands and feet).
8. Pin your legs into the cavity of the body, ensuring that they are equal in length. I actually used my machine to stitch this seam closed, as you will notice that I used less stuffing at the top of the legs and at the base of the rabbit, so it would sit nicely. Alternatively, you may wish to hand sew this seam.
9. Position the arms in place and pin to secure. Hand sew arms to body.
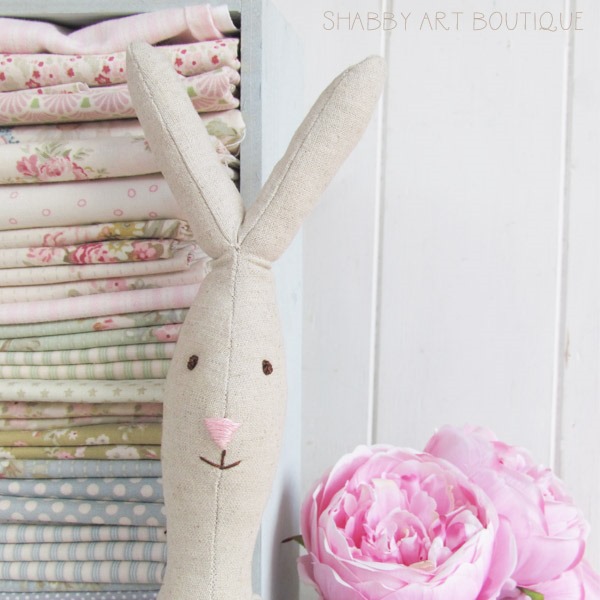
10. These rabbits have a simple face; a nose stitched from DMC cotton (I used #776) and eyes and mouth stitched with brown cotton (I used DMC #839).
Optional: You may wish to blush cheeks with blush too.
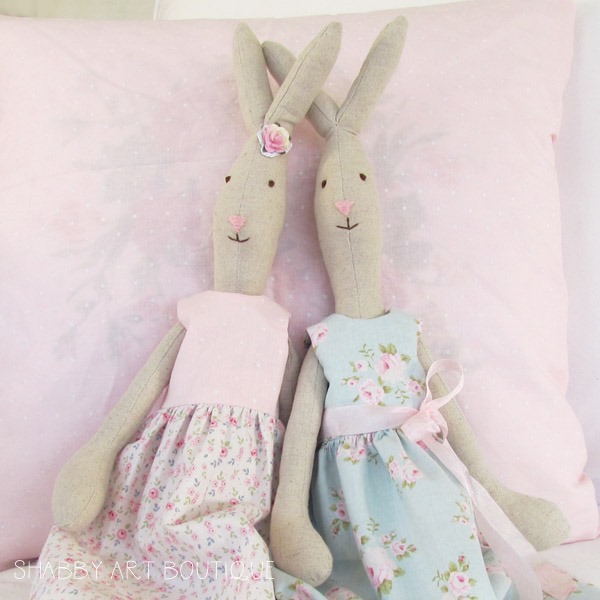
All that’s left to do now is dress our look-a-like rabbits.
Happy crafting
♥
Kerryanne
I’d love for you to connect with me at:
Follow on Bloglovin
or if you’d like my posts delivered directly to your Inbox
Subscribe to Shabby Art Boutique by Email
If you’d like a private pass to all things ‘shabbilicious, sign up today for my fortnightly newsletter. It contains personal stories, sneak peeks, recommendations, discounts and freebies.



Love this! Thanks for the pattern and instructions. You’re so generous. xo
You are most welcome Nancy. I hope you enjoy making the rabbits as much as I do.
Hugs – Kerryanne
You are most welcome Nancy. I hope you enjoy making a few xxx
Hey They look awesome. I’ve been looking for a pattern for these. Two questions. How long is the finished rabbit and does the pattern include the seam allowance or do I add that. Thank you so much
The Blossom bunnies come in 3 sizes. You’ll find all the instructions in the pattern packet… you sew on the drawn pattern line, so only a cutting allowance is required.
These look so sweet Kerryanne.
Toni xx
They are totally adorable Toni. I’m enjoying seeing them pop up around my home. Hugs xxx
They are a tad adorable Toni, that’s for sure!! Hugs sweetie xx
Thank you so much for the pattern. I think I will make some for Christmas.
xoxo Jo
I think they are gorgeous any time of year Jo. I hope you enjoy making them as much as I do xxx
Thank you Kerranne, a beautiful pattern. A definite for me. I have made your Pincushion doll before and really love her.
I hope you enjoy making your own ‘look-a-like’ Maileg rabbit Shirley 🙂
Thank you so much,,, I love Maileg rabbits too!!
You are welcome Kim. I think they are adorable in there simple design and sweet faces. I hope you enjoy making them too!
They’re gorgeous Kerry!!! I love Maileg, and you’ve captured the look perfectly. I need to learn some metalwork, I love the little iron bedsteads…?
Much love! VIK xxxxx
Oh I know, they are divine. I had a go at making my own for my mini Maileg mouse, but it was a big time consuming project to make a tiny little bed – lol. Hugs and kisses xxx
thankyou so much…love these and will be making for my grandaughters
Thank you for sharing your wonderful ideas, it’s so generous of you.
Thanks for sharing this pattern. I’ve spent hours looking online for a suitable pattern and then found you! Thank you SO much!
Thank you so much Kerryanne for your generosity in sharing this gorgeous pattern and clothing. I just spent the morning pawing over the real thing at our local upmarket dept store wishing I could justify the $85 price tag. Now I can go to town and make a whole family of bunnies, and princess and the pea and on and on………you’ve made my day 🙂
Hi from Portugal
Thank you SO much for your generosity.
I’m following you in Bloglovin and each day i like it more. I LOVE your tutorials with the photos. It makes easy to us.
Kisses from Portugal. Maria Eugénia ?
Hi Maria and welcome to Shabby Art Boutique 🙂
I’m happy to hear that you are enjoying my craft projects.
Hugs,
Kerryanne
Yay! I’ve printed the bunny pattern, found the dress pattern and printed it, I’m ready to go!!! So excited!!!want a picture after I’m done?
Thank you, I have been looking for a good quality pattern! Any chance you tried and perfected the Maileg Mouse?
This bunny is so out of my comfort zone, BUT I have managed to make her and her dress… a million thanks for the pattern I love her. Dianashappyroom.blogspot.com picture on my blog as I don’t know how to send one to you!
This will be so much fun to try. Thanks for providing the pattern and instructions.
You are most welcome Ann.
Hope you enjoy making your own rabbit 🙂
Thank you so much for sharing this wonderful bunny. I am struggling with the ears…. can you help please? 🙁
More than happy to help Angie. I’ll need to know what specifically is a problem, so if you’d like to email me at kerryanne(at)shabbyartboutique.com I’ll see if I can guide you through the process 🙂
Hi,
I’m looking forward to sewing your lovely pattern. Do you need to add seam allowances to the rabbit?
Thank you so much!
Margie
Hi Margie, you sew on the traced line, so you add a seam allowance as you are cutting the pattern out – please see my photo in the instructions. Hope you enjoy this project as much as I did 🙂
Thank you for the pattern, I think I will make a couple rabbits for my grandkids Easter ❤️?
Brenda
Thanks for this adorable pattern…what fun to make! The dress pattern works great as well. ?❤
Diane
My Blossom was finished today!. I added seam allowance to the rabbit pattern, and sewed the dress as per the pattern with 1/4″ seam allowance.
Once I tried the dress bodice on the rabbit, it was huge!!! I needed to take in the side seams another 1/2″. Does this seem unusual please. I have another 2 dresses to make.
Hi Sharron,
I hope you have enjoyed making Blossom. You don’t need to add seam allowance to the dress pattern and it may even be that you need to make the bodice pattern smaller to suit your sewing style. The issue is, there is a fair amount of variation in how we all make softies. I notice that a lot of people do no stuff them enough and their softies are on the flatter side. I stuff mine very tight and they tend to fill out and have a rounder shape. I’m sorry my pattern did not work for you…. I don’t claim to be a dressmaker and simply shared the doll dress pattern that I drafted to fit my own rabbit dolls. You might be better to use a revised pattern that suits the size of your dolls 🙂
Kerry thank you so much for your speedy reply! I will draft a new bodice pattern for my rabbits dress, as I like to stuff them very firmly!
Thanks so much Julie.
I hope your mini desk calendar makes you smile often.
All the best for 2021 x
Thanks so much for the cute pattern! do you have any tips/tricks for turning the pieces right side out? i’m struggling with the ears!!!!
Thank you so much for sharing this great pattern!🐰 I am struggling with the ears…. can you help me please?
Hi Kerryanne
Thank you for sharing this sooo cute pattern. I’ve been looking all over for this bunny, didn’t know they were called Maileg …
In your photos the bunnies looks quite large, but when I went to make the set I have three very small rabbits. Have I done something wrong?
Was I suppose to enlarge the pattern and missed it in the instructions?
I’ve provided 3 different sized bunnies and the largest is over 60 cm tall, so something is not right with your pattern template. As you can see from the pattern, the legs alone take up a whole page, sow hen you add the two body parts you have quite a big bunny. I’d check that you have printed the page correctly, as the pattern pieces should take up the whole page 🙂
Hello I didnt how to sewing ears