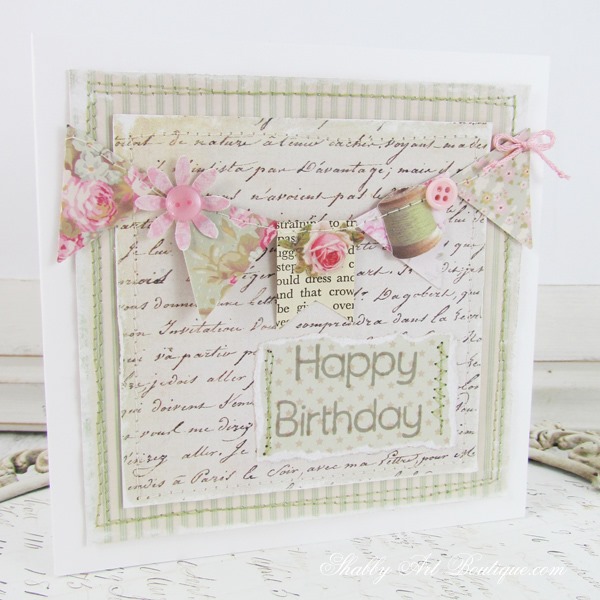
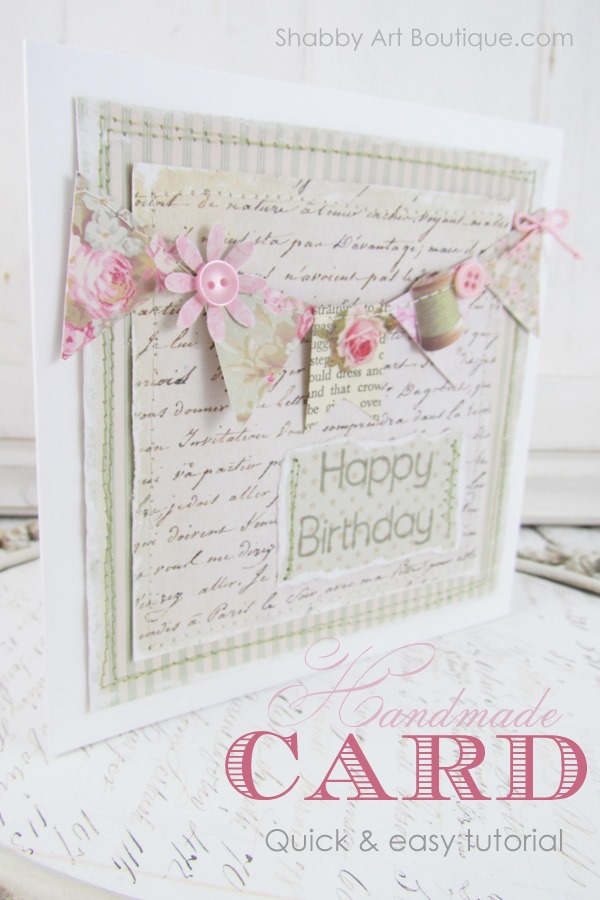
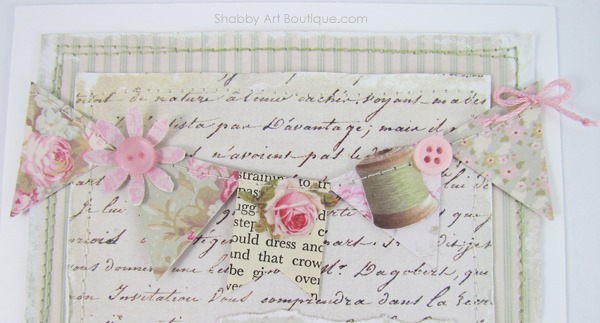
This is the shabby scraps card I made yesterday.
It’s super easy, quick and cheap…. 3 of my favourite words!!
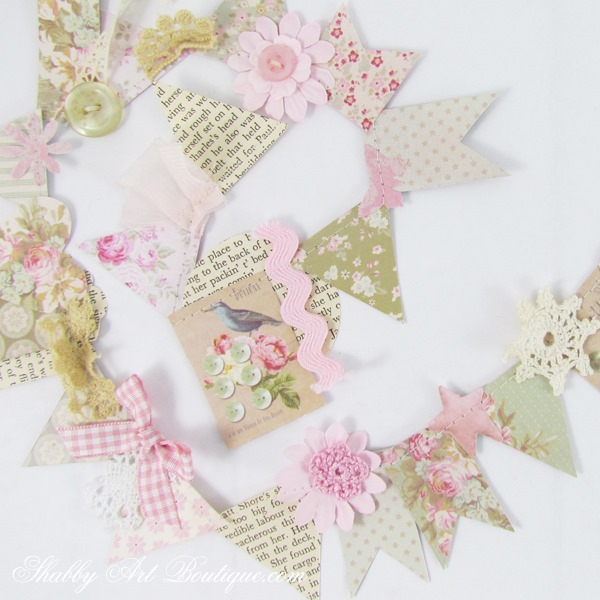
I used the shabby scraps garland I shared a tutorial for yesterday.
This post contains affiliate links for your convenience. You can see my full disclosure here.
Materials:
- Blank greeting card
- Shabby scraps garland
- Some pretty background paper
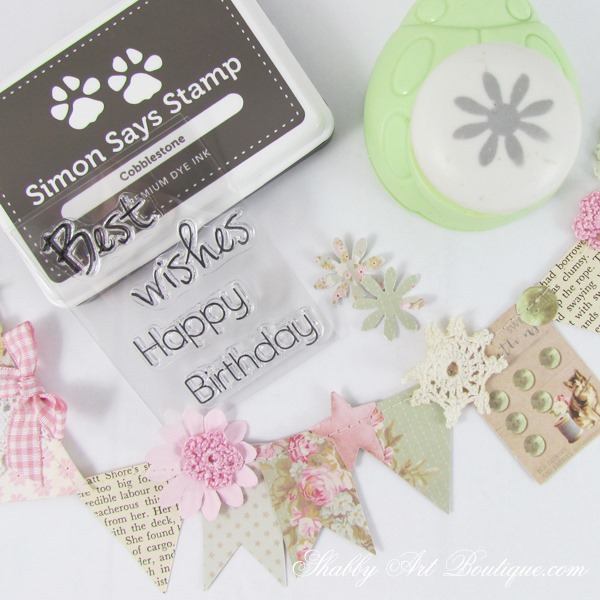
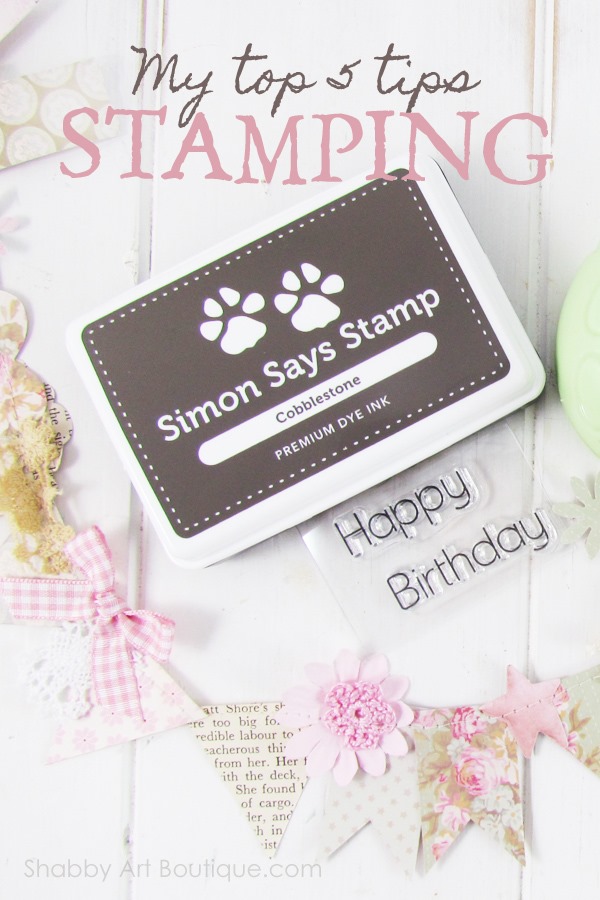
- A sentiment stamp and ink pad
- Clear glue, pencil, ruler and knife.
- Sewing machine (optional).
This card took around 10 minutes to make… but I did already have my sewing machine set up.
Instructions:
1. Trim a piece of coordinating background scrapbooking paper to fit the front of the card. I cut two pieces and made mine slightly smaller than the card, so there would be a white border.
2. I added some free motion stitching around the perimeter of the paper squares using matching cotton – this step is totally optional.
3. Measure and cut your garland to fit the front of the card – see photo.
4. Establish your garland placement, but before securing in place, stamp a sentiment on a scrap piece of paper and adhere or sew to the lower portion. Alternatively, this could be hand written.
5. Run a bead of glue over the back of your pretty paper and secure in place on the front of the card.
6. Attach the garland by securing with a dot of glue. Allow to dry. Add any last minute embellishments like flowers or buttons.
I’m sure most of you have at some point used rubber stamps in your crafting.
Personally, I think stamps are a great attribute to your crafting supplies. They can be used in so many different ways and on a variety of surfaces too. Gosh, I’ve even used them to make imprints on my shortbreads!
So I thought I’d share a few tips I’ve learned over the years…
My top 5 stamping tips:
1. Use the correct technique. Stamp straight down, then lift straight up. It’s that simple. I’ve watched my students rock the stamp back and forth, but all that does is creates a halo or blurred effect.
2. Use the right ink for the project. Yes, there are many different types of inks available now and using an ink that suits the surface you are working on will give the most effective results. Inks vary from dye based to pigments inks and lots in between. You’ll find lots of information online about different inks or ask your supplier/craft store assistant to explain their different uses.
3. Try to always clean your stamps after using. This prevents dust and other nasty’s from attaching to the stamp design and therefore, shortening the life of your stamp and altering its effectiveness. Clean stamps give crisp clean images.
Although there are commercial stamp cleaners available, I’ve always used a craft room staple… non alcoholic baby wipes. They are perfect for a quick wipe over. For tougher build up, I have an old toothbrush that I use to clean my stamps and calligraphy pens with. Good old soap and water and a gentle scrub works wonders.
4. Stamps need conditioning. While there are several ways to condition your stamps, I still do mine the original way I learned years ago and that was to use a white eraser. Gently rub the eraser over the stamp to remove any film and then clean.
5. Storing your stamps: There are many ways to store stamps, but I choose to keep mine altogether in a large box. That way I know they are all kept together in one spot with my ink pads.
The best way I’ve found to store my tiny unmounted clear stamp collection is to use clear CD cases. They are a perfect size for stacking and viewing what’s in them.
I use large plastic containers for my bigger stamps, mounted stamps and alphabets.
I hope my tips for stamping have been helpful.
Happy crafting,
Kerryanne
I’d love for you to connect with me at:
Follow on Bloglovin
or if you’d like my posts delivered directly to your Inbox
Subscribe to Shabby Art Boutique by Email
If you’d like a private pass to all things ‘shabbilicious, sign up today for my fortnightlynewsletter. It contains personal stories, sneak peeks, recommendations, discounts and freebies.
Plus, you will also get a free copy of my eBook 5 Tips for creating a Shabbilicious Home.
Sign up for my newsletter HERE and don’t forget to confirm the sign up email.





Love pattern on bowl in photo above with roses, so pretty, old fashioned looking, to me anyway. Guess my taste preferences are stuck in older ideas and pattern, remind me of simpler times in life.. This is wonderful addition/complement to scrappy garland, very sweet. Could use parts of garland in several ways to dress up other projects and pretties. Am always so happy when I see your posts in my emails. Have awesome weekend.
Kerryanne, I love your sweet little garland/banner! I just love all the pastel feminine colors! I’m going to have to be cognizant of throwing away scraps!