Hi there creative friends,
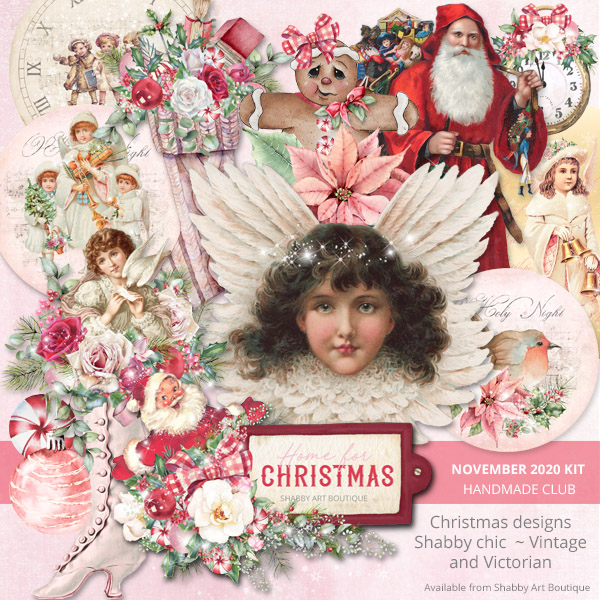
This week I’m showing you how to use some of the images from the November kit for the Handmade Club… but I didn’t want my blog readers who are not in the club to miss out, so I made you a pretty printable Victorian ornament too.
In the kit there are ten, 3 inch circle graphics that are the perfect size to use for Christmas tree ornaments or tags.
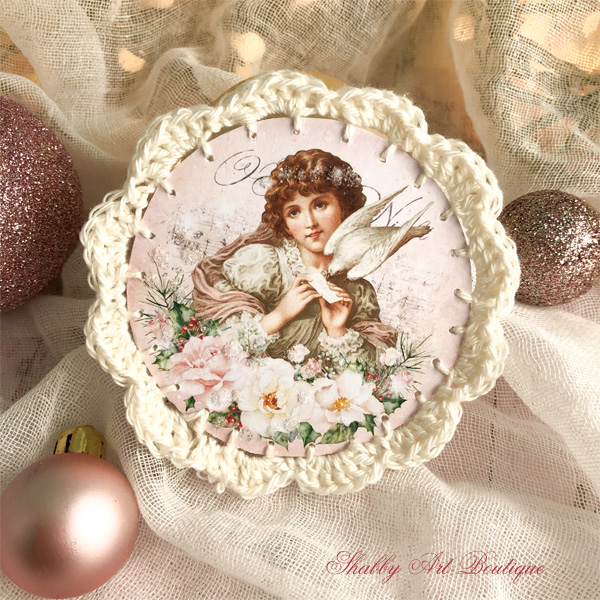
While they can be decorated in a variety of ways, one that I absolutely love is to create Victorian style crochet edged ornaments.
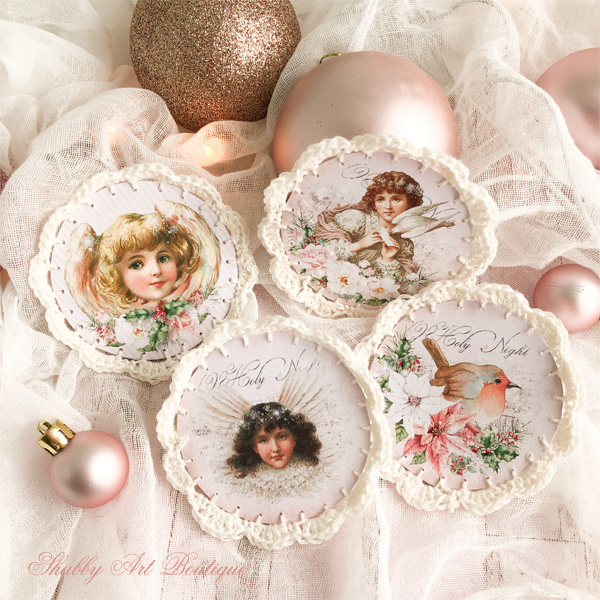
These look so pretty tied on a Christmas tree or gift….. and of course can be further enhanced with a sprinkling of glitter.
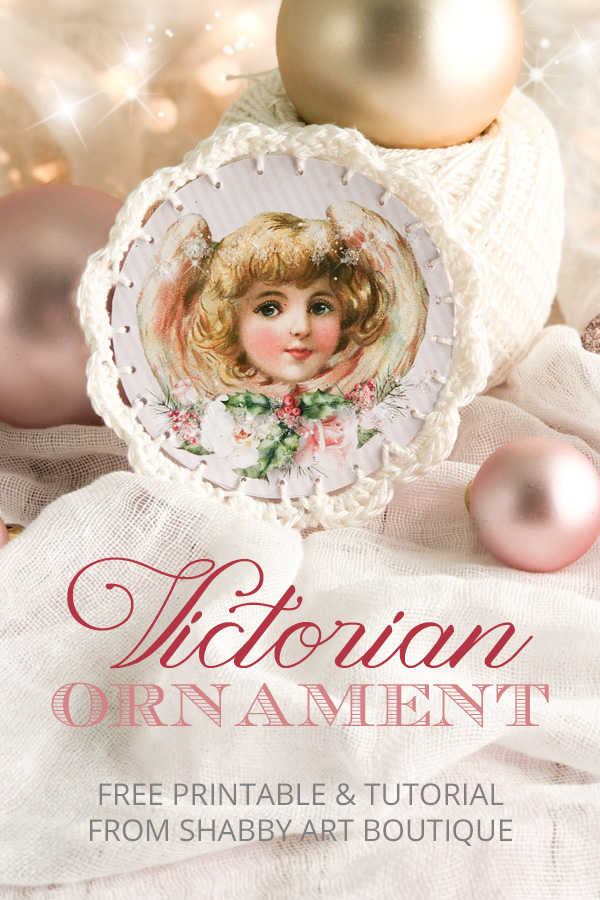
In this tutorial I have used three of the circle graphics from the November kit, plus a free printable angel that is now in the Newsletter free printable page.
You might recognise this sweet angel from the 2020 free Christmas Planner I shared with you HERE.
How to make Victorian Crochet Edged Ornaments
I shared a tutorial earlier this year on making these sweet crochet ornaments and knew they would be perfect for a Victorian Christmas.
Materials
-
Print either the free printable from the newsletter library or the page of ornaments from the Fussy Cutting file in the November Handmade Club kit – see note.
-
Scissors and white glue
-
Crocket hook – I used a 1.75 mm
-
Large Crewel Needle
-
Crochet cotton or wool.
Note: I recommend printing on 250 gsm matte photo paper (card) with your printer set on its highest/best setting.
Instructions for making the Victorian Crochet Ornament
1. Cut out your 3” circles. Apply white glue (or glue stick) to the back of one circle and add another cut out circle to the back to make a double sided ornament.
2. Placed evenly spaced holes around the outside of the circle by pushing the needle (without cotton) through the card about 3 – 5 mm inside the perimeter of the card. There needs to be an even number – I used 24 holes for mine and I made sure I placed a dot where I wanted them to be prior to making the holes with the needle.
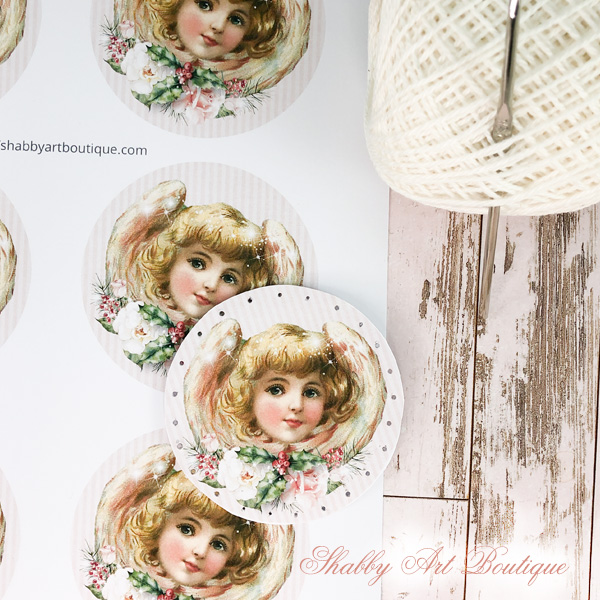
3. To start the border, I first add a row of blanket stitch around the circle using my crewel needle and a length of cotton approximately 80 cm long.
This lady has a really easy to follow blanket stitch video on You Tube.
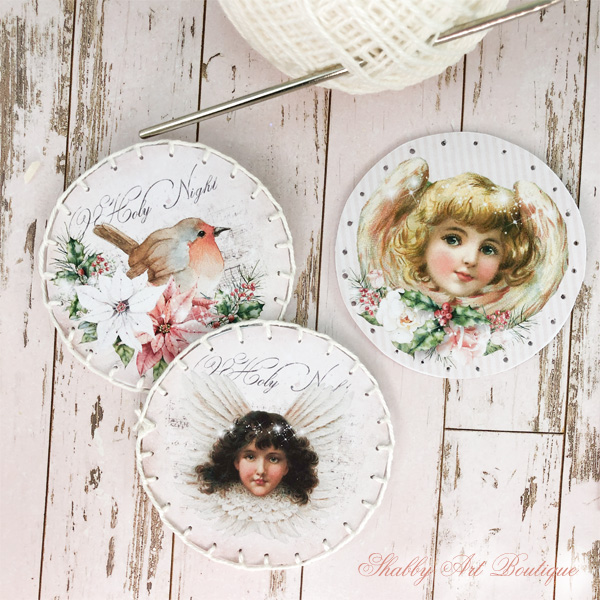
4. Once you have your blanket stitch in place, it’s time to start stitching the border – beginners see below.
If you know how to crochet , the shell stitch is simply a single crochet into one blanket stitch and five double crochet into the next. This process is continued around the whole circle and finished with a slip stitch at the end.
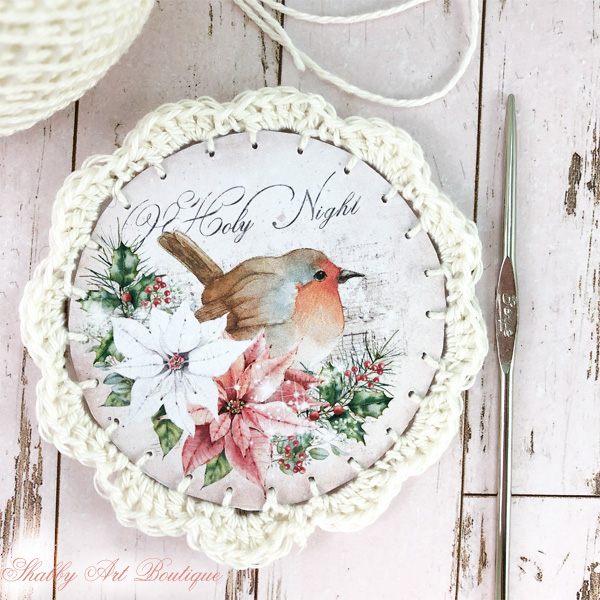
Creating the Shell Border
Techniques:
Single Crochet (SC)Step 1: Insert hook into work (second chain from the hook on the starting chain), cotton over hook, and draw cotton through work only.
Step 2: Cotton over hook again and draw cotton through both loops on the hook—one single crochet made.
Step 3: Insert hook into next stitch.
Double Crochet (DC)
Step 1: Cotton over hook and insert hook into work. Cotton over hook and draw through work only—three loops are on the hook.
Step 2: Cotton over hook and draw through the first two loops only.
Step 3: Cotton over hook and draw through last two loops on the hook—one double crochet made.
Let’s crochet!
- Into the first blanket stitch, create a single crochet, by inserting hook into first hole, cotton is in back, so pull cotton through to the front, then single crochet.
- Next hole complete 5 double crochet (this will form the shell).
- Anchor this shell by making a single crochet into the next hole.
- Continue the process by creating a shell with 5 double crochet’s into the fourth hole.
- Repeat the single crochet followed by 5 double crochets in every hole until you reach the start point and end with a slip stitch in the final stitch.
Download the free printable
I’ve added the Victorian ornament printable to my newsletter subscribers Member’s Printables page.
Don’t forget, the password is on the latest newsletter email and will also be in the email going out today.
If you are not yet a Shabby Art Boutique newsletter subscriber, that’s okay…. you can subscribe to my newsletter here to gain access to the free printables.
I send out a newsletter two to three times a month. Your subscription comes with FREE unlimited access to the Member’s Printable Library.
If you would like to know more about how the Handmade Club works and see the reviews by members, you may visit the Handmade Club page HERE.
See what’s included in the November kit for the Handmade Club HERE.
PIN for later!
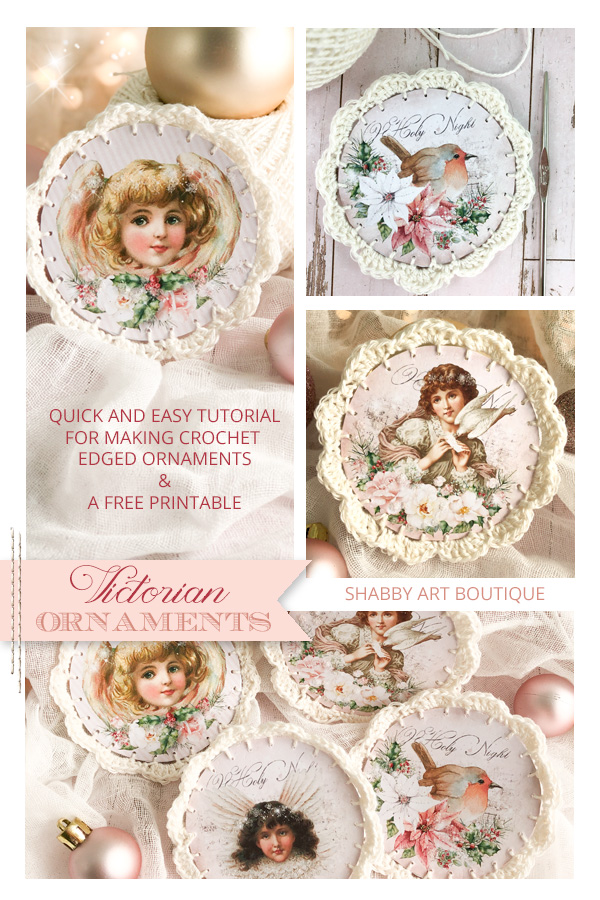
I look forward to sharing more projects made with this kit in the coming week.
Happy crafting my friends!
Hugs
♥
Kerryanne
Let’s be friends on….
Get instant access to the free printables in my Newsletter Printables
Library by joining my email newsletter subscriber’s list.
I send out a weekly newsletters with updates on all things
‘shabbilicious’ at Shabby Art Boutique.
I invite you to join our fabulous and friendly
Facebook group – Simply Shabbilicious
where you’ll enjoy our friendly banter and inspirational creativity.


Thank you so much Kerryanne, for this refresher tutorial on making the crocheted edges❣️❣️❣️Very understandable instructions? I love this❤️ Smiles, Deborah ???
Gorgeous! Love the idea of crocheting around old Christmas cards to make new ornaments.
What a great project; thank you so much. Your tutorial was great. Waiting in dr. offices for appointments is such a drag now–no magazine sanymore . This is a great project to carry in my purse to work on in odd moments!
Thank you so mush Kerryanne , it’s very beautiful !! Victorian ornaments and the kit November Christmas designs projet shabby chic , I love this !!!! <3
Thank you for the beautiful design projects They are indeed inspirational when issues with my hands has recently brought any craft work to a halt. I will enjoy being able to create again
Thank-you KerryAnne for these beautiful ornaments, and instructions. What a fabulous addition to “special” gifts any time of year. Thank you. Marion, UK