Hello creative friends,
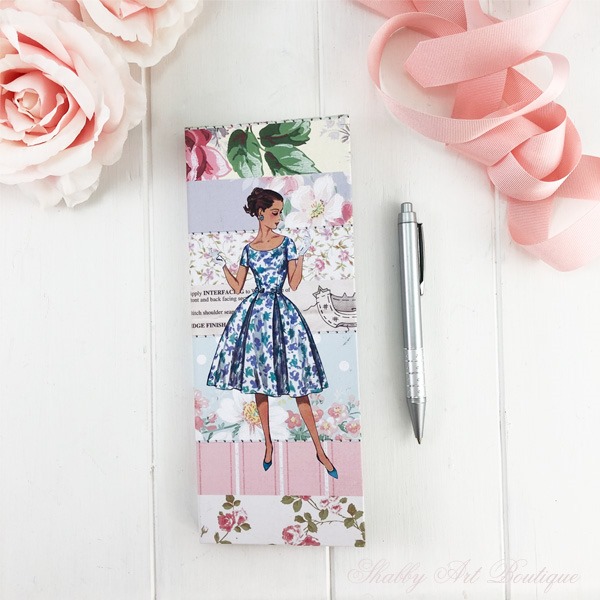
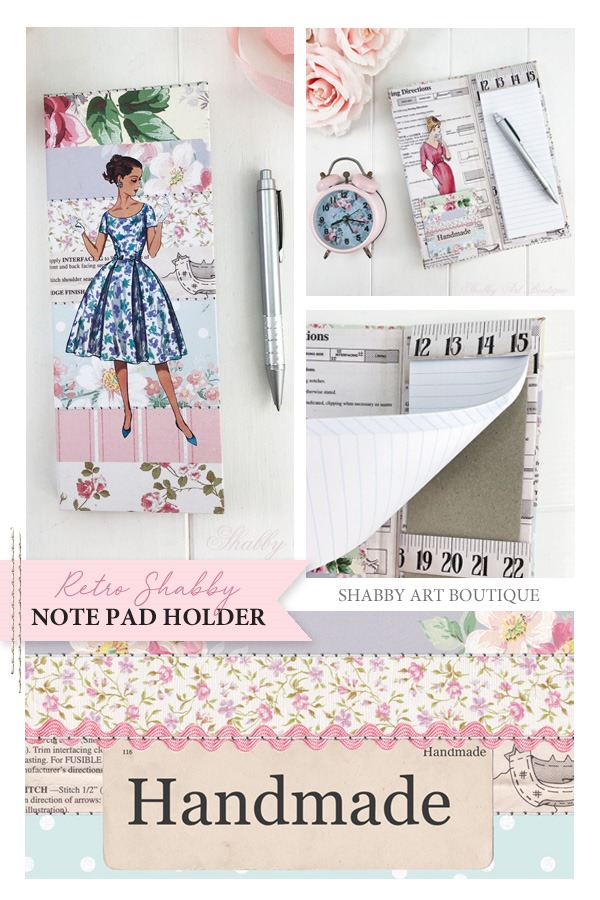
As promised, I’m popping in today with another DIY retro shabby project…. this time it is a fabulous note pad or list pad holder.
Even though the following instructions are for the retro shabby kit, you could easily substitute the papers for any that you may have in your own collection if you are not a club member.
I love this note pad because it is the perfect size to tuck into your handbag or laptop bag… and pretty enough to have on your desk or craft table everyday.
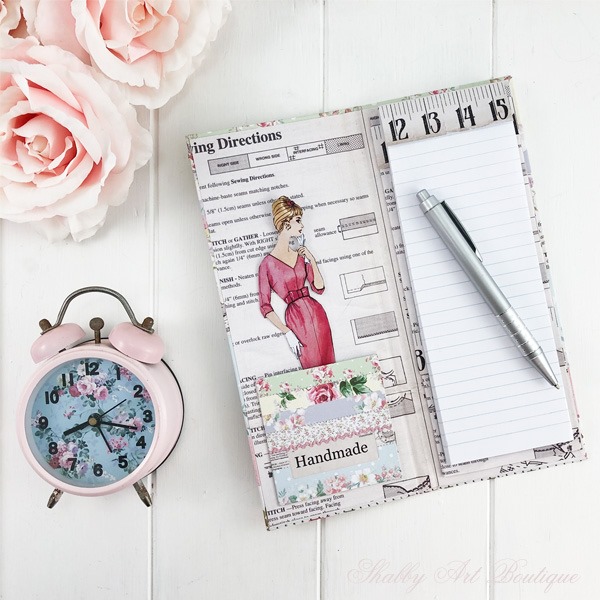
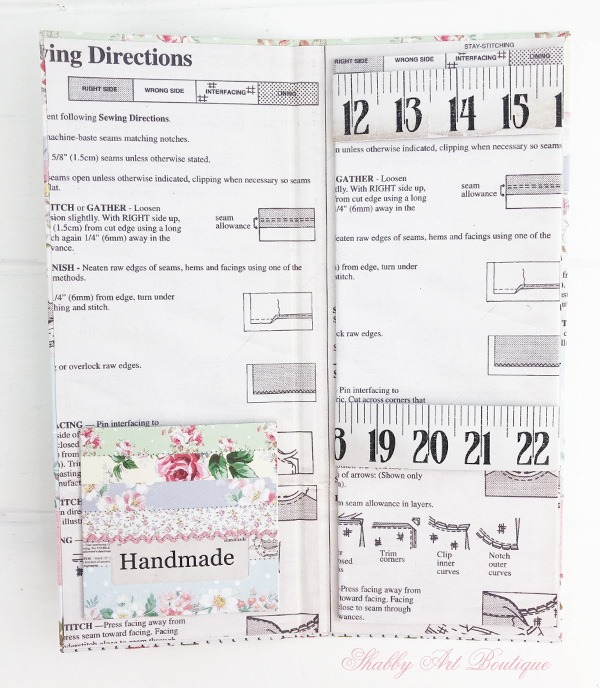
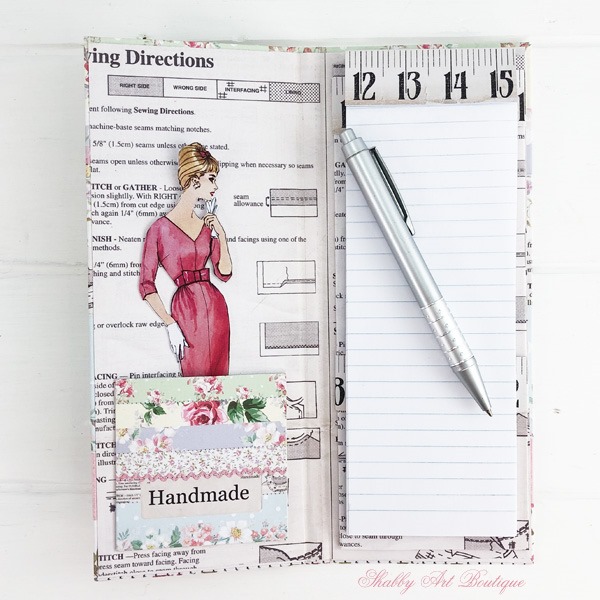
The closed folder measures 9” high by 3 1/2” wide (23 cm x 9 cm) and opens up to reveal a cute little side pocket and an interchangeable notepad holder.
An added bonus is the cost of this project. The note pads are standard A5 notepads picked up in my local discount store for $2.50. The pack contained three A5 sized notepads, that I cut in half vertically, making 6 list pads.
How to Make a Retro Shabby Note Pad Holder
Materials
-
Printable PDF in the July Handmade Club Folder
-
Photo paper and card for printing
-
Knife, ruler and cutting mat
-
Glue of choice – white glue or clear glue
-
I pack of A5 note pads or any list pad – see note.
Note: You could easily vary the size of the folder to accommodate a different sized note pad if required.
Instructions
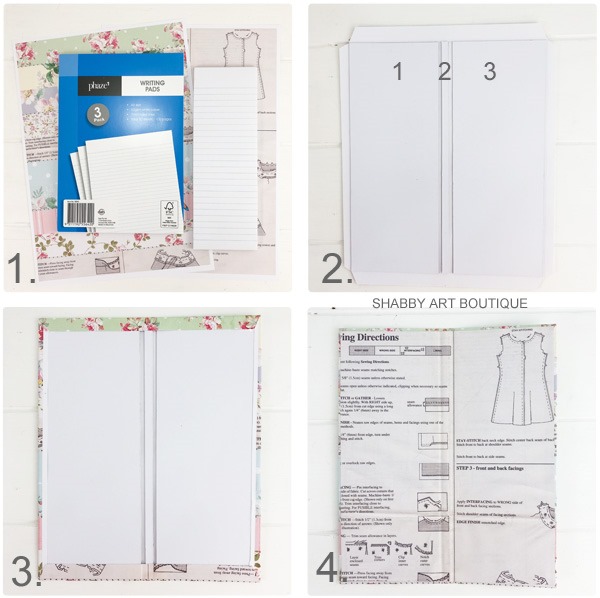
1. There is a new bonus PDF printable in the July Handmade Club download folder for this project. If you are not a club member, you will require 3 sheets of either A4 or letter sized printed paper (size will be dependent on where you live). The covers are printed on either copy paper or matte photo paper and the last page of the PDF is printed on cardstock or matte photo card.
I cut the A5 note pad in half creating a list pad that measures 8 1/4” x 3” (21 cm x 7.5 cm) by using a metal ruler and a sharp craft knife.
2. To make the folder you will require three chipboard (heavy card) cut-outs and one cut-out for the list pad insert.
They measure:
– two cut-outs at 9” x 3.5” (23 cm x 9 cm) for front and back cover
– one cut-out at 9” x 1/4” (23 cm x 0.7 cm) spine of folder
– one cut-out at 8.5” x 3 1/4” (21.5 cm x 8 cm) for list pad insert.
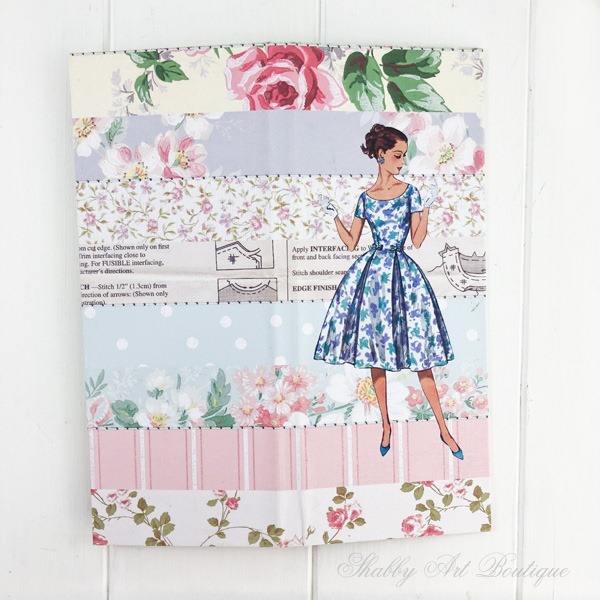
From the cover paper (with the girl on it) cut a piece the width of your page x 10 1/2” high (26 cm).
Position your cut-outs as shown with a gap of 1/8” between the spine and the folder covers… this allows for the crease and movement of your folder covers. Clip the corners as shown.
3. Adhere the cut-outs to the back of the cover paper using your glue of choice, folding the excess over onto the inside covers.
4. Cut an insert for the inside from the sewing pattern paper measuring 8 3/4” x 7 1/2” (22.5 cm x 19 cm). Adhere to the inside of your folder. Using a bone folder, gently crease the gap between the spine and covers.
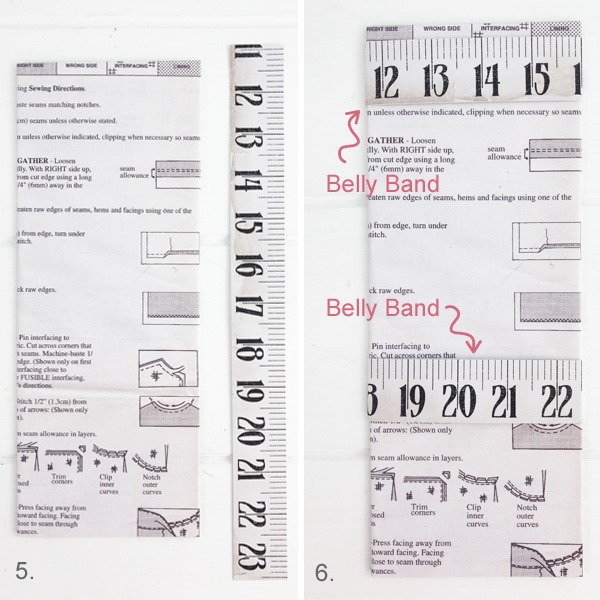
5. So that the list pads can be changed when used, I created an insert with belly bands to hold the interchangeable list pads. This is made using the one cut-out at 8 1/2” x 3 1/4” (21.5 cm x 8 cm). It is covered on one side using the second piece of sewing pattern paper.
6. Cut out the tape measure from the last page of the PDF and cut it in half. Each half will be used to create a belly band. The first one is placed an eighth of an inch down from the top of the insert. Centre it and fold the excess ends around to the back of the insert. Glue them in place. Place the second belly band about two thirds of the way down the insert and repeat the process.
7. Apply glue to the back of the insert and position it on the right hand side cover.
Cut out your ‘Handmade’ pocket from the printable and score and fold the tabs to the back of the pocket. Apply glue to the tabs and position in place on the lower inside cover.
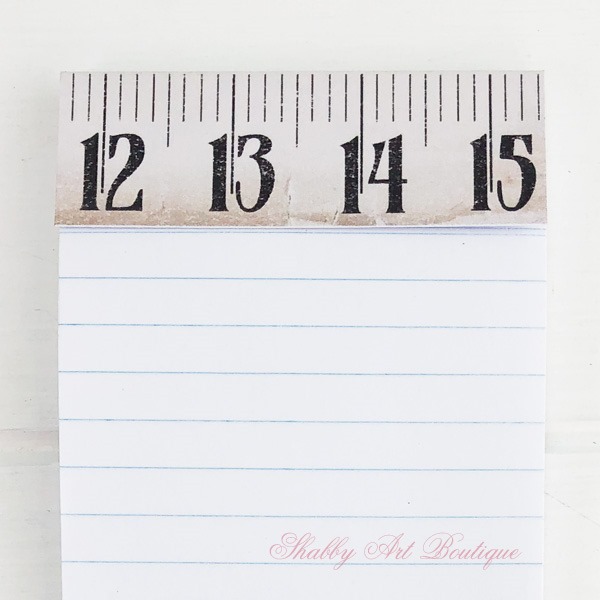
8. I added an extra graphic for a top cover for the list pad. The front is not glued down, so that you can rip off the pages as required. I scored a line along the top of the tape measure and used my bone folder to make a sharp crease. This sits at the top edge of your list pad. Next, fold the rest of the tape measure card up over the top of the pad and to the back of the list pad. Apply glue to the top of the list pad (where it is held together) and the back of your paper pad and stick the cover on… remember, the front is just a flap and does not get glued down.
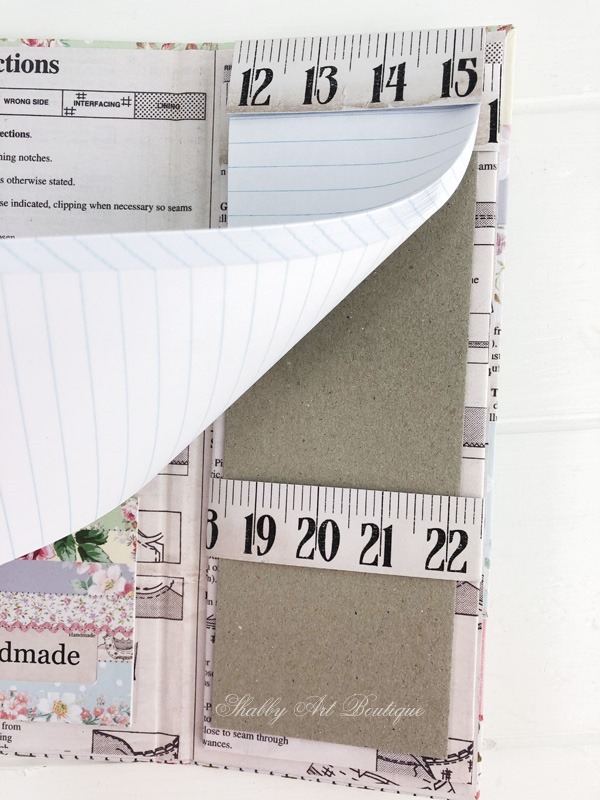
9. Slip the chipboard backing on your list pad through the belly bands on the insert.
The belly bands will secure the pad in place and allow you to switch it out with a fresh list pad when needed.
There you have it…. your retro shabby list pad is finished. Wasn’t that easy!
I think these would make great token gifts at functions or for Christmas stockings. After all, everyone uses list pads at some point!
Just a reminder, the printable PDF for this project has just been added to the July Handmade Club folder as a bonus… be sure to pop back in and download it
PIN this tutorial for later
If you’d like to know more about the July kit for the Handmade Club – see this post.
And if you have made something fabulous with your kit this month,
please share it with us in our FB group, Simply Shabbilicious.
Happy crafting my friends!
Hugs
♥
Kerryanne
I’d love for you to connect with me at:
Get instant access to the free printables in our Member’s Only
library by joining my email newsletter subscriber’s list.
I send out two newsletters a month with updates on all things
‘shabbilicious’ at Shabby Art Boutique.
I invite you to join our fabulous and friendly
Facebook group – Simply Shabbilicious
where you’ll enjoy our friendly banter and inspirational creativity.



Love this, thank you Kerryanne, this is so pretty and very useful.
How cute, fun, and functional is this??? I love it??? Thank you Kerryanne and I agree that it would make great gifts to give out at gatherings??? Smiles, Deborah ???
What an adorable project!
Hello Kerryanne,
Thank you, for your Swift reply. Got both. Thank you ever so much. I visited your IG and saw that your dad was unwell. Please know I’ve added to my prayer journal. . As well with my group of prayer warriors. Glory to God for you living near by. I’m glad you are “home” and together. Thank you so much, your generosity is outstanding. Your artistic tallent is such a gift. Keeping up with” technology inept people like me.
I have been sharing you like crazy. (Anything I show – tell, your name and info is ALWAYS attached.)
I’ll be praying for you as well.
I’ll,post on FB group some items I create as soon as we bring my husband home and get him settled.
Good early morning from Florida USA.