Hello creative friends,
Today I wanted to share another project I made using the August 2021 Handmade Club kit, Enchanted.
I started it a couple of weeks ago and put it aside when I got busy with the club special offer… I wasn’t sure I’d get back to it, but yesterday I had a small window of opportunity to finish the final assembly.
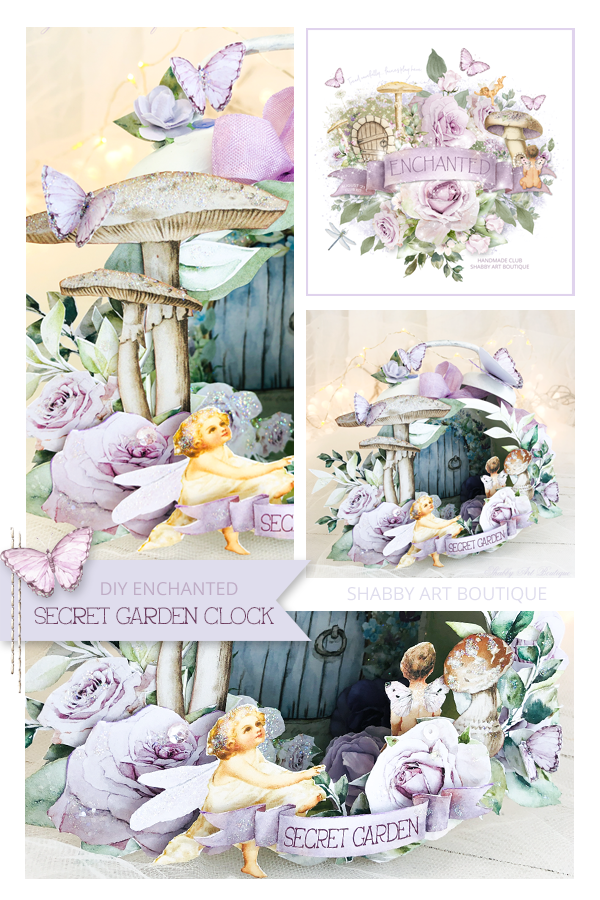
Enchanted Secret Garden Clock
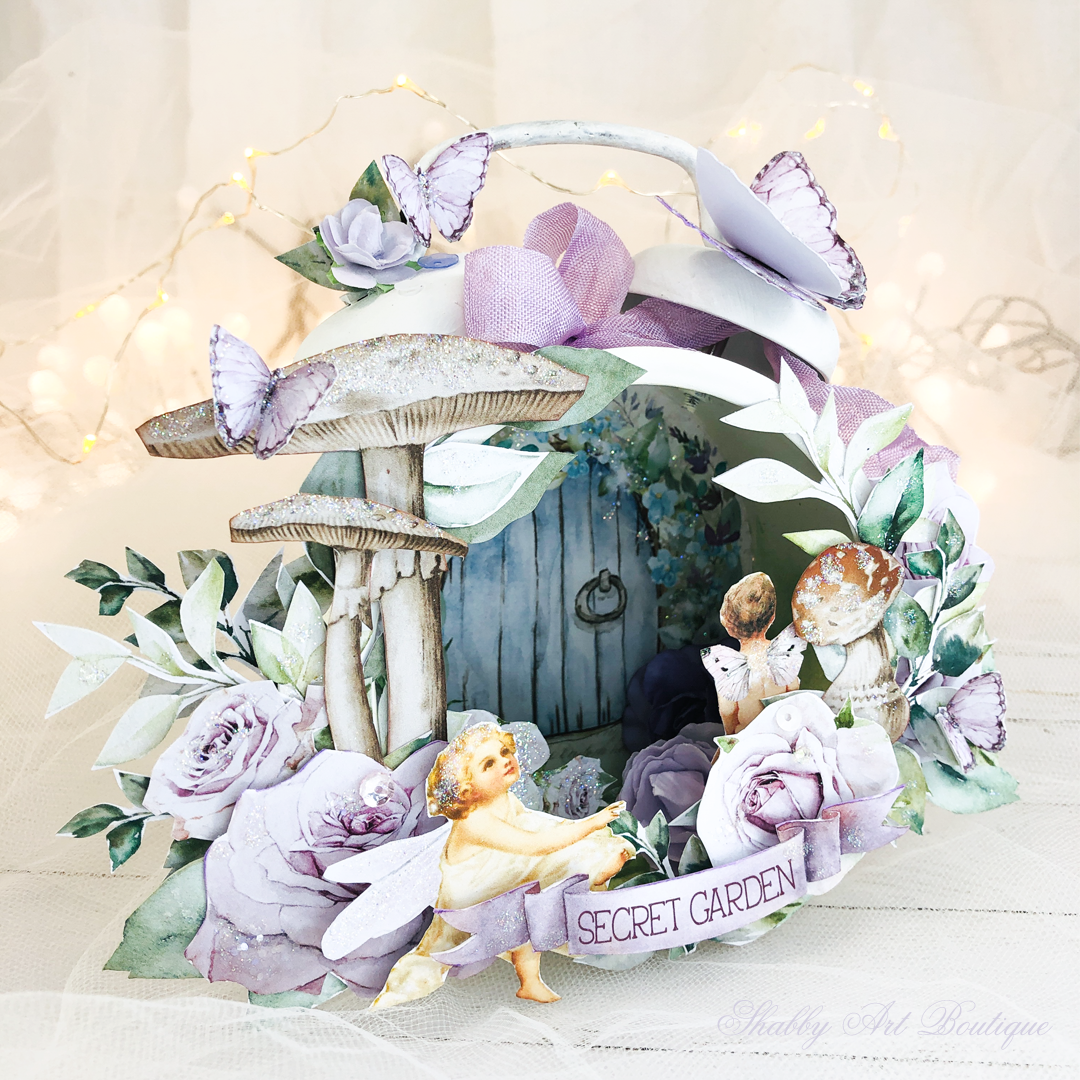
I always enjoy altered mixed media projects and this one was certainly fully of fun and whimsy.
The clock is the DEKAD alarm clock from IKEA, which I purchased a few months back with the intention of using it for another project…. but it turned out to be absolutely perfect for a fairy patch.
How to make the Enchanted Secret Garden Clock
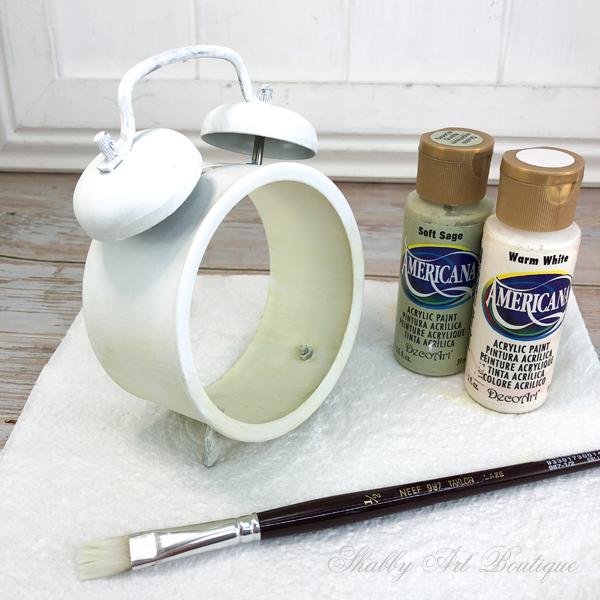
Clock: I unassembled the clock and put it back together with just the alarm bells and the feet.
It’s important to wash the clock in a 50:50 solution of vinegar and water before you paint it.
I gave it one coat of white gesso as a primer and then followed up with one coat of Americana acrylic paint in Warm White.
Next, I painted a light coat of Americana acrylic paint in Soft Sage inside the clock and on the lower portion of the outside of the clock. It’s just a hint of background colour and will mostly be hidden once you add the leaves and flowers to the front of the clock.
Creating your Secret Garden
I created a printable file with all of the elements I thought I might like to use on the clock, including a hidden door for the inside of the clock.
If you’d like to use that printable too, I’ve added it to the Handmade Club August 21 folder as a bonus PDF for club members.
I printed the two page PDF on matte photo paper cardstock and cut out all of the fussy cut elements.
As it turned out, I didn’t actually use all of the items, but there’s enough there for you to play around with and come up with your own combination of elements.
Tip: you may wish to add glitter and embellishments to your fussy-cuts prior to gluing them to your clock.
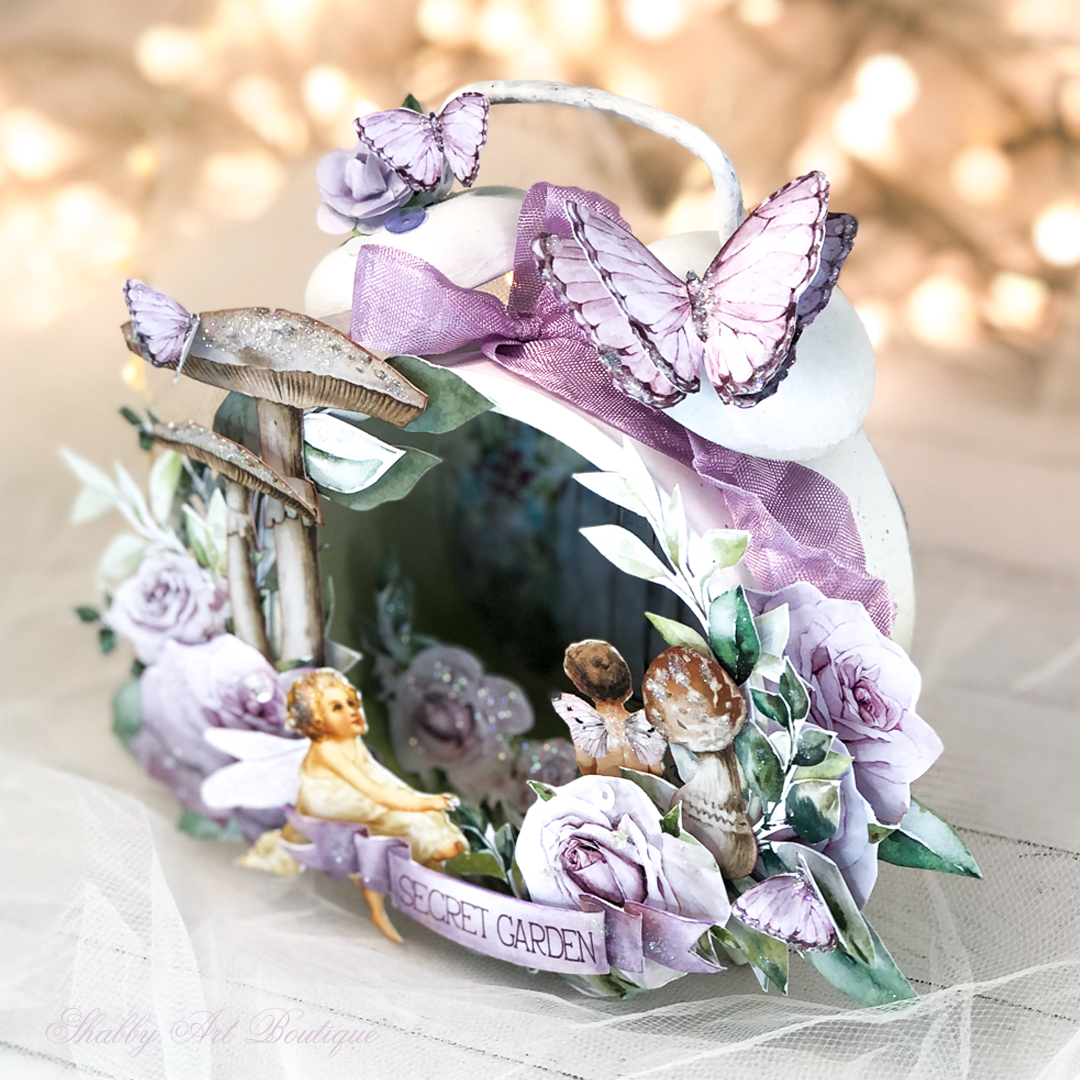
I started by adding clear craft glue to the back of the clock and placed it over the hidden door circle element. When it was dry, I used my scalpel blade to trim away the excess cardstock.
With the back on, I started layering the leaves, flowers and toadstools to the front of the clock using a combination of clear craft glue (for items adhered directly to the metal) and white glue for paper to paper adhesion.
I also used double sided foam tape to add extra dimension to a few of the elements like the fairies, the banner and various flowers.
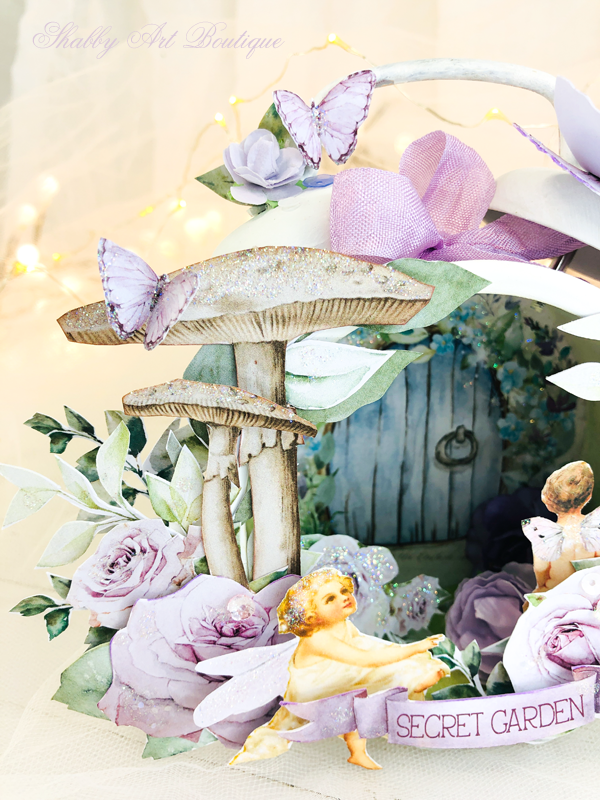
Don’t over think this process… as there’s no right or wrong.
I aimed to put the taller items at the back and the smaller items to the front, so you feel like you are peeking through to the hidden fairy door inside the clock. It comes together quite quickly.
To finish it off, I added a mauve seam binding bow to the top of the clock and some butterflies to the bells.
It definitely feels quite magical.
How to buy the Enchanted Kit
If you are not currently a Handmade Club member and would like to know more about the August ‘Enchanted’ kit, please visit my Handmade Club page to see what’s included in this months kit.

Hugs
♥
Kerryanne
Let’s be friends on….
Get instant access to the free printables in my Newsletter Printables
Library by joining my email newsletter subscriber’s list.
I send out a weekly newsletters with updates on all things
‘shabbilicious’ at Shabby Art Boutique.
I invite you to join our fabulous and friendly
Facebook group – Simply Shabbilicious
where you’ll enjoy our friendly banter and inspirational creativity


Leave a Reply