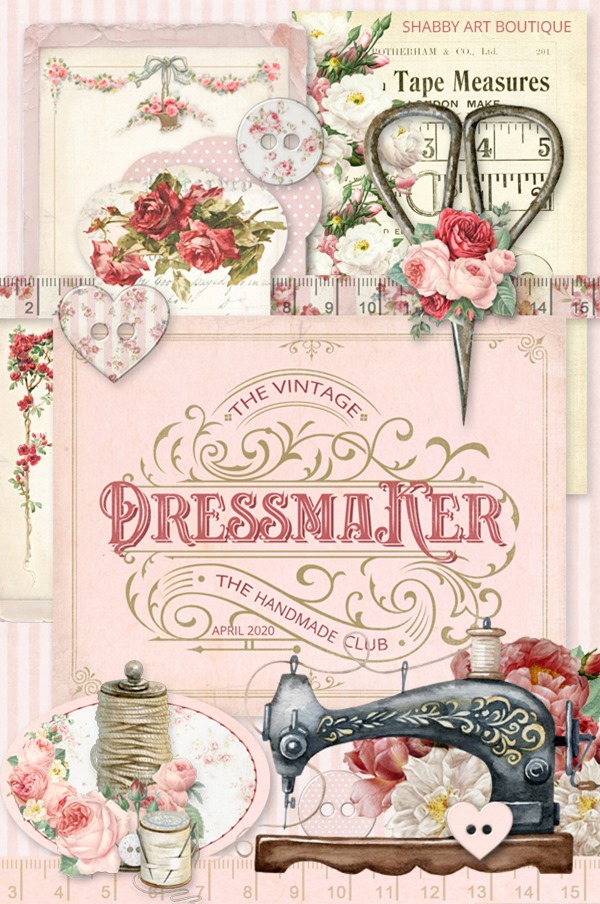
Yesterday I shared with you the newly released April kit for the Handmade Club.
April’s kit, The Vintage Dressmaker, is a collection filled with useful craft storage items, so you can make use of what you already have, while organising your craft supplies.
I wanted to show that even when times are tough, there’s always something creative that you can make, just using what you already have.
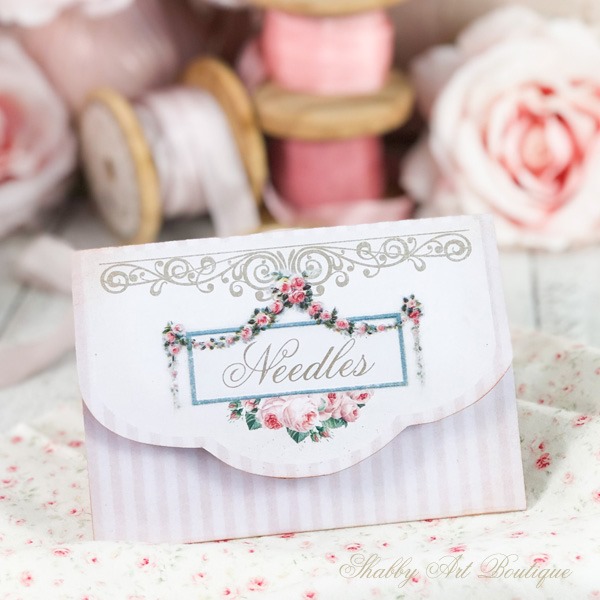
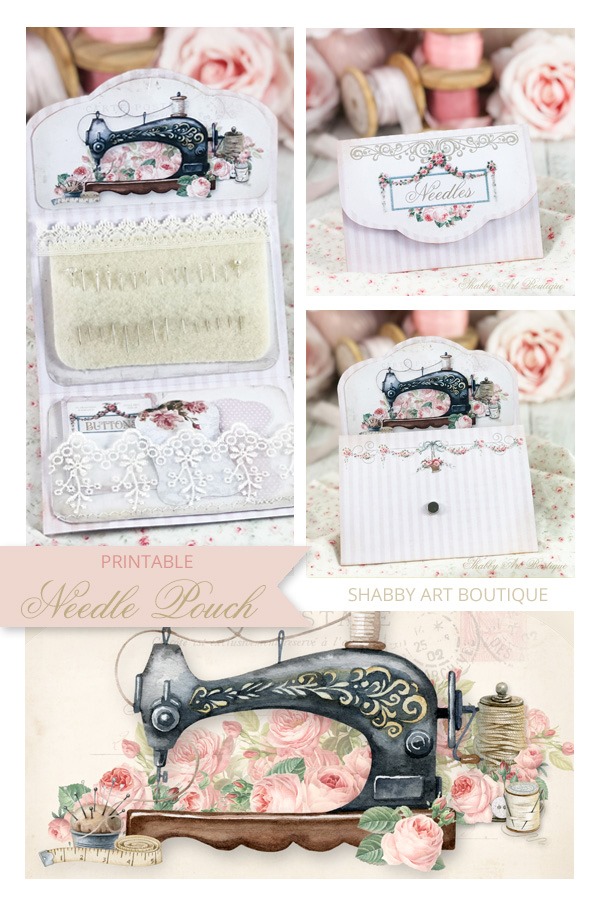
This project was featured in this month’s kit and only requires 2 pieces of photo paper to construct it…. and I think you’ll agree, this little vintage style needle pouch is the sweetest!!
Wouldn’t this make a cute gift for a sewing friend… or maybe just for YOU!
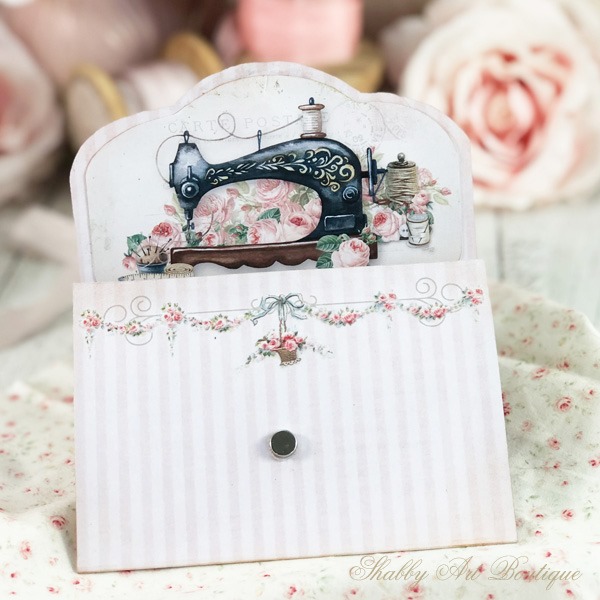
I added in a couple of magnets as closures, but that is because I had them.
You could simply wrap beautiful seam binding around the pouch or use a couple of Velcro dots.
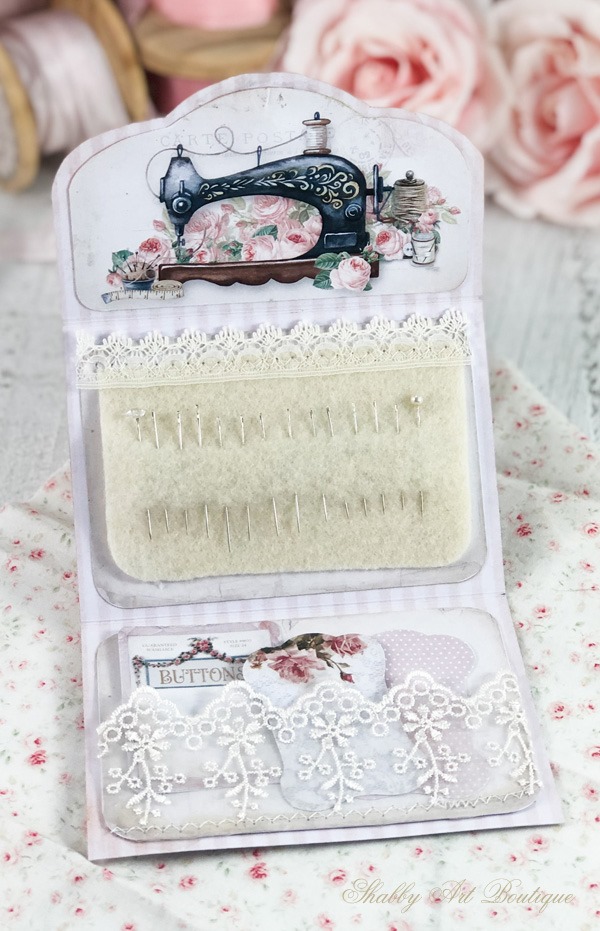
When you open it there’s a place to store sewing needles and a pretty lace pocket to add in cotton or buttons etc.
Of course, it doesn’t have to be a sewing needle pouch…. the middle section could contain a mini printable calendar, post it notes or maybe journal cards.
How I made this Vintage Needle Pouch
- Size: 5” x 10”
- Paper requirements: I used 2 sheets of 250 gram matte photo paper
- Printable sewing needle pouch is in the April Handmade Club kit.
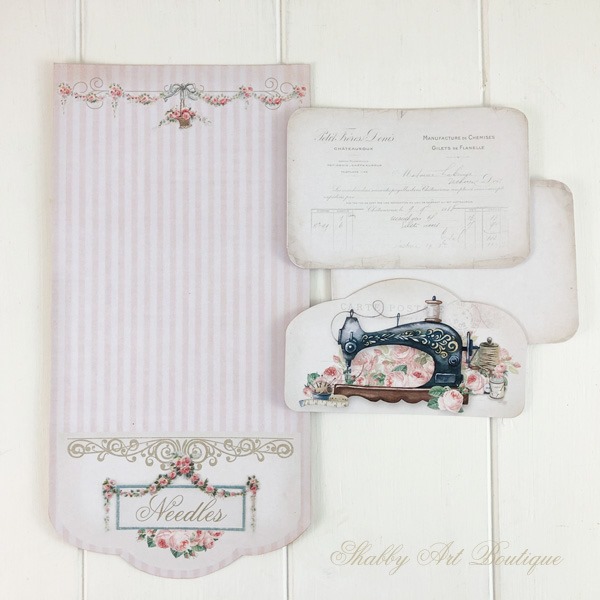
1. Print the Sewing Needle pouch printable (two pages) using 250 gram matter photo paper, with your printer on set to it’s highest/best print settings. Print the main design on page one and then flip it over and print the second striped page on the back.
2. Cut out the wallet base and the 3 internal pieces. If you like a vintage look, you can use ink and a sponge to distress the edges. I only used a very light touch, but that’s because I prefer a shabby look.
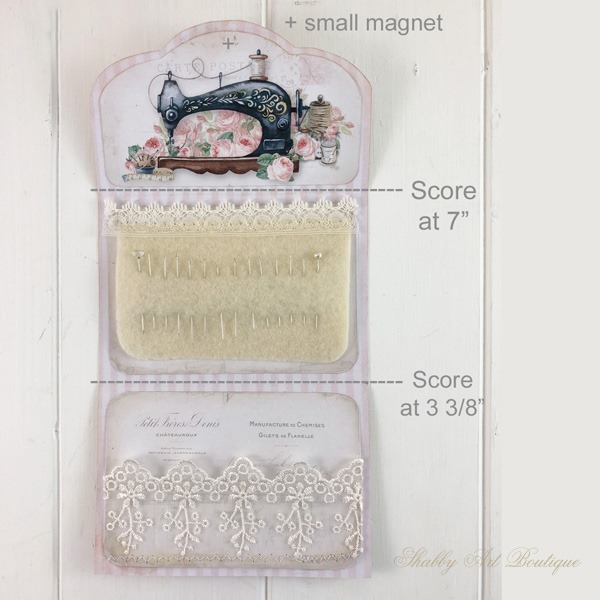
3. Score the main panel at 3 3/8” from the bottom of the wallet and again at 7” from the bottom (the graphic is at the top). Use your paper bone folder to create a sharp crease on scored lines.
4. On the inside of the wallet, adhere the top panel in place and if using a magnet, be sure to pop it under the insert before gluing down. I’ve added a cross in the next photo that shows where I inserted mine.
5. I cut a small piece of wool felt to fit the second panel, so I could use it to store sewing needles. I used a zig-zag stitch on my sewing machine to attach the felt to the panel, but you could also glue it in place. Add glue and position the second panel in place.
6. For the final panel, I glued and sewed a small piece of lace across the base of it to form a pretty pocket. I wrapped the lace edges around to the back and glued in place, before adhering the third panel to the base.
7. My final step was to add the second magnet on the front of the wallet to meet up with the first magnet. I left my magnet exposed, but you could add a printed flower or even one of the printable buttons from this kit.
To see what else is in the April kit for the Handmade Club, visit this post HERE.
To find out more about the Handmade Club and what member’s are saying about it, pop over to the Handmade Club page.
[PIN this project for later]
We might be social distancing right now, but luckily we can still connect with others online.
I know I’ve taken great pleasure from the positive crafting community we have in my Facebook group, Simply Shabbilicious. If you’ve not joined yet, please do and I promise we’ll lift your spirits with our inspiring shares and crafty chatter.
Happy crafting my friends!
Hugs
♥
Kerryanne
I’d love for you to connect with me at:
Get instant access to the free printables in our Member’s Only
Get instant access to the free printables in our Member’s Only
library by joining my email newsletter subscriber’s list.
I send out two newsletters a month with updates on all things
‘shabbilicious’ at Shabby Art Boutique.



Súper cute! Love it ?
I love needle books of any kind and I make them and collect them….this one is just beautiful…I just love it??? I will be making some of these for gifts??? Thank you Kerryanne, for this tutorial and this lovely/gorgeous April kit??? Stay well and enjoy creating??? Smiles, Deborah ???
Another one of your adorable creations, Kerryanne! I LOVE that shade of lavender. So creative to make a needle holder!
I’ve been wanting to make a little pouch for my needles, but since my sewing skills are great, I’ve been dragging my feet. I love this alternative paper idea, especially that it has a little pocket in it!
Love it , Thank You….
This is so darling! Love this month’s kit. Although I don’t belong to the club, I think I could make this little needle pouch using other papers or some of your other “free” digitals that I’ve scored over the years! I always love your designs and ideas! Marilyn
This is adorable! I know people will enjoy making it! My poor needles living in a magnetic plastic ugly container–but they are handy.!
Just gorgeous, Kerryanne… always look forward to seeing your new paper crafts and projects!