With us all gearing up for Christmas, I thought I’d slip in a little bit of shabbilicious gorgeousness today before we turn all red and green for the festive season.
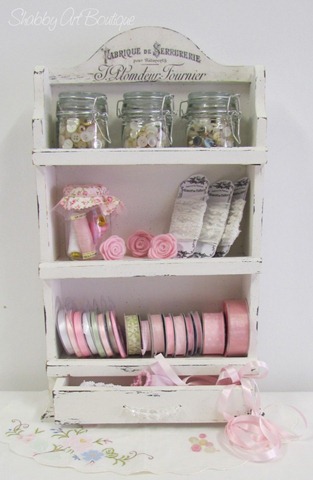
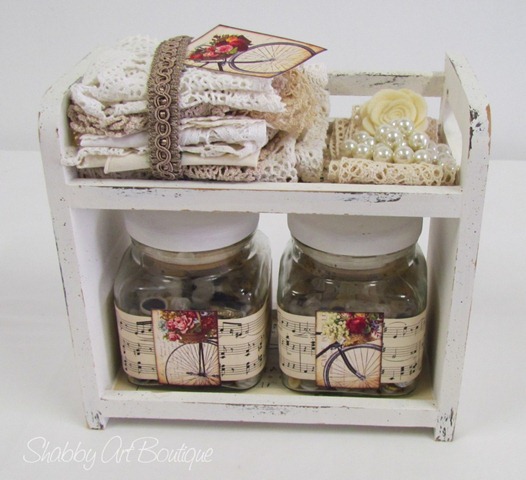
I picked up several plain pine pieces whilst out thrifting last week, that I thought would make some great sewing room storage.
We all love to be inspired by pretty decor while creating and I think this piece combines functionality with aesthetics – don’t you?
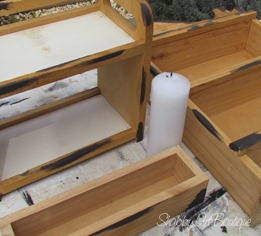
I started with a good sanding for both pieces, before using a charcoal undercoat with resist wax for the next layer. This was followed by several coats of an antique white acrylic, then some flyspecking in charcoal and a final distress with sandpaper.
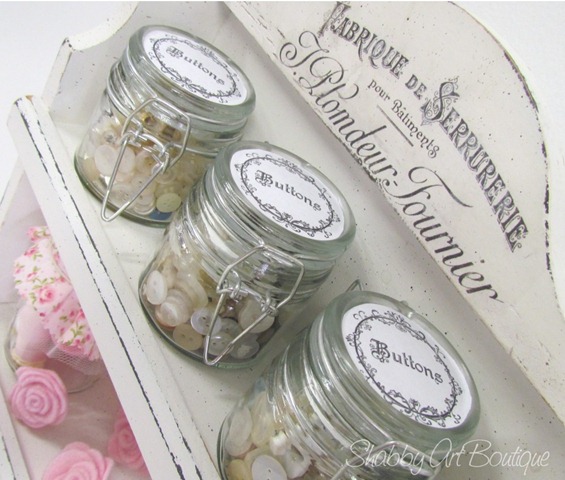
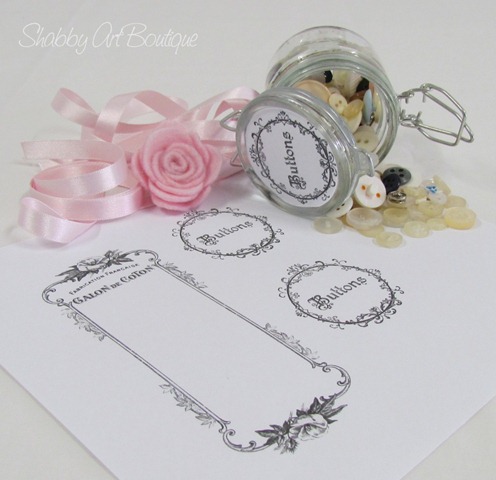
To give the storage unit a touch of French shabby appeal I turned to an old favourite – The Graphics Fairy.
I used this graphic as a reverse transfer for the top of the unit.
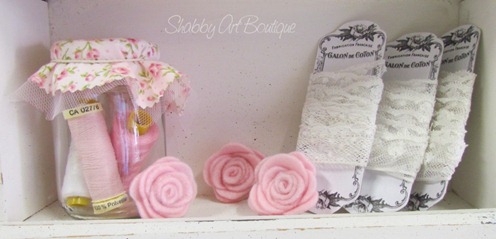
I played around with a couple of Karen’s other graphics to make button labels for the tops of the glass jars and to make some cardboard holders for some antique lace.
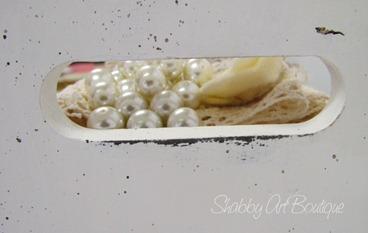
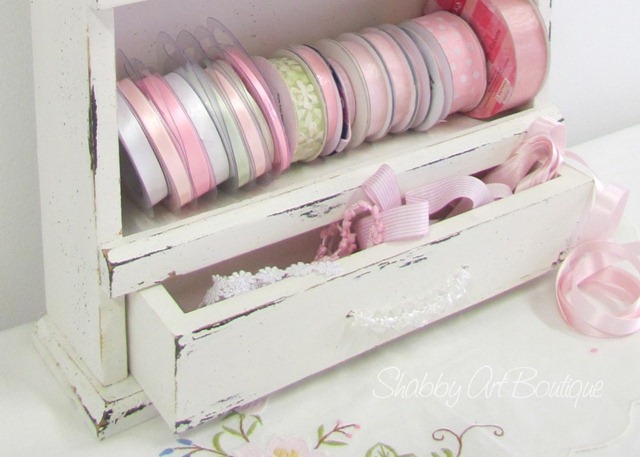
A string of pretty faceted beads make a dainty handle for the little drawer. . .
and there you have it. . . shabbilicious storage units.
Both of these will be available at the Foreshore Artist market.
I’m joining in with Brag Monday at the Graphics Fairy and partying with all these lovely ladies all week.
See you all tomorrow for Simply Christmas!!
Hugs ~ Kerry



Hi Kerryanne….
Totally GORGEOUS as usual..
LOVE ALL OF IT…
ps..sorry again re lack of commenting..still busy looking after dad etc..
xx andrea
Beautiful ! I want to stay here all night and simply listen to the music !
åh så mycket fint. Jag blir alldeles tokig av din VACKRA BILDER.
Ha en fin vecka!
Kram
Hanna
They’re fantastic, what a brilliant job you made of them!
Wow, wow, wow – these are fabulous Kerryanne. Beautiful but so practical too.
Getting excited for tomorrow – think I need to re-decorate my blog for the event LOL
Toni xx
Gorgeous work Kerryanne!!
Hi kerryanne how do you make the cardboard holders for lace? i’m pretty new to all this stuff. I have tons of silk ribbon i’d like to do that with. great ideas. Thanks Pandy
Featuring you tomorrow!
You did such a beautiful job, so creative and pretty, love it!
I LOVE this! I would love if you would share this at the Crazy Cute link party happening at Between U & Me right now! I’ve got a totally awesome giveaway this week, too!
OOH! AND, I’m your newest follower! 😉
http://www.betweenuandme.com
A great make over! I love all th pink and white ribbons too, so pretty. Laura Cottage and Broome
Darling, organized, and white!
L
O
V
E
I
T
!
!
!
I absolutely love your shabby sewing caddy…it is fabulous. Everything looks so beautiful in it as well. I have joined your followers list and invite you to join my followers list; as well,I hope you will grab a blog button. Hugs, Gayle
http://atastefultouch.blogspot.com
Oh goodness what delicious shabby shelfness! Adore them! Thanks for sharing how you did them too.
I absolutly love your sewing caddy! How did you do the transfer at the top?
This is soooo Lovely!!!!
Lovely! So cute! 🙂
Hi, visiting from TTT. Your little craft storage shelf is absolutely adorable! You did a great job transforming plain wood pieces into works of art!
Hey Kerry, this is all so cute!! Like it a lot!
Congrats on your FEATURE spot today at GraphicsFairy, where she high lighted your lovely sewing caddy!
This is just lovely! Very nice job… 😀 < --this is a HUGE smile. ….visiting from GraphicsFairy BRAG MONDAY today,
Suzanne in NW IL from WhyCuzICan
Gorgeous…simply gorgeous! You’ve given me inspiration to create something very similar with a little shelf piece I’ve not known what on earth to do with…thanks so much for sharing this lovely idea!
Amazing! 😀
Awesome!
Very shabbilicious. Love the ribbon holder idea. I didn’t know until you showed us how to get the shabby chippy paint look. By the way I am a vocabulary police officer and I need to fine you for mixing up the word ascetic for aesthetic, your sewing caddy is both functional and aesthetically pleasing. Sorry to have to do this but it is my job. Happy crafting.
Absolutely beautiful. thanks
Magic.thanks so much
Found your blog via Grafics Fairy. Beautiful! I think I’ll try something similar. You’ve inspired me! Thanks.
mollydianeh.blogspot.com
Love love love it!
Both wonderful!! Thank you for sharing..
found them on pinterest.
blessings
barbara jean
Hello, new follower here! I would love to have you link up with my Clever Chicks Blog Hop this week!
http://www.the-chicken-chick.com/2012/09/clever-chicks-blog-hop-2-featured-post.html
I hope to see you there!
Cheers!
Kathy
The Chicken Chick
Beautiful work. What is “resist wax” though?
Hi Tanya,
One of the distressing techniques I use with painted surfaces is resist wax, which is basically rubbing a candle over areas that you want to resist paint. When your top coat of paint is dry, it is easy to remove the areas that have wax on them to reveal the colour underneath. 🙂
Thank you so much!!