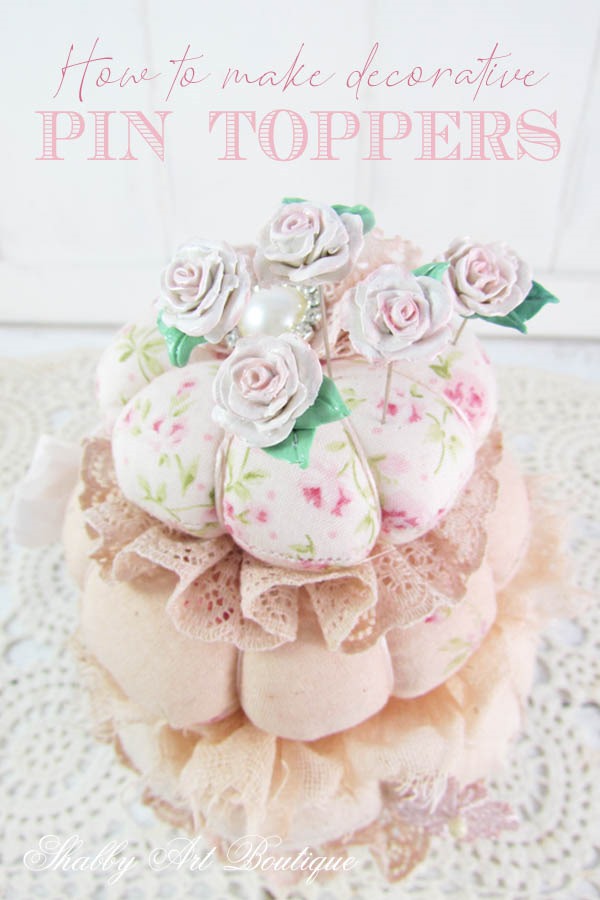
Whenever I share my pincushions, I get the inevitable questions about the decorative pin toppers I have on them.
Mostly I get people asking did I make them and where can they get them?
So today, I’m going to share how I make mine and also, where you can purchase them if you don’t wish to make them yourself.
While these pretty pin toppers aren’t difficult to make, they are a labour of love and I guess that’s why you don’t see a lot of them for sale.
Personally, I actually find the process of making the decorative pin toppers to be incredibly relaxing and I’d rate it a close second to my favourite relaxing craft…. making fabric peonies.
There are oodles of free YouTube videos on making miniatures with polymer clays and trust me, you can get sucked up into that vortex of watching these intriguing tutorials for hours. I’ll suggest my favourite ones to watch further on in this post.
How to Make Polymer Pin Toppers
I can assure you that my polymer clay decorative pin toppers are not perfect. I haven’t used any fancy tools or moulds…. these are simply little pieces of whimsy that are handmade and then baked in the oven.
Materials
– Polymer clay in colours that suit the project you want to make (see note). Polymer clay is baked in the oven to harden.
– any tools you can find in your stash that might be helpful eg, craft knife, a stylus, a paintbrush handle.
– a foil lined baking tray for baking the clay
– large quilting pins and wire cutters
– clear glue
– varnish (optional).
Optional – I used my pastels to shade the roses.
Note: I mainly have primary colours in my polymer clay kit and mix all my own colours, but you can buy polymer clay like FIMO and Sculpey clay in many premade colours.
Instructions
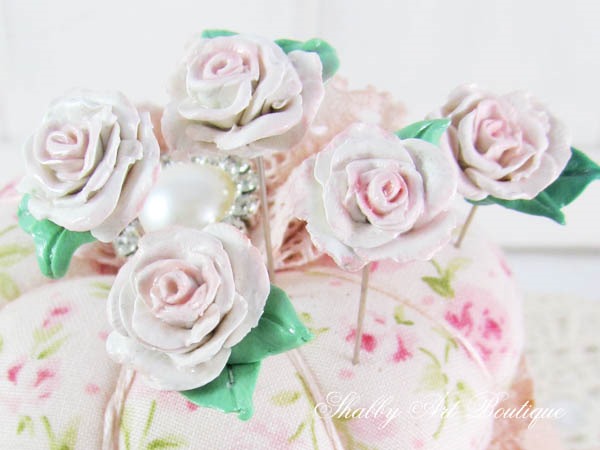
My roses are quite small, approximately 10 mm (1 cm) wide, but the close-up photos make then look much bigger.
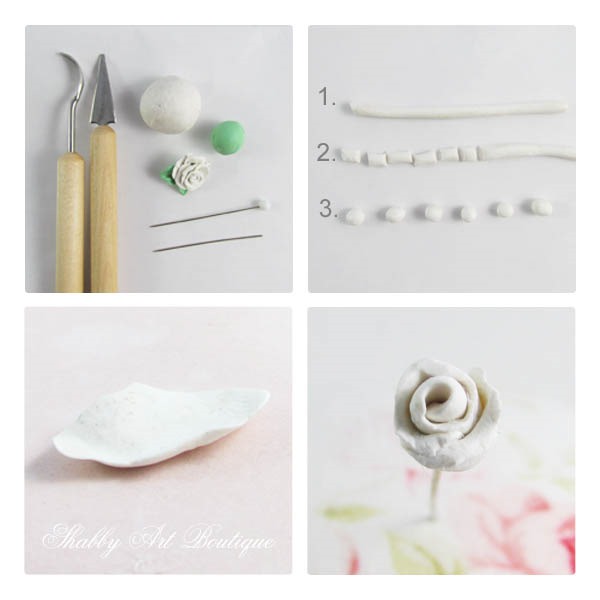
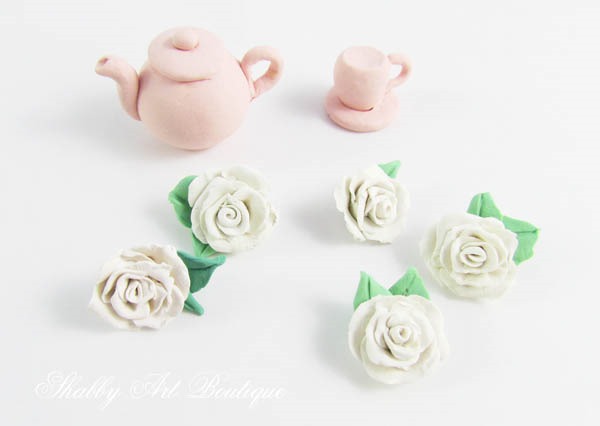
1. To make the little rose pins, I used white FIMO clay. Start by kneading small amounts of the clay in your hands to soften.
2. I used a tray covered in Reynold’s Freezer paper to work on, but you can use something like silicone baking paper as well. When the clay is soft, roll into a long thin cylinder. Use a craft knife to cut into individual segments. Mine were about 3 mm long. Next, roll each segment into little round balls. You’ll need about 8 – 10 for each rose.
3. Flatten the first ball in the palm of your hand (shown above). The clay will now be quite thin, so handle carefully. Don’t worry if you make a mistake, simply re-roll your ball of clay. Roll that first petal into a tight centrepiece, then wrap the next petal around it. The clay is soft and can be squished (very technical term) together to adhere each petal to the next.
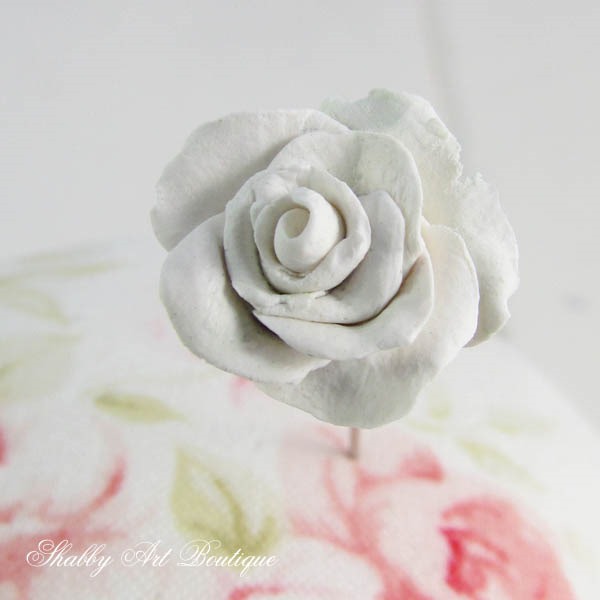
4. Continue making petals and wrapping them around the base, remembering to pull the petals outwards as the rose grows – see image below.
5. Leaves are optional. I made mine from balls of green clay the same size as the balls I used for the petals. Instead of flattening out like a petal, I squeezed them more into a pointed leaf shape. As you can see, this technique is very hands-on and not an exact science!!
6. The mound of clay below the rose head tends to get quite bulky, so when I’ve finished making my rose, I use my craft knife to cut the excess off. At this point, I cut the ball head off of a quilting pin and insert it in the base of the rose underneath, where it will be once the rose is baked. With your pinhole made, remove the pin and place your rose on a baking pan covered with foil.
7. Baking the clay – all clays vary, so be sure to check the instructions on your packet. I baked my roses for 15 minutes at 150 °C (212 °F).
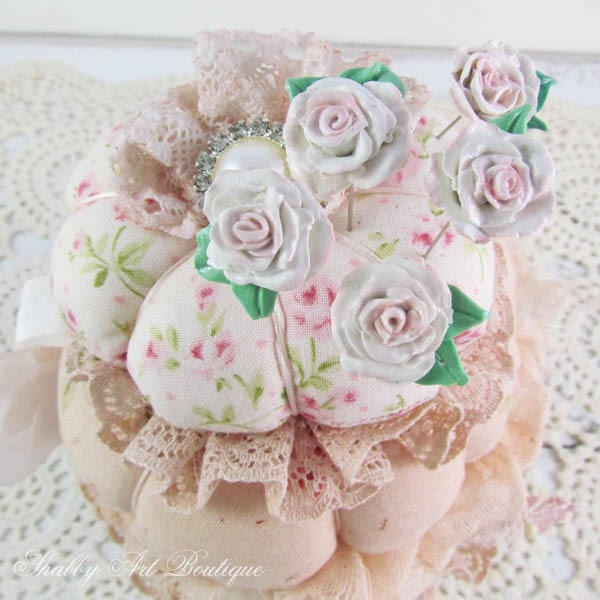
8. Once my roses had cooled, I inserted the pin back in the base with a little clear glue. Then I blushed the centres of the roses and the very outer edges with a little ‘smidge’ of colour in flesh and pink, using my pastels and a small dry brush. You can actually paint polymer clay with acrylics, so that is another option. Finally, I added some glossy varnish to protect them.
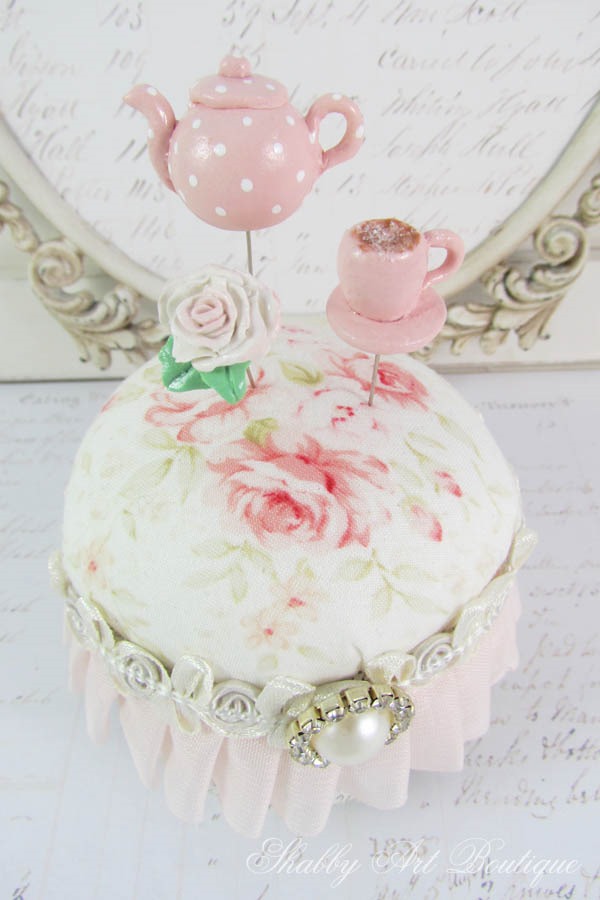
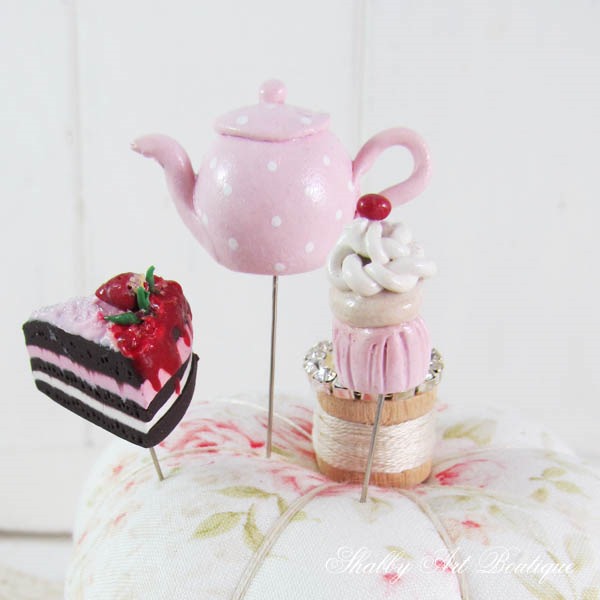
I also made a little blush coloured teapot and teacup in this batch – see photos above. There are some great tutorials online for teapots and teacups, but I actually just used balls of clay rolled in my hand to form mine… I kind of like just winging it and if works, great, if not re-roll the clay and start again!
In previous sessions, I’ve made all kinds of cakes, flowers and bees and all sorts of little things that are perfect for on top of a pinhead.
If you’d like to check out a few tutorials, visit Sweet Mini Doll House on YouTube. She has lots of lovely clay miniature tutorials that will inspire you.
I know from the enquiries I’ve received, that there are quite a few people that would like to purchase decorative pin toppers, so here’s my aff. link to some amazing ones I found on Etsy, made by Pinks and Needles.
Given how long it takes to make these little treasures, I think her prices are very reasonable.
My pin toppers were definitely a labour of love…. but they are so much fun to make!!
Happy crafting my friends!!
Hugs
♥
Kerryanne
I’d love for you to connect with me at:
Follow on Bloglovin
or if you’d like my posts delivered directly to your Inbox
Subscribe to Shabby Art Boutique by Email
If you’d like a private pass to all things ‘shabbilicious, sign up today for my fortnightly newsletter.
It contains personal stories, sneak peeks, recommendations, discounts and freebies.



Great tutorial! I love the pin toppers….just another thing I would like to make…adding it to my VERY long list! ??❤️
There’s nothing you create that isn’t just beautiful! These little roses are precious & I’m hopeful I may actually be able to make some following your great instructions! Thanks for another unique & beautiful idea!
Aww… thank you Sue. I’m glad you like this project and truly, it’s not hard. Please do give it a try 🙂
Beautiful little gems! Did you make a hole for the pin to be inserted? What do you need the wire cutters for? Thank you for sharing. I’ve been wanting to try this for years! You e made it look possible. 🙂
Hi Cindi Jo, I think you might have missed instruction #6, it explains cutting the pin head off with the cutters and also how to make the hole in the base 🙂
I hope you enjoy making the pin toppers.
Why yes, I did! I’m looking forward to finally trying this. Thank you, again!
How fun AND beautiful??? You make everything look great Kerryanne??? I love these beautiful pin toppers…thank you so much for another great tutorial? Smiles, Deborah ???