I believe there is something very special about making and receiving handmade cards.
Being able to craft an unique, one-of-a-kind greeting card is almost a gift in itself… and when it’s made with love, it is more meaningful to the recipient too.
Given the choice, I’d always prefer to give something that I’ve made.
But I know that unless I have something ready made, I’m probably not going to have time at the last minute to whip something up, so over the past few weeks I’ve been working on restocking my stash of handmade cards.
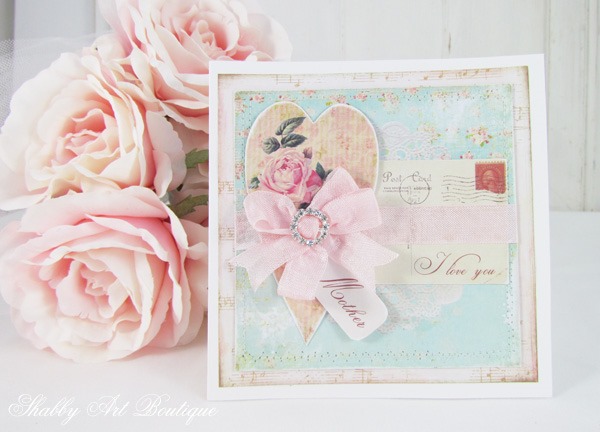
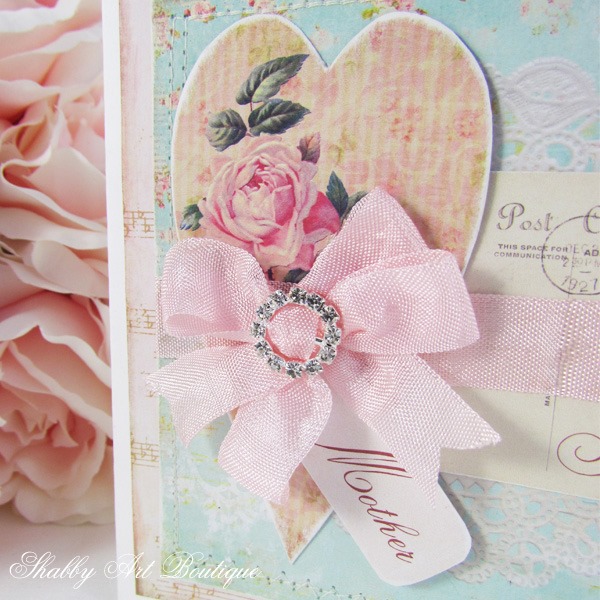
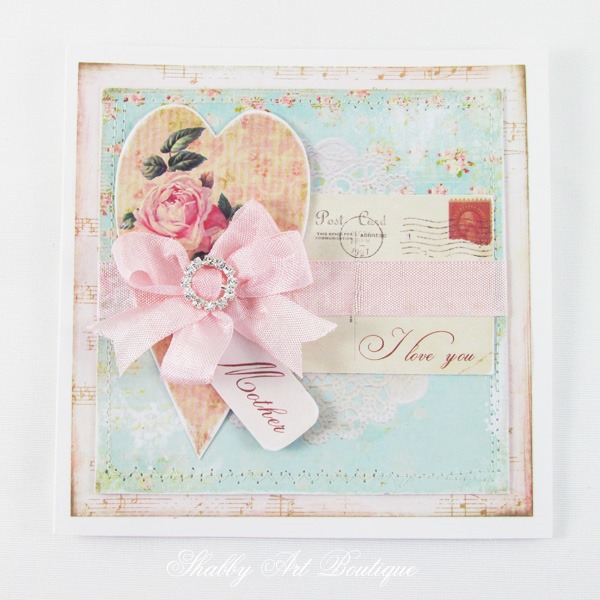
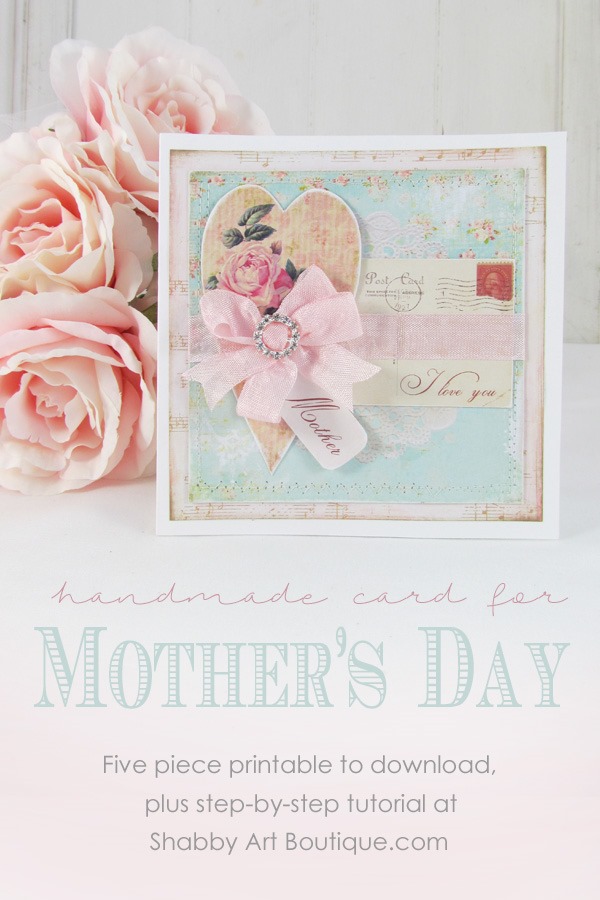
I designed this sweet shabby chic layered card that could be used for any occasion. I included a ‘Mother’ tag with the printable, so it is perfect for Mother’s Day or a mother’s birthday.
I’m providing a free one page printable that contains the 5 graphics I used to make this layered card. Click here to download the shabby chic card.
Instructions for making the card
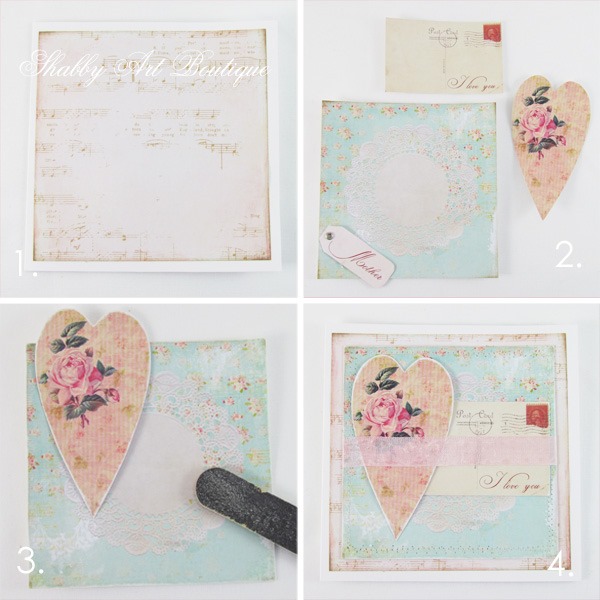
1. Print graphics page on a piece of A4 matt photo paper. Cut out the largest background (pale pink) using a metal ruler and sharp craft knife. Adhere it to the centre of a 13.5 cm x 13.5 cm square card using Mod Podge or white glue.
2. Adhere the remaining 4 graphics to light cardboard using Mod Podge or white glue. Ensure that all air bubbles have been removed. Leave to dry thoroughly.
3. When dry, cut out each piece with sharp pointy scissors or with a craft knife. Lightly distress the edges with a nail file for a shabby look.
4. I used my sewing machine to stitch a border around the aqua square. I mounted the postcard and heart graphics to the centre of the aqua square (see above picture). When this layout was dry, I adhered a piece of pink seam binding across the layout and tucked the ends of the ribbon to the back of the aqua panel and secured in place with glue. I then glued the aqua panel to the pale pink square that is already on the card.
5. I threaded another piece of the pink seam binding through a rhinestone buckle and tied a double bow. I cut neat tails on the remaining ribbon and secured the bow in place with a dot of glue. The mother tag was tucked up under the bow and also glued in place.
Tip: The ‘Mother’ tag could be replaced with a more personalised tag with a name or greeting on it.
[PIN for later]
I hope you enjoy this printable.
Do you make your own cards too? If you do, I’d love for you to share what kind of cards you make in the comments.
Happy crafting
♥
Kerryanne
I’d love for you to connect with me at:
Follow on Bloglovin
or if you’d like my posts delivered directly to your Inbox
Subscribe to Shabby Art Boutique by Email
If you’d like a private pass to all things ‘shabbilicious, sign up today for my fortnightly newsletter. It contains personal stories, sneak peeks, recommendations, discounts and freebies.



Such a lovely card Kerryanne. I love the soft colours and the beautiful ‘shabbiness’ of the design.
For crafters here in the UK it is always strange seeing lots of ‘Mother’ projects as we head towards May as we celebrate “Mothering Sunday” in March. (it tends to be a traditional time for folk to head to the garden centres and buy loads of plants to make the gardens look pretty for Mum).
Toni xx
What a beautiful card. You are so creative and I really enjoy your lovely pictures. I wish You a fantastic day
Lone
Gorgeous, thank you Kerryanne. Do you have a graphic that says congratulations? Something like the postcard maybe?
Hi Marian, unfortunately not, but you could make a blank tag and hand write congratulations in a script font.