Hello Shabby Art Boutique readers.
I am excited to be guest posting today while Kerryanne is busy, busy, busy, with her move and exciting new adventure! My name is Laura and I am the author of the design and lifestyle blog Elegant Nest. I enjoy sharing creative and inspiring ideas on my blog. . . from design and décor tips, to DIY projects.
Today I would like to share my DIY Memory keeper project. This quick and easy craft makes a great place to keep and display your favorite photos and keepsakes. Follow my step by step tutorial below to create your own!
While browsing Pinterest Sunday morning, I came across this simple wire memory keeper and decided to put down my coffee and make one for myself!
Just 3 supplies needed…
Some black wire – I used 20 gauge – a tape measure, and needle nose pliers/clippers.
Measure 4 lengths of wire – 36 inches each…
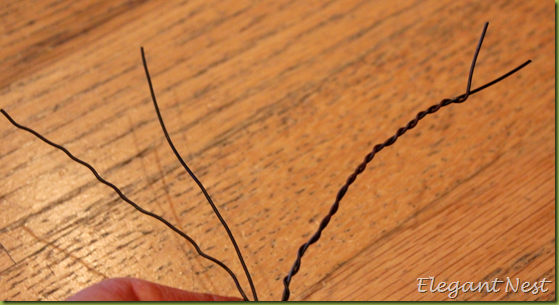
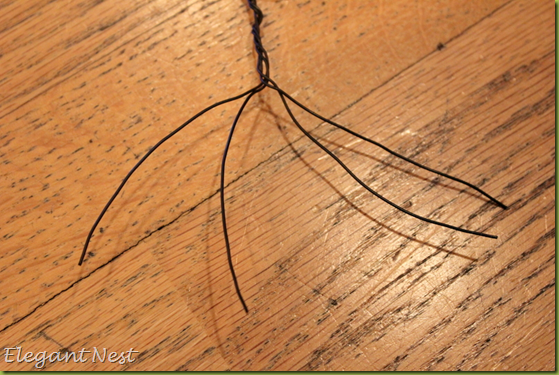
Divide the pieces, and start twisting 2 at a time around each other…
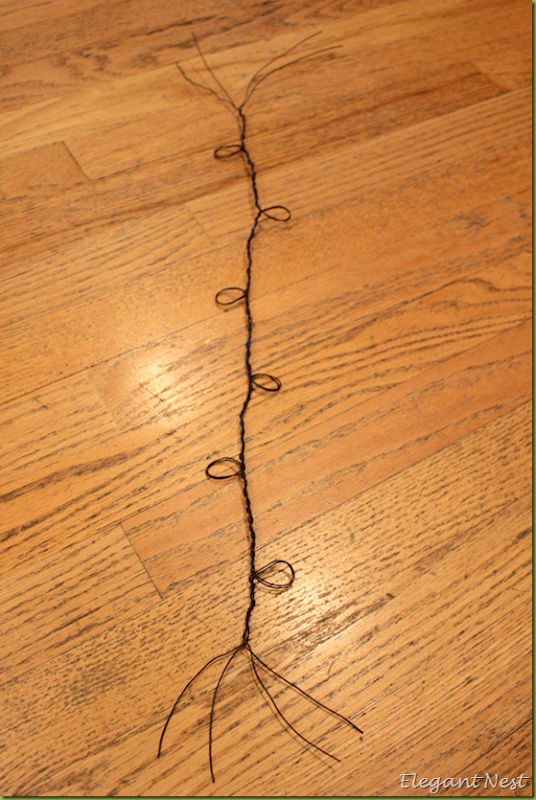
After a couple of inches of twist – make a loop with 2 of the wires…
Continue twisting…
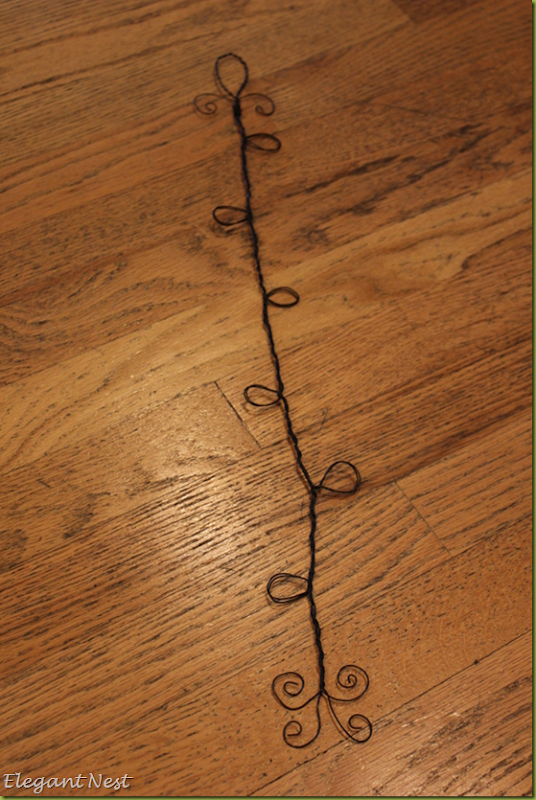
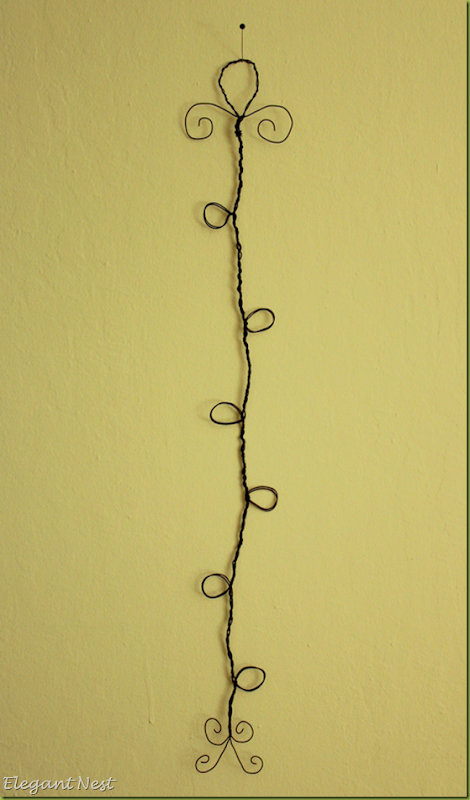
After making your loops every couple of inches on alternating sides of your line, you will end up with this…
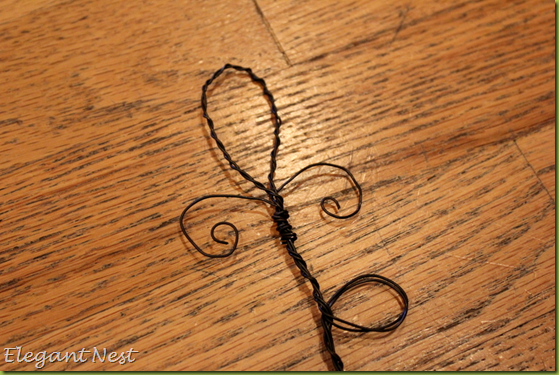
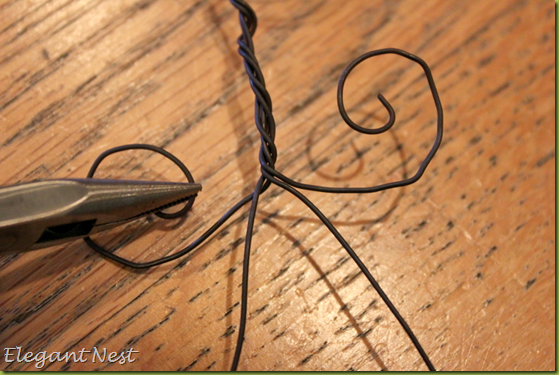
To make your hanger, twist 2 of the wires together…
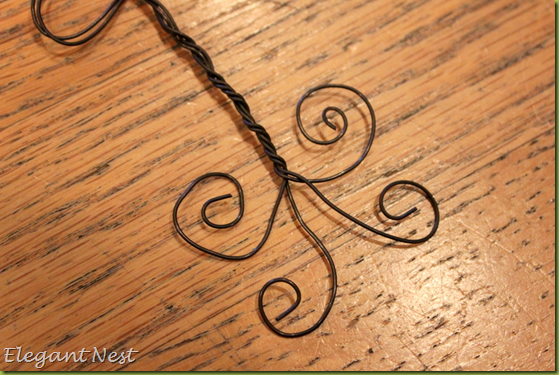
Use your needle nose pliers to loop around and twist onto base. Then form the other two wires into your curly-Q’s…
For the bottom…use your needle nose pliers to make 4 curly-Q’s…
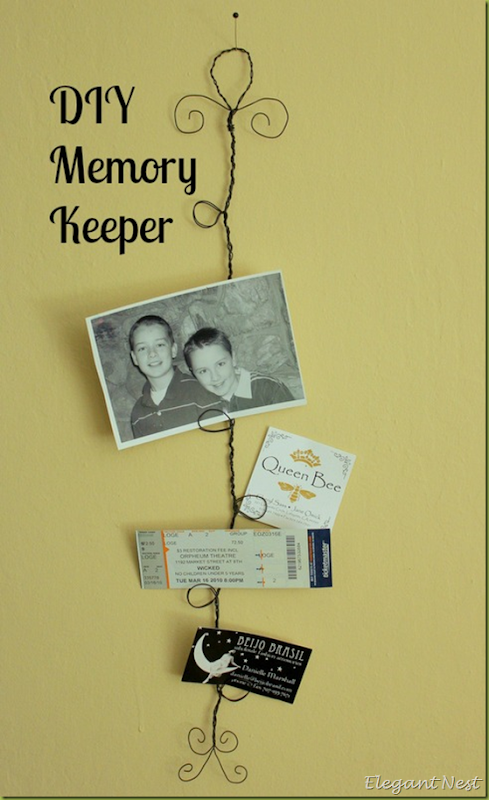
Ready to hang on the wall…
And fill with your favorite photos, ticket stubs, business cards, memories…
So simple and quick…my coffee didn’t even get cold! Gotta love a project like that!
Thank you Kerryanne for inviting me to share my project with your readers. I am looking forward to all the new and exciting news to come from Shabby Art Boutique and Woodberry Designs!
Visit Laura at the Elegant Nest at…





What a neat idea TFS
Toni xx
too darn cute–pinning:)
Isn’t it sweet Lynn. I’m making one, but may spray her white to match my décor.
Love it! Thanks for sharing.
hugs,
Jann
I love it too Jann and can’t wait to make one myself!