As much as I love Easter decorating…
[And who wouldn’t with the promise
of chocolate and lashings of cutie-pie
bunnies and sweet baby chicks]
I’ve never been one to go overboard with decorating for this season.
I keep it simple and restrained, with just a few touches here and there around my usual décor.
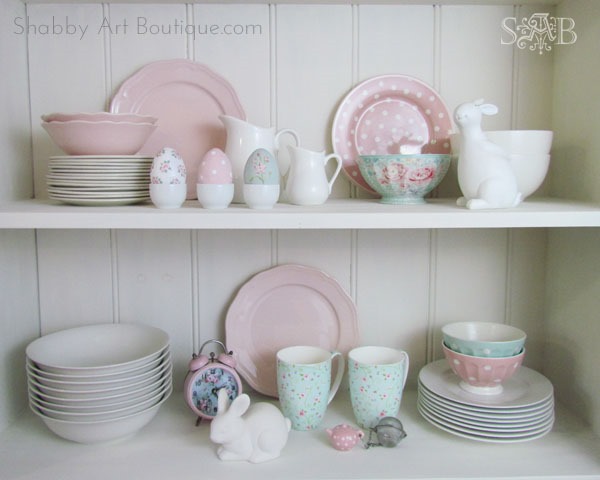
My dresser is decked out in a lovely pastel pink and green colour palette this week.
The vintage baby boot with nest and eggs that I showed you yesterday has moved over to another shelf unit in my breakfast nook…
Making way for GreenGate pretties and white china bunnies.
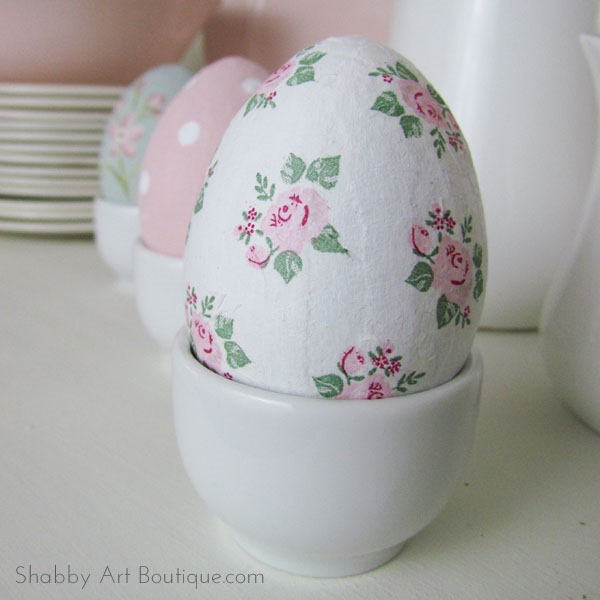
White egg cups are pretty boring on their own…
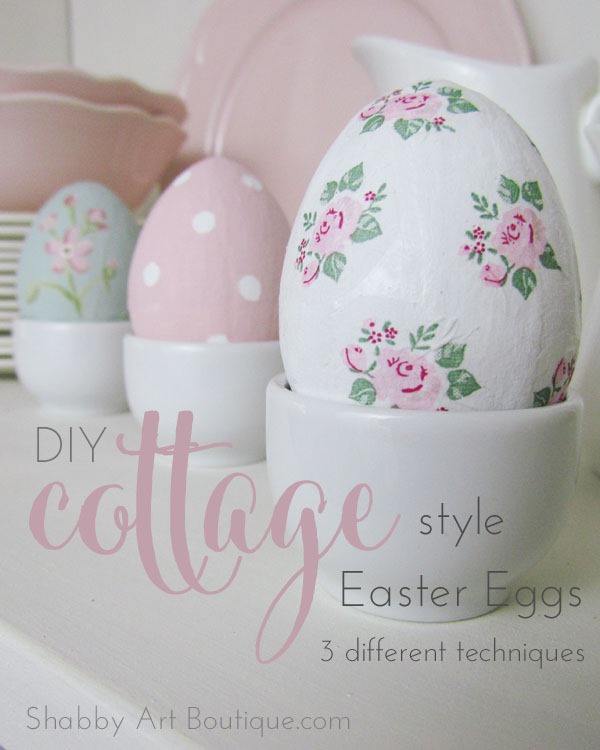
So, I whipped up this quick and easy cottage egg project to add that little hint of Easter and continue the pink and green colour scheme.
Materials:
Paper mache eggs, painting supplies, decoupage paste (or white glue), scissors, floral napkin, vinyl or painters tape.
Paint: DecoArt Americana Acrylics – Titanium White, Pink Chiffon, French Mauve, Mauve, Soft Sage, Light Avocado and Sapphire.
#1 – the decoupage egg
I painted this egg with several smooth even coats of white paint.
The flowers are cut from a paper napkin (mine was from IKEA). Simply cut out the floral motifs and remove the other layers of the napkin, so you are left with just one ply. Paste the motifs onto the egg randomly using decoupage paste (white glue) and a foam brush. Apply the paste to both surfaces and over the entire egg to seal it, when you have finished applying the motifs.
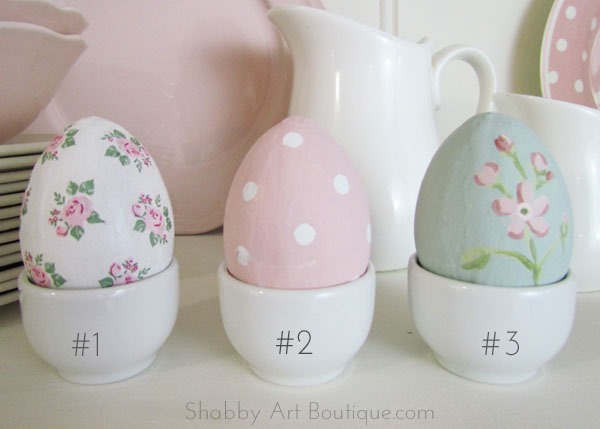
#2 – the polka dot egg
This egg was base coated with Titamium White, before randomly applying vinyl dots cut with a hole punch. You can use vinyl or painter’s tape for the dots, as both are easily removed afterwards. When your dots are in place, paint over the top with one coat of Titanium White to seal any gaps around the dots, then apply 2 coats of Pink Chiffon, allowing drying time between coats of paint. Remove vinyl dots to reveal white polka dots. See this technique shown here.
#3 – the hand painted egg
I base coated this egg with a mix of Soft Sage and Sapphire 2:1. Then I painted a floral design using the GreenGate floral technique shown here.
Such a simple project, that’s big on cottage cuteness. If you make your own cottage Easter eggs, I’d love to see them.
Tomorrow afternoon I’ll be back with another exciting #Best of DIY event with 25 Spring DIY Projects from 25 of your favourite DIY bloggers.
Happy crafting
♥
Kerryanne
I’d love for you to connect with me at:


Follow on Bloglovin
or if you’d like my posts delivered directly to your Inbox
Subscribe to Shabby Art Boutique by Email
If you’d like a private pass to all things ‘shabbilicious, sign up today for my fortnightly newsletter. It contains personal stories, sneak peeks, recommendations, discounts and freebies.


What pretty additions to the décor. Your eggs look lovely Kerryanne.
Toni xx
Thank you Toni. I’m enjoying a pastel Easter this year xxx
just adorable! love the cute eggs!
Your blog is one of the prettiest and sweetest in blog land. Thanks for sharing.
My goodness, even more loveliness to make, this is so much fun just to look at Kerryanne, hope can do them justice. Seems to me might just have at least couple pretty napkins to use for this project. Will need to get some paper mache eggs, so lucky to have found you.
Have to echo sentiment of above commentor, your blog is one of sweetest/prettiest on all of blogland.
I love the idea of making the Easter eggs. I will get started after a trip to A.C.Moore crafts.
Thank You Kerryanne!
Your eggs are adorable…thank you for explaining the different ways you made each one. 🙂
Going through your wonderful Easter ideas. Thinking I might buy some china eggs from the fodder store (the sort used to put in nests to discourage hens from pecking eggs) and decorating them. Might check with bird breeders if there is something similar for smaller eggs. Of course could always make a whopper egg by decorating an emu egg.