Do you ever reach into your ribbon storage box and pull out a clump of tangled and knotted ribbons?
That’s exactly what happened to me last week… and it’s so annoying!
It’s not like I’m not organised; in fact, I’ll admit to being a bit of a neat freak!!
But over time I had been guilty of stuffing new supplies into an already full box.
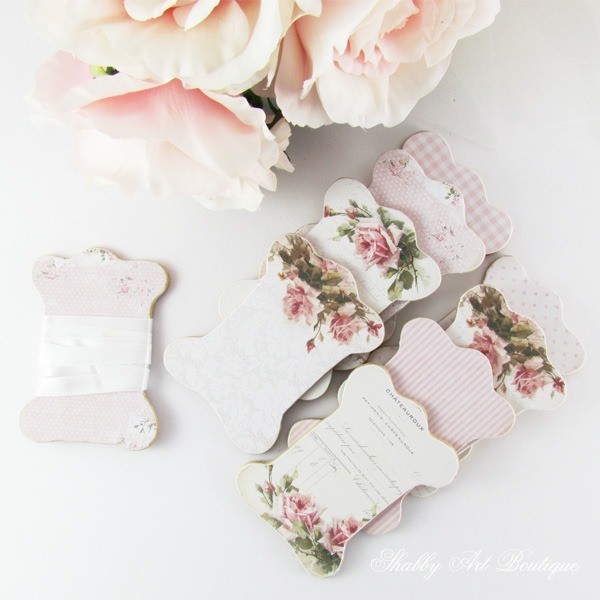
A few years ago I made lots of pretty ribbon and lace storage boards.
They were perfect for storing my haberdashery needs neatly and they also allowed me to see at a glance what I had available to use.
With last weeks tangled mess fiasco still fresh in my mind, I set about restoring some order to my ribbon stash today.
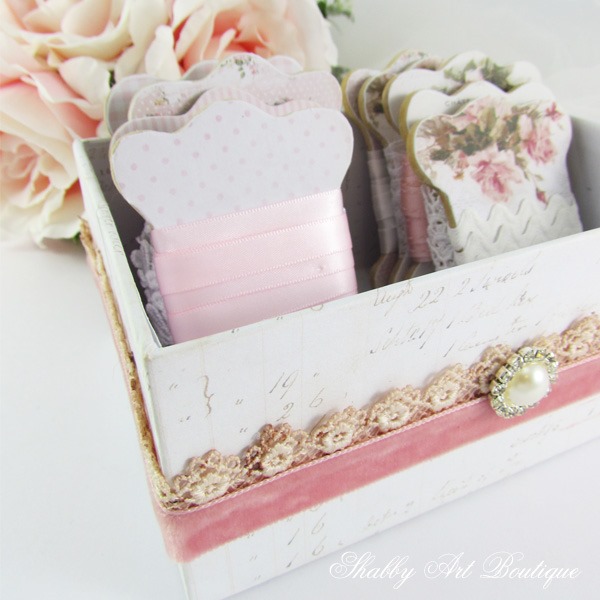
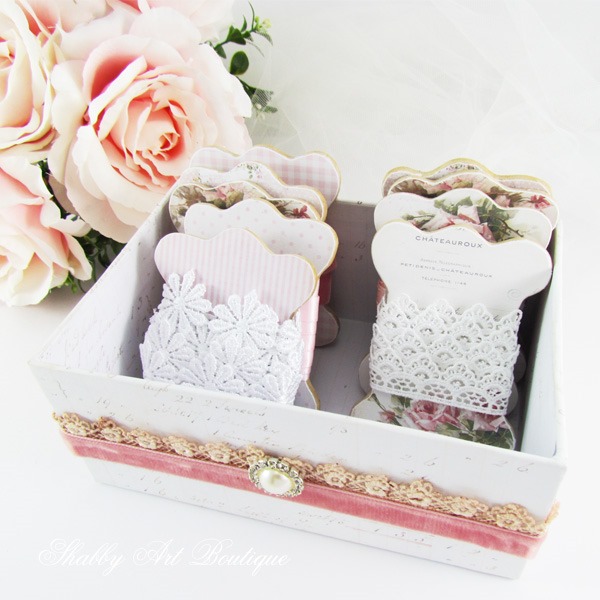
I already have my seam binding supplies on a ribbon rack filled with large spools and as I use pink and white/neutral ribbons in my projects a lot, I decided to make a box of ribbon boards specifically for that collection of ribbons…. thus lessening the volume of ribbons in the big ribbon box.
As I wanted to keep the ribbons out where I could access them easily, I needed a storage box that was not only practical but pretty too.
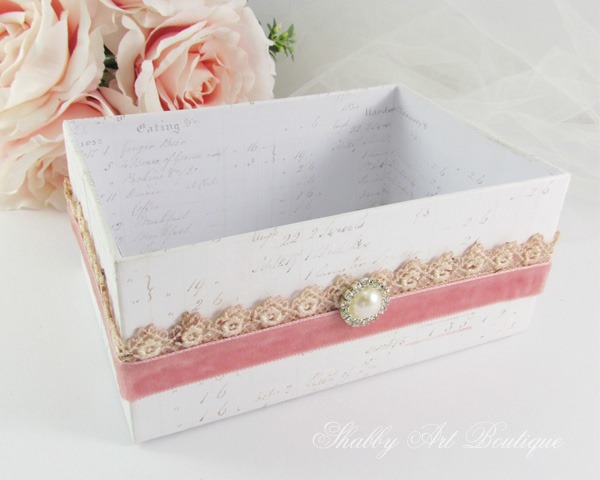
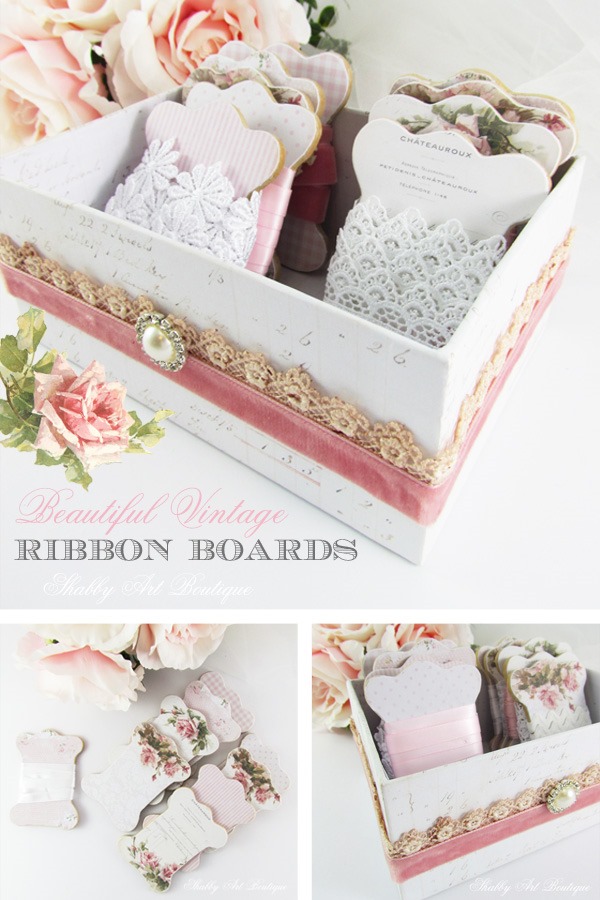
I found a cardboard box that was the perfect size for two rows of boards and covered it with printable vintage receipt paper.
Next came some pretty adornments in the form of lux pink velvet ribbon and a piece of avocado dyed lace. The final finishing touch was one of my favourite rhinestone and pearl buttons.
I did consider antiquing the edges of the box with brown ink but then decided against it. Lately, I’ve been favouring a cleaner almost shabby chic, vintage look.
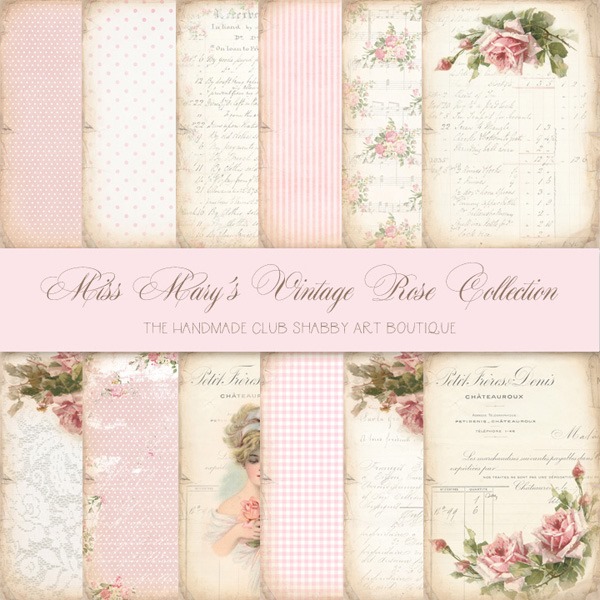
For this project I used the papers from the June kit for the Handmade Club; the combination of pink patterned papers and vintage ledger paper was perfect.
Next, it was onto the ribbon boards. I already had a few pre-cut boards in my stash, so it was as simple as printing off the pretty papers and covering the boards with them.
If you need a ribbon and lace board template and tutorial, I have a DIY project for larger boards HERE.
My ribbon boards are cut from 3mm MDF, but you could also use cardboard or balsa wood; both of which can be cut with a craft knife.
So I got off to a good start with my ribbon sorting today and will continue adding ribbon boards to my new box tomorrow.
How do you store your ribbons…. on spools, ribbon boards or are you more like the big box of tangled ribbons?
I hope I’ve inspired you today for your own craft room storage.
PIN this image for later
Happy crafting my friends!!
Hugs
♥
Kerryanne
I’d love for you to connect with me at:
Get instant access to the free printables in our Member’s Only
library by joining my email newsletter subscriber’s list.
I send out two newsletters a month with updates on all things
‘shabbilicious’ at Shabby Art Boutique.
Follow on Bloglovin or join our Facebook group Simply Shabbilicious.



Hi Kerryanne, I just love this ribbon storage box…and the ribbon boards are adorably beautiful??? I love organization and to have it look beautiful is even better??? Thank you for yet again a wonderful idea and tutorial? You’re the best Kerryanne? Smiles, Deborah ???
Good day Kerryann, I’m so happy to have found you again. I’ve been uploading for 2 days. The Club is the best thing I have ever done. Thank you for sharing your beautiful work of art for those months.
Be Blessed
Cheryl💜