The cottage decorating style is full of charm and character and embraces a more relaxed attitude to decorating.
It does after all break a few of the old style rules…
Can you remember in days gone by when it wasn’t acceptable to mix spots,stripes and florals?
Nowadays, it’s that very combination that gives this decorating style some of its character.
I love mixing in a few polka dot pieces, but am always wary of over doing it.
Do you remember the challenge yesterday to turn a few thrift shop finds into GreenGate inspired pieces?
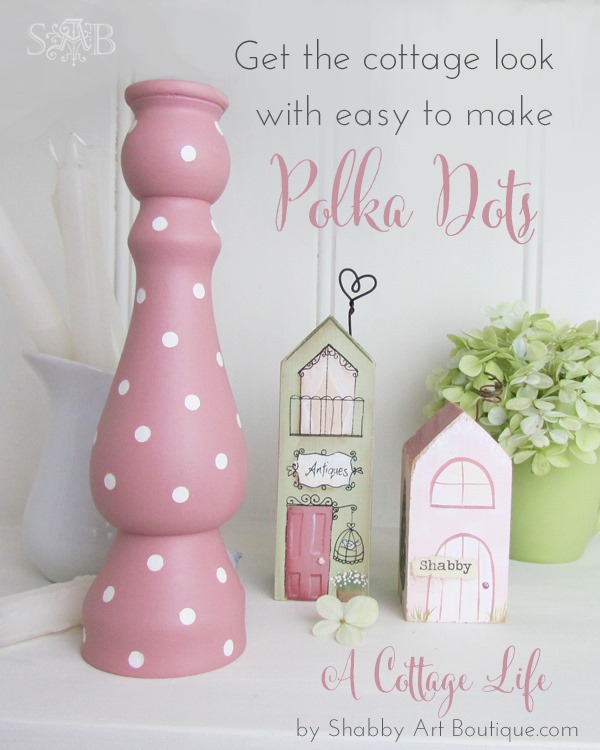
I used the raw wood candle holders to make a pair of polka dot candle sticks.
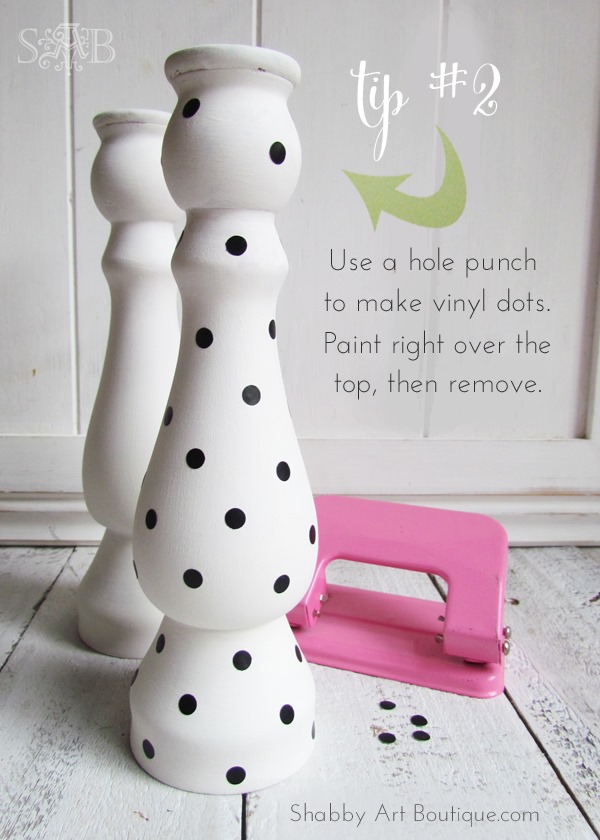
And here’s my handy tip for getting perfect polka dots…
1. Undercoat your project piece with the dot colour. I used white as my base coat.
2. For small dots, use a hole punch to cut dots from adhesive vinyl. For larger dots, you can use round price stickers from the stationers.
3. Randomly place your dots on your project… and here’s the important step… paint over the dots with the base colour again. By doing this, your base colour will fill any cracks where your dot hasn’t completely adhered. Any bleed through will be in the base colour, so won’t show on your finished item.
4. Paint your entire piece with 2 smooth, even coats of your main colour. When dry, carefully remove adhesive dots and seal project with either spray varnish or wax.
There you go…. perfectly round polka dots!
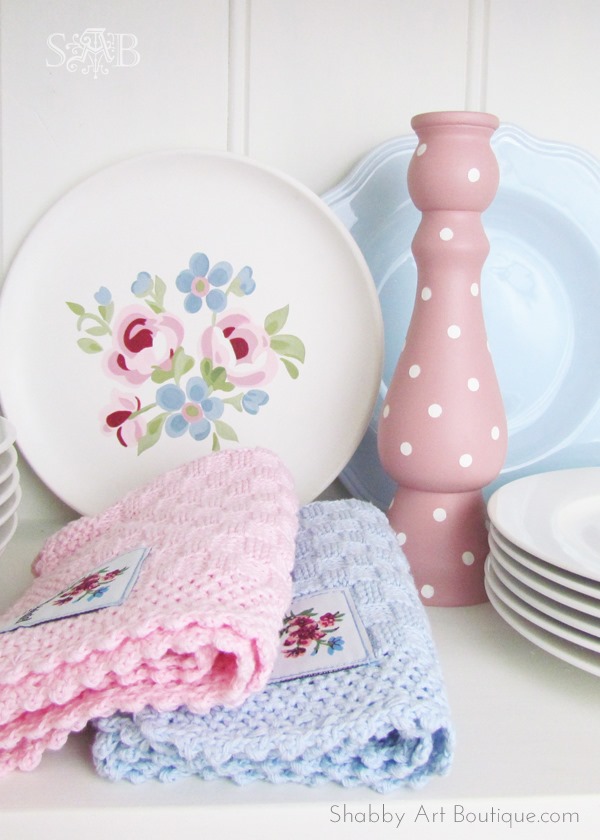
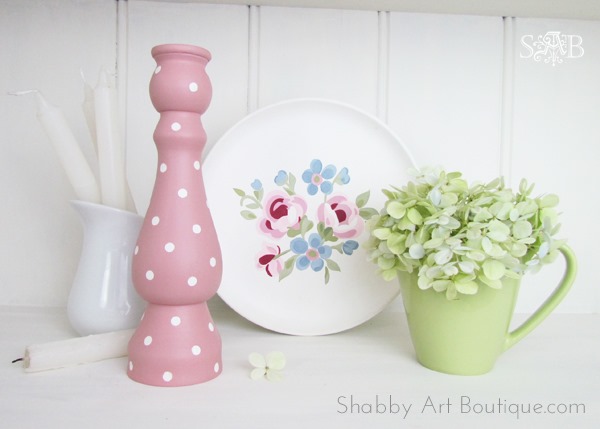
I love how my candle sticks turned out and they match perfectly to a few pink polka dot GreenGate pieces I already have in my kitchen.
Do you like the look of polka dots and florals together?
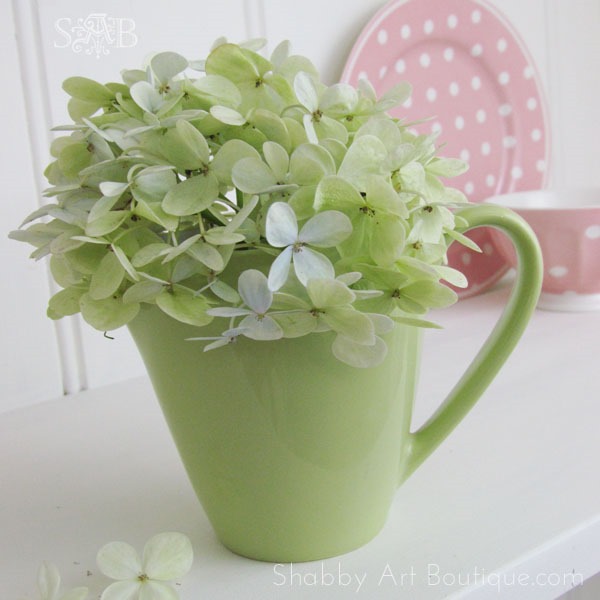
My little pea green jug turned out to be a great thrifty buy too.
In the shop I was a little dubious of the colour, but it actually blends really well with all the other colours and is perfect to hold a hydrangea head… isn’t this sweet!
Next week when we continue with the ‘A Cottage Life’ series, I’ll be sharing a few more techniques and handy tips for incorporating a little cottage look in your home.
Don’t forget to PIN the images so you can find these tips later on.
Catch up with the rest of the ‘A Cottage Life’ series HERE and HERE.
I’ll be back tomorrow with Shabbilicious Friday and some exciting ‘shabbilicious’ news.
Happy crafting
♥
Kerryanne
I’d love for you to connect with me at:
Follow on Bloglovin
or if you’d like my posts delivered directly to your Inbox
Subscribe to Shabby Art Boutique by Email
If you’d like a private pass to all things ‘shabbilicious, sign up today for my fortnightly newsletter. It contains personal stories, sneak peeks, recommendations, discounts and freebies.



I love the candlesticks and your dots look so lovely and round – thank you for sharing the tip.
Toni xx
Aww this is a super cute idea, will definitely be trying this soon! xxxx
What a handy tip Kerryanne, I have hole punched a circle out of a recipe card and used it as a polka dot stencil, but this is way smarter! Thanks for the tip! Pinning.
hugs,
Jann
Polka dots and florals, a match made in shabby heaven. Can’t wait to go “dotty” on a pair of garage sale Bali candlesticks. Knew one day I’d be happy that I bought them. 🙂 Thanks for giving me the know how. xo
KerryAnne, hi these are so adorable and I love how you shared how to add the vinyl dots, brilliant idea. Thank you sooo much for linking up to our Something To Talk About Link Party too. We have another tomorrow at 6 am and would love for you to come on back. have a great week, Lisa
Gorgeous!
Omg
Thank you so much on showing me how to make perfect dots.
I have made so many mistake on mushrooms
I absolutely love the dots