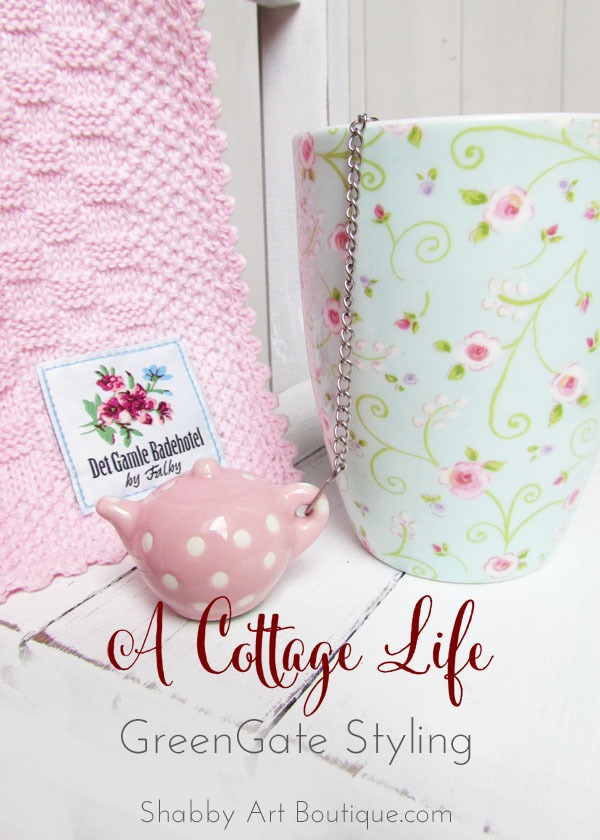
Most of us cottage lovers adore the look of brands like GreenGate (Denmark),
But getting your hands on it if you live outside of Europe is a little hard… and expensive.
My next few DIY projects in the ‘A Cottage Life’ series will show you how you can achieve the look for next to nothing!

To prove my point, I went out with one of my thrifting friends to find a few pieces that could be easily made into GreenGate knock-offs.
She didn’t think I could do it… but I’ll let you be the judge.

As you can see in the photo above, I grabbed a sweet little pea green jug that I thought was such a pretty colour and size, that could move easily between the pastel colour palettes. I’m leaving that as is.
I also picked up a wood serving plate for the grand total of 50 cents, a pair of wooden turned candle holders for $3 and a metal jug for $2. All up I spent $10.50
Today I’m going to share how you can paint up thrifted wooden wares to get that naïve cottage look.
Have you ever looked closely at the GreenGate or Cath Kidston floral designs?
There is no shading or highlighting. They are just flat designs, usually using a limited colour palette. Some are more intricate than others, but for the purpose of this DIY, I have chosen a really simple GreenGate design.
So we don’t have any copyright issues, I made a few changes to the basic design.

Do you remember those painting by number art kits we had as kids?
That’s basically what you have here…. a simple design that can be broken down to a line drawing and each section allocated a number that corresponds to your paint palette.
This design has 8 colours; 3 pinks, 3 greens and 2 blues.

I made up a line drawing for it, and allocated the numbers.

How to paint your floral design
1. Choose a project piece. I like wooden items because they are so easy to paint.
2. Gather your materials; paint, palette, small round paint brushes and a large flat brush for base coating, tracing paper, graphite paper, stylus etc.
3. Prepare your base, in this case, mine is a small wooden plate. I sanded it with fine sand paper to remove a few scratches and marks it had. Then I cleaned it with a soapy cloth before painting it with white Gesso and then 2 smooth even coats of DecoArt Warm White acrylic paint.
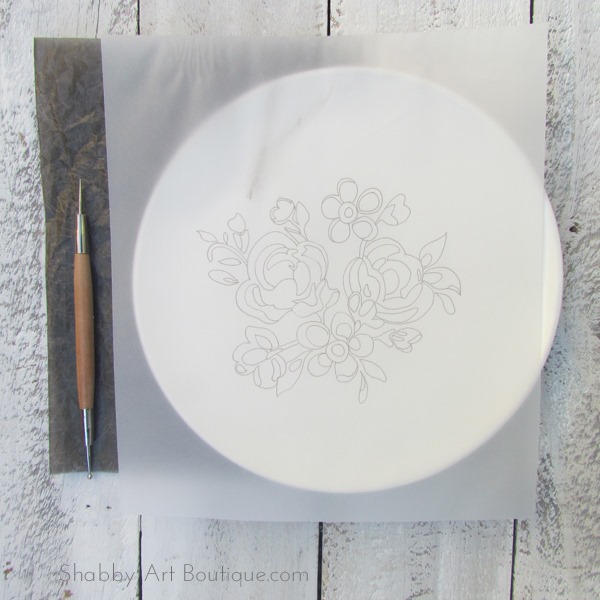
4. Make a pattern tracing – Click on the line drawing and save to your own computer. Re-size in a Word document. Tip: print your pattern directly onto tracing paper, using your printer. To transfer your design, position your tracing paper on your plate. Sandwich a piece of graphite paper between the tracing and plate surface and using the small end of a stylus, trace the design onto the plate.
5. Painting the design: mix your 8 colours on your palette. Depending on where you live, you may be able to purchase pre mixed colours. I used my DecoArt acrylics and mixed the colours to match my décor… so my paint colours are not exactly the same as those shown in the design above.
6. Using a small brush (eg. No 2 round) block in the design elements using 2 smooth even coats of paint. When your painting is finished, seal it with either a spray varnish or coat of wax. As mine is only for show, I waxed it.
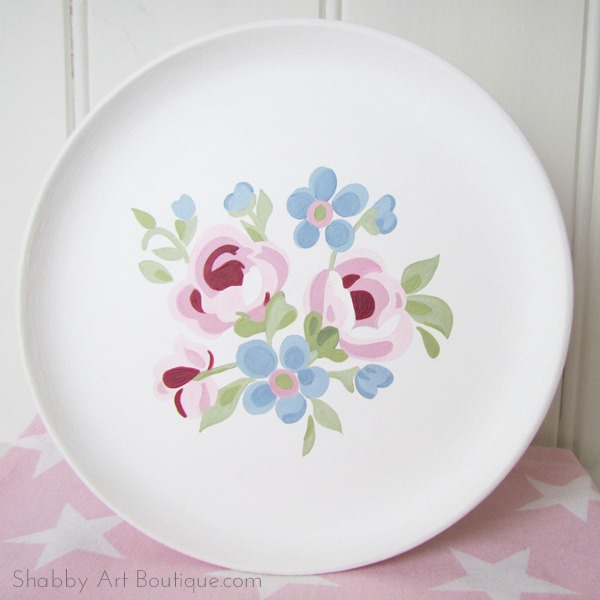
See how I made my blue flowers a brighter blue to match some cornflower blue tableware I have, plus the rose centers are a deeper burgundy… I like the contrast of reds and blues together in the cottage home.
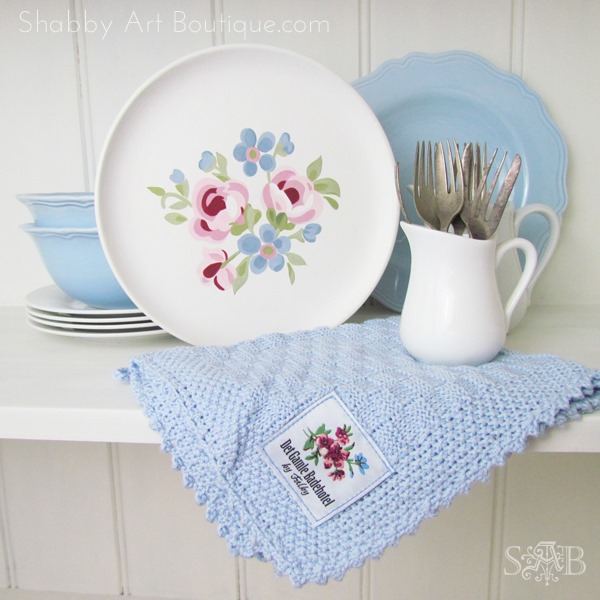
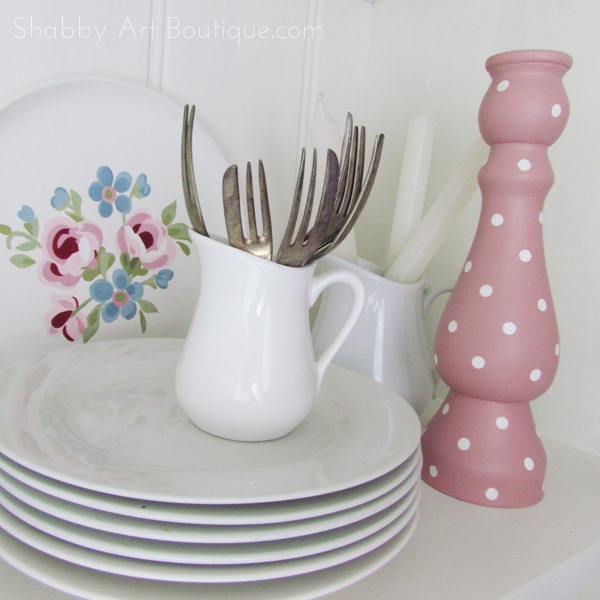
Next step… add in a couple of polka dot pieces, florals and stripes and you have your very own GreenGate inspired cottage look.
Once you master the painting by numbers technique, you can move on to more intricate and detailed designs.
I hope you’ll pop back tomorrow for my tips on creating easy polka dots.
Did you see day 1 of the ‘A Cottage Life’ series – Styling with GreenGate?
See it HERE.
Happy crafting
♥
Kerryanne
I’d love for you to connect with me at:


Follow on Bloglovin
or if you’d like my posts delivered directly to your Inbox
Subscribe to Shabby Art Boutique by Email
If you’d like a private pass to all things ‘shabbilicious, sign up today for my fortnightly newsletter. It contains personal stories, sneak peeks, recommendations, discounts and freebies.


Thank you for the step by step Kerryanne. This style of painting reminds me of the brushstrokes technique I used to do many moons ago.
The plate looks beautiful.
Toni xx
oh, my but your paintng is beautiful, kerryanne!! thanks for the patterns–i want to try this:)
Super cute! Can’t wait to try it!
hugs,
Jann
KerryAnne, omg you are so talented. The roses n floral plate is gorgeous!! I can’t believe you painted it and the tutorial is awesome. So beautiful. Thank you so much for linking you to the Something to Talk About Link Party. We have another one tomorrow and would LOVE for you to come on back tomorrow too. have a great week, Lisa
I LOVE GREENGATE AND WE CAN;T GET IT EASY IN THE USA. I HAVE TI TRY THIS FOR SURE.THANK YOU FOR THIS GREAT TUTORIAL.. YOUR BLOG IS ALWAYS SO INSPIRING,,,,,,,,,JUDE IN SOUTHERN CALIFORNIA
I know it must be frustrating not being able to get GreenGate in the US Jude. At least now you can still get the look 🙂