The February kit for the Handmade Club is a vintage Easter and spring inspired collection of pretty pastel papers, printable projects and clip art images, that will be perfect for all of your Easter crafting.
I’m all about encouraging you to just have fun creating with these kits, but I also know that sometimes you are limited for time and want quick and easy projects that are ready to go….
That’s why I’ve included several printable, ready to make projects in the February kit.
They are super cute and ready to simply print and assemble… and will require very few tools and time to complete.
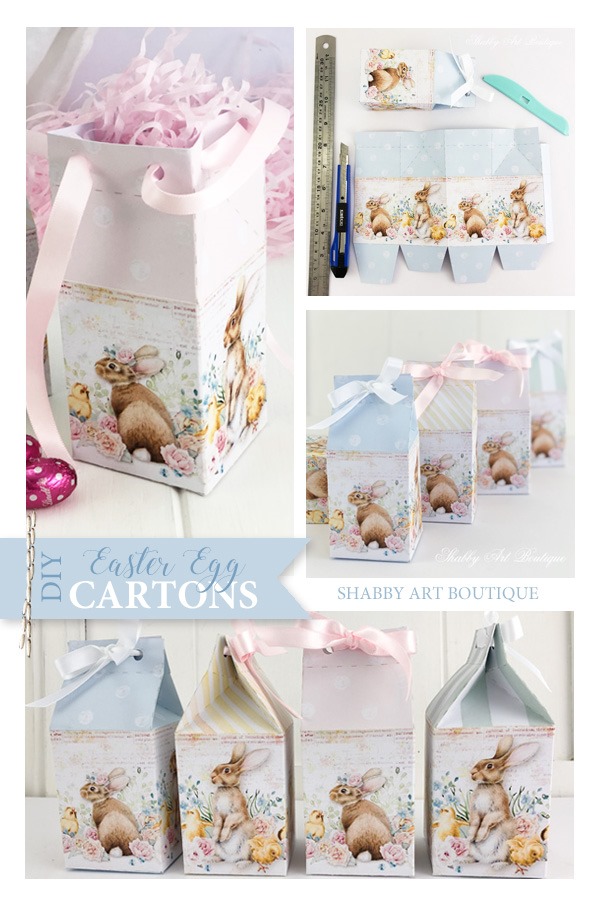
Mini Easter Egg Carton
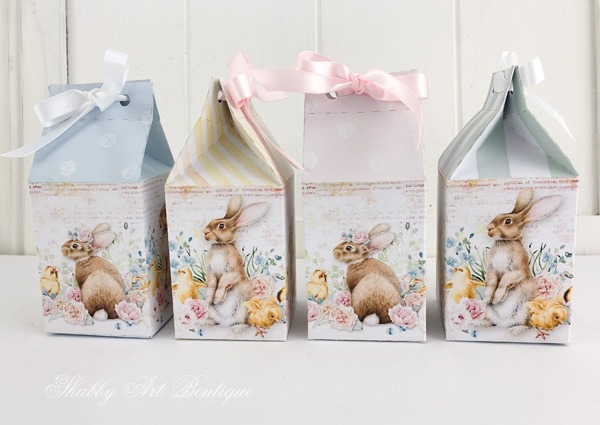
This set of 4 mini Easter egg cartons are contained in a 4 page printable PDF file (available in both A4 and letter size).
How to make the Mini Easter Egg Cartons.
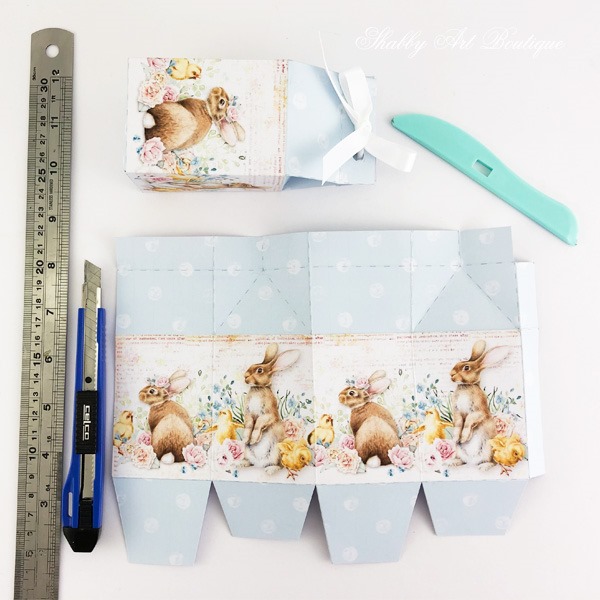
1. Print the file onto card or as I did, use 250 gram matte photo paper. You don’t have to print the whole document. If you only want to print one of the cartons, just choose that individual page to print in your printers printing options.
2. Using a sharp craft knife and a metal ruler, cut out the design.
3. Score the dotted lines with a scoring tool or bone folder by placing your metal ruler where you want your fold to be, and run the bone folder along this straight edge to make a clean score line, then fold.
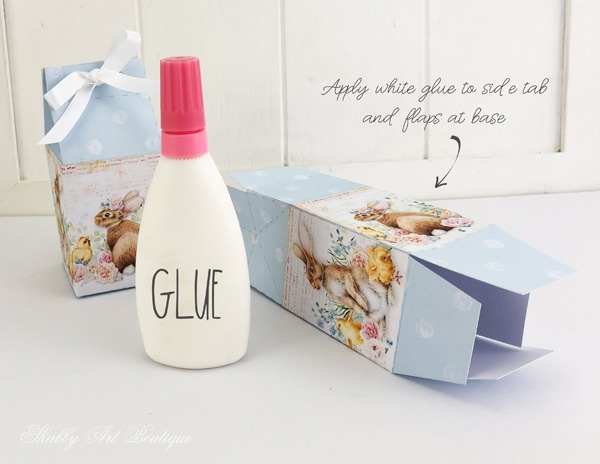
4. Using white glue or a glue stick, apply glue to the side tab to close the box. Next, apply glue to the tabs at the bottom of the box and fold in to close the bottom of the box.
5. Fold your creases at the top of the box to form the carton top. I used my hole punch to make two holes in the top and threaded a length of ribbon through to tie a bow to secure the top of the carton.
Note: there are essentially 4 layers of folded card in that top section of the box, which may be too thick to get your hole punch through. I placed my hole punch where I wanted my hole to be and squeezed the hole punch quite firmly to indent the card, then I opened the top out slightly and punched a hole through 2 pieces of card first and then the other two pieces of card. Repeat for the hole on the other side of the carton top.
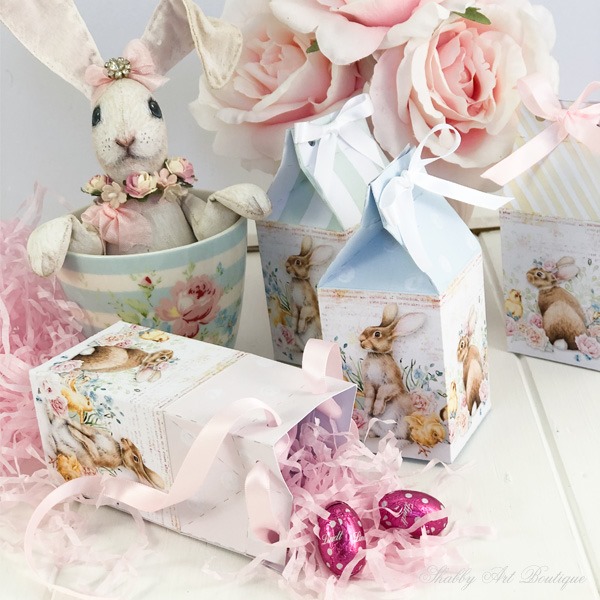
Aren’t these mini Easter egg cartons cute!!
Filled with shredded tissue and a handful of Easter eggs, they’ll be perfect for gift giving to friends and family or as a token gift for work colleagues or teachers.
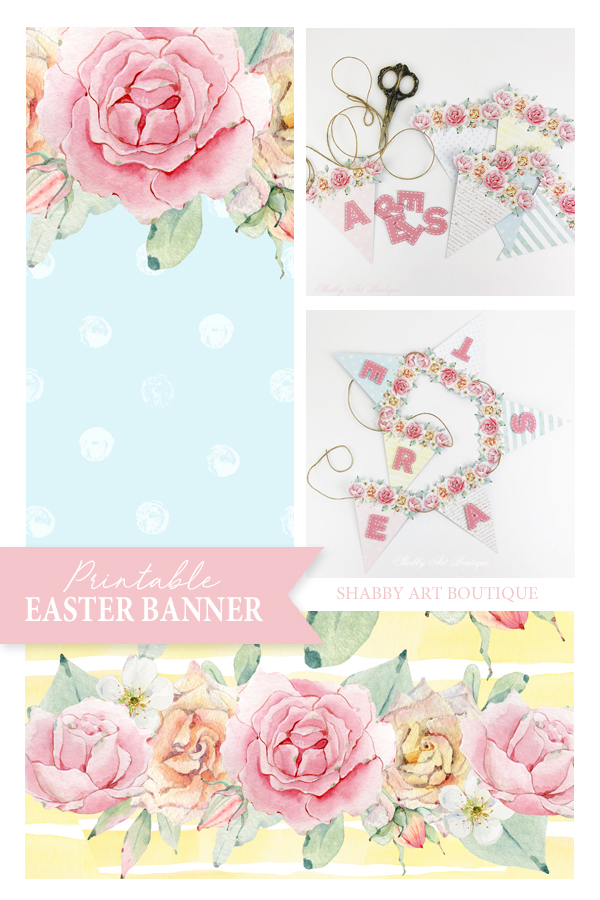
Easter and Spring Banner
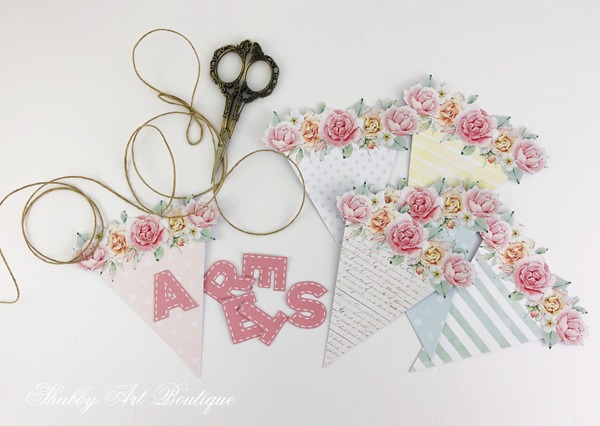
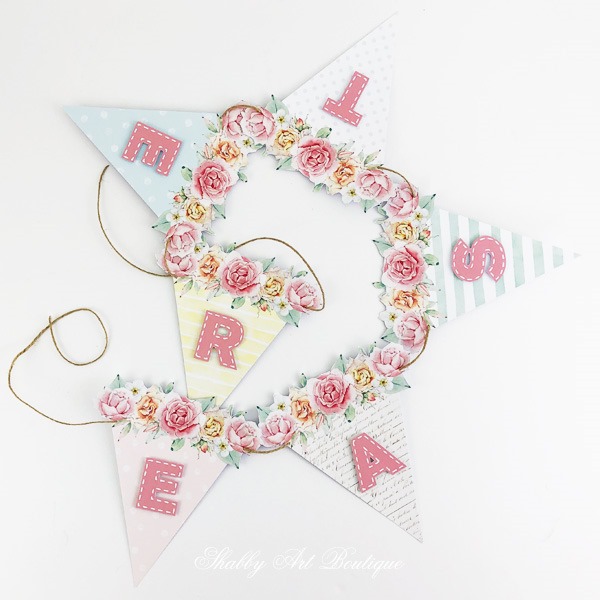
Another ready to make project in the kit this month is this pretty spring or Easter banner.
It comes with 6 different triangle pennants and two sets of lettering in pink or gold.
There’s enough detail in the floral top, so all that is needed is simple letters.
On the printable I have included the ‘EASTER’ letters in both pink and gold, however, in the zip file there is also a set of “SPRING’ letters in both pink and gold.
TIP: You don’t have to use the 6 different pennants. Maybe you just want to use one particular coloured pennant. All of the pennants and the lettering are supplied in the ZIP file and you can arrange them as you please in a Word document before printing.
This spring coloured banner would be pretty for a girls bedroom or for a birthday or tea party.
How to assemble:
1. Print PDF file (3 sheets) on card or 250 gram matte photo paper.
2. Cut our all of the elements with a sharp craft knife. You may find a pair of small pointy nosed manicure scissors are perfect for cutting around the flowers.
3. I used a large dolls needle to pierce holes in either side of each pennant and threaded twine through the holes to create a garland.
[PIN for later]
Bunny Easter Card and Envelope
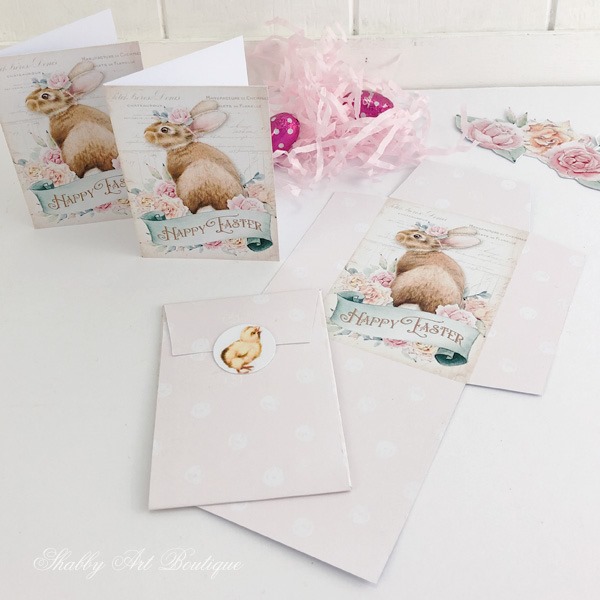
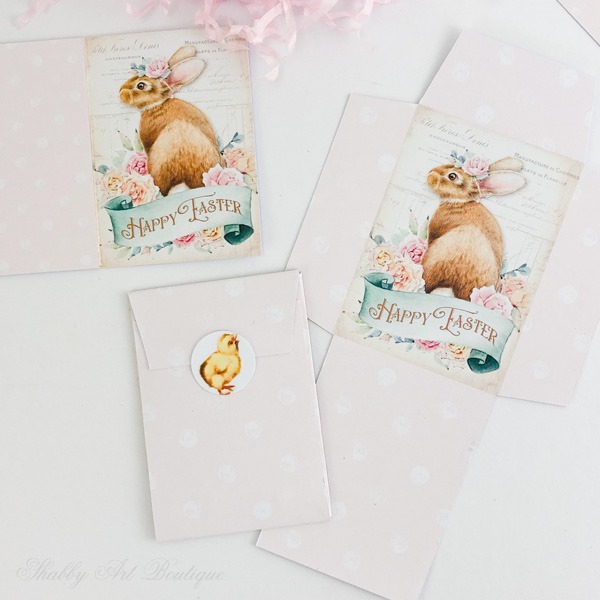
These sweet bunny Easter cards measure 6 cm wide by 8 cm high and come with their own matching paper envelope.
They are the perfect size to attach to a gift or even use them in your journal making.
The PDF printable has two pages; one with 4 cards on it and one with two envelopes.
Be sure to note that the page with the bunny Easter cards on it needs to be printed on card, while the envelopes need to be printed on paper.
This really is a quick 5 minute project!!
Simply print, cut out elements, score lines and fold.
A glue stick can be used to adhere the flaps at the back of the envelope. The little chick I made into a sticker is from the fussy cutting printables. I just used a small round punch to cut it out.
These 3 ready to print and assemble projects are from the February kit of the Handmade Club.
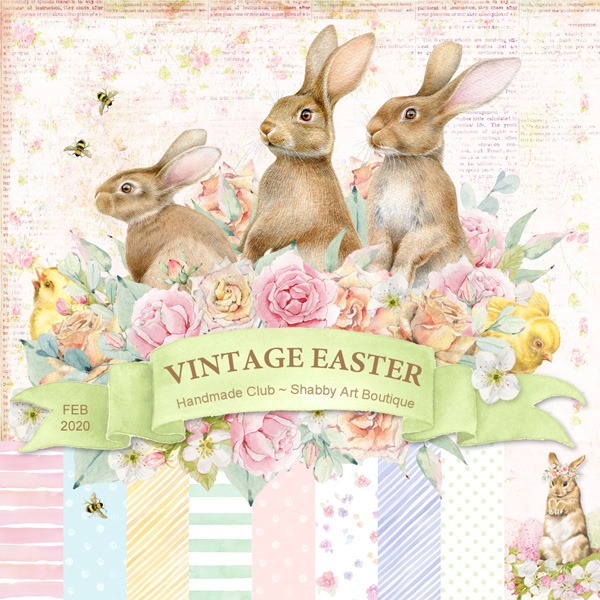
This kit is only available until 15th March, 2020, so if you’d like to see what else is in the kit visit this post and if you’d like more information about subscribing to the club, please visit the Handmade Club page.
Happy crafting my friends!
Hugs
♥
Kerryanne
I’d love for you to connect with me at:
Get instant access to the free printables in our Member’s Only
library by joining my email newsletter subscriber’s list.
I send out two newsletters a month with updates on all things
‘shabbilicious’ at Shabby Art Boutique.
Follow on Bloglovin or join our Facebook group Simply Shabbilicious.



These are so pretty, I can’t wait to make the milk cartons. Thank you!
Love these !!! Many thanks for your great talent that you share with oh so many !!!
Have a wonderful day!!
It’s my absolute pleasure Dana. I hope you are inspired by these pretty spring and Easter projects this month 🙂
These are just gorgeous Kerryanne??? SO soft and Springy??? Thank you for making these lovelies available to us Kerryanne? Smiles, Deborah ???
I thought a pop of spring colour would make everyone smile Deborah 🙂
I hope you enjoy these quick and easy projects this month.
Hugs,
Kerryanne
These are so lovely, Kerryanne! I adore how sweet and vintage the designs are, especially those egg carton boxes. Pinned!
Thanks so much Crissy 🙂
I really love how cute the little egg carton boxes turned out. I appreciate you pinning them too xx
Hello Kerryanne, are any 0f the Easter things available for me, or are they only for the Handmade club?
Hello Judy,
As I stated in the beginning of the post, these tutorials are for this months kit of the Handmade Club, however, with Easter still 6 weeks away there will be many things on offer for readers of Shabby Art Boutique, plus all of the free projects and Easter printables that are available on my Tutorials page. I’m sure there will be many things to keep you busy 🙂
Hi! I purchased the mini milk cartons on Etsy – they are ADORABLE! And so quick and easy – so I made 20 of them for the little kids tomorrow for Easter. I put chocolates and Rice Krispie Treats in there, and a little “Jesus” card. I don’t know if the kiddoes will appreciate them, but I don’t care! I wanted to make them, and they are so little and cute! Looking forward to exploring all of your wonderful things, Kerryanne!