Hi creative friends,
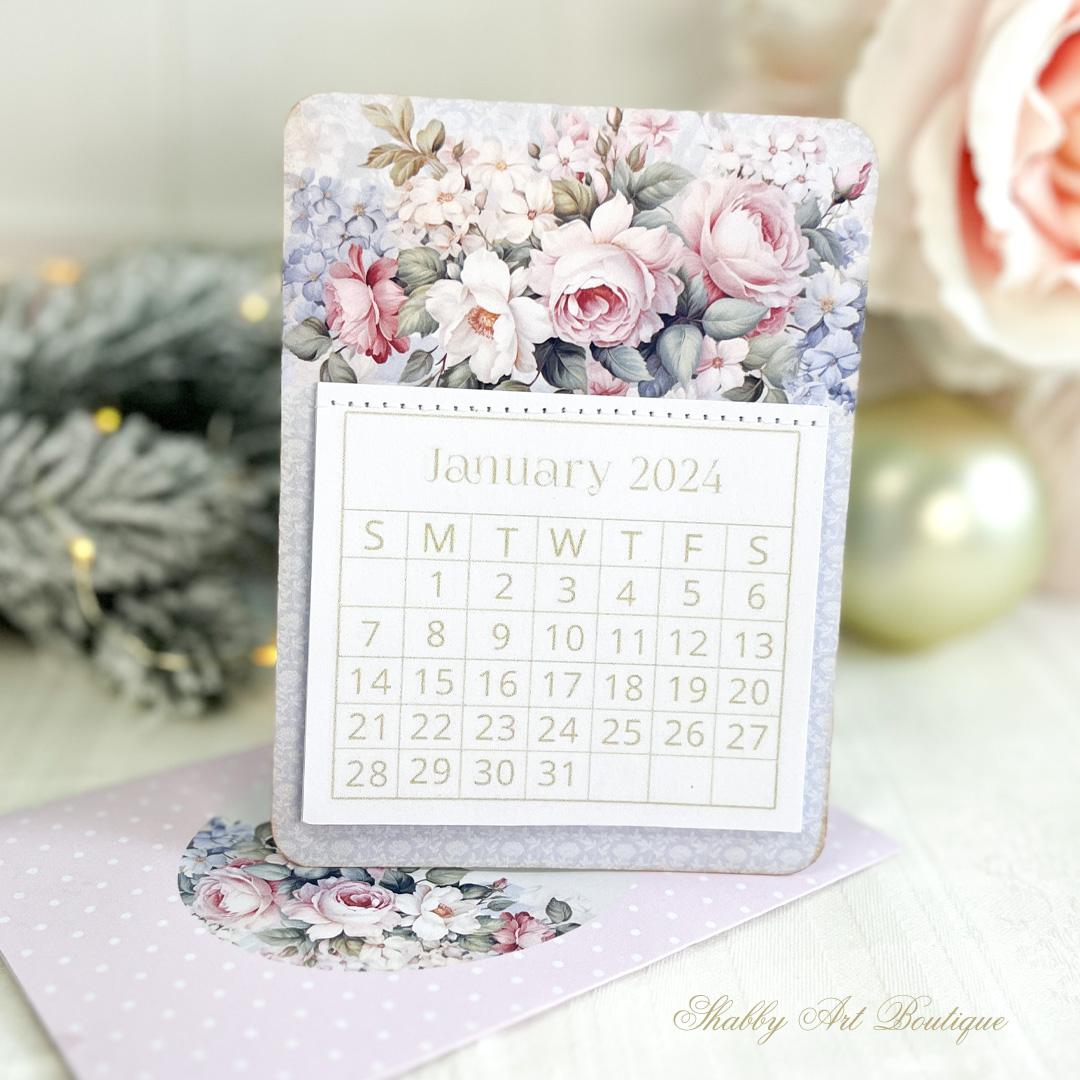
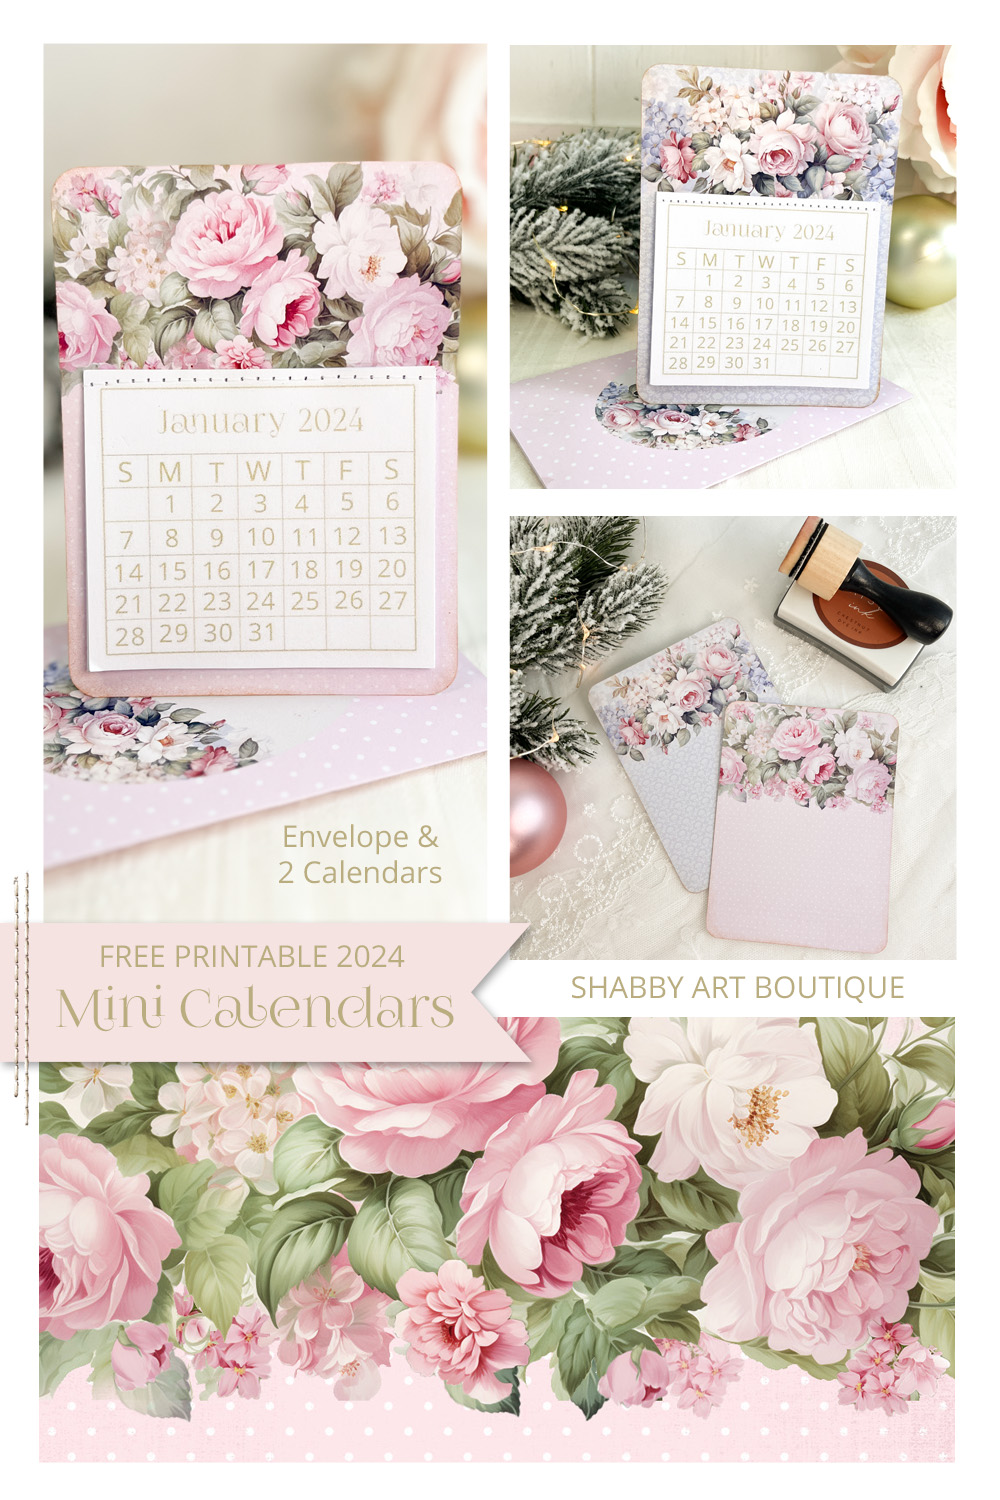
With the holiday season just around the corner, I’m delighted to share another Simply Christmas project with you… a delightful duo of printable 2024 mini calendars!
If you’ve been a part of my festive celebrations in the past, you’ll know that my printable mini calendars have been a perennial favorite.

One of the reasons the mini calendars steal the show every year is their simplicity and versatility.
Designed to be a quick and easy ‘print and make’ project, these little wonders can be crafted in less than 30 minutes, making them the perfect last-minute addition to your Christmas preparations.

Measuring a dainty 9 cm wide x 12 cm high (3 1/2” x 4 3/4”), these mini calendars are not only adorable but also incredibly practical.
Slip them into a card, add them to a small gift box, or tuck them into your handbag – the possibilities are endless!
The compact size makes them an ideal token gift.
How to Make Your 2024 Calendars
Download the printable PDF below.
Click here –> for the letter (USA) size file
Click here –> for the A4 size file.
Print page 1 ( backing cards) on cardstock – I used 220 gram matte photo paper.
Print page 2 (envelope) on light weight photo paper.
Pages 3 and 4 (calendars) on normal copy paper.
Instructions
- Cut out the envelope using scissors or a craft knife. Score the score lines that are marked on the envelope printable. I also used a round punch to make an opening in the back of my envelope (optional). Fold in tabs and glue in place.
- Cut out your two backing cards. I decided to use my corner punch on the corners of the backing cards and also added a very light distressing of ink around the edge, but this is totally optional.

3. I’ve outlined the calendar months in grey, so you can cut the squares out just inside the grey line. Compile your calendar months in order and hold together firmly; I used a couple of clips to hold the calendar together temporarily. Using your sewing machine, stitch the pages together across the top of the calendar. Secure cotton ends at back of calendar.
4. Attach your calendar to the backing board using either a hot glue gun or clear glue. The stitching across the top of the calendar will allow you to tear off each month as required. Glue a magnet in place on the back of your calendar (optional).
PIN for later

Happy crafting!
Hugs
♥
Kerryanne
Let’s be friends on….
Get instant access to the free printables in my Newsletter Printables
Library by joining my email newsletter subscriber’s list.
I send out a weekly newsletters with updates on all things
‘shabbilicious’ at Shabby Art Boutique.
I invite you to join our fabulous and friendly
Facebook group – Simply Shabbilicious
where you’ll enjoy our friendly banter and inspirational creativity


Thank you that is so pretty
Thank you for the sweet little calendar. No matter how many digital gadgets I have around me there is something that makes it easier to keep dates organized when you see it on a paper calendar!
Thank you so much Kerryanne!
Thanks so very much, Kerryanne, for the pretty little calendar.
I have one on my office desk as I’m a paper person. I use it a lot as it’s at eye level.
Thank you Kerryanne! I just love your calendars! I just printed it out and can’t wait to put it together!