Hi creative friends,
I’ve never made a winter kit before, so I thoroughly enjoyed painting the village and snowmen pieces.
Of course, painting village shops and houses is not new to me. I first started painting them back in 2002 for projects in Australian Handmade magazine and Australian Decorative Painting and Folk Art magazine…. if you’ve been following me for awhile, you might remember them.
They have always been a favourite of mine, so it was exciting to include village pieces in the Winter Wonderland kit.
Winter Wonderland Gift Box
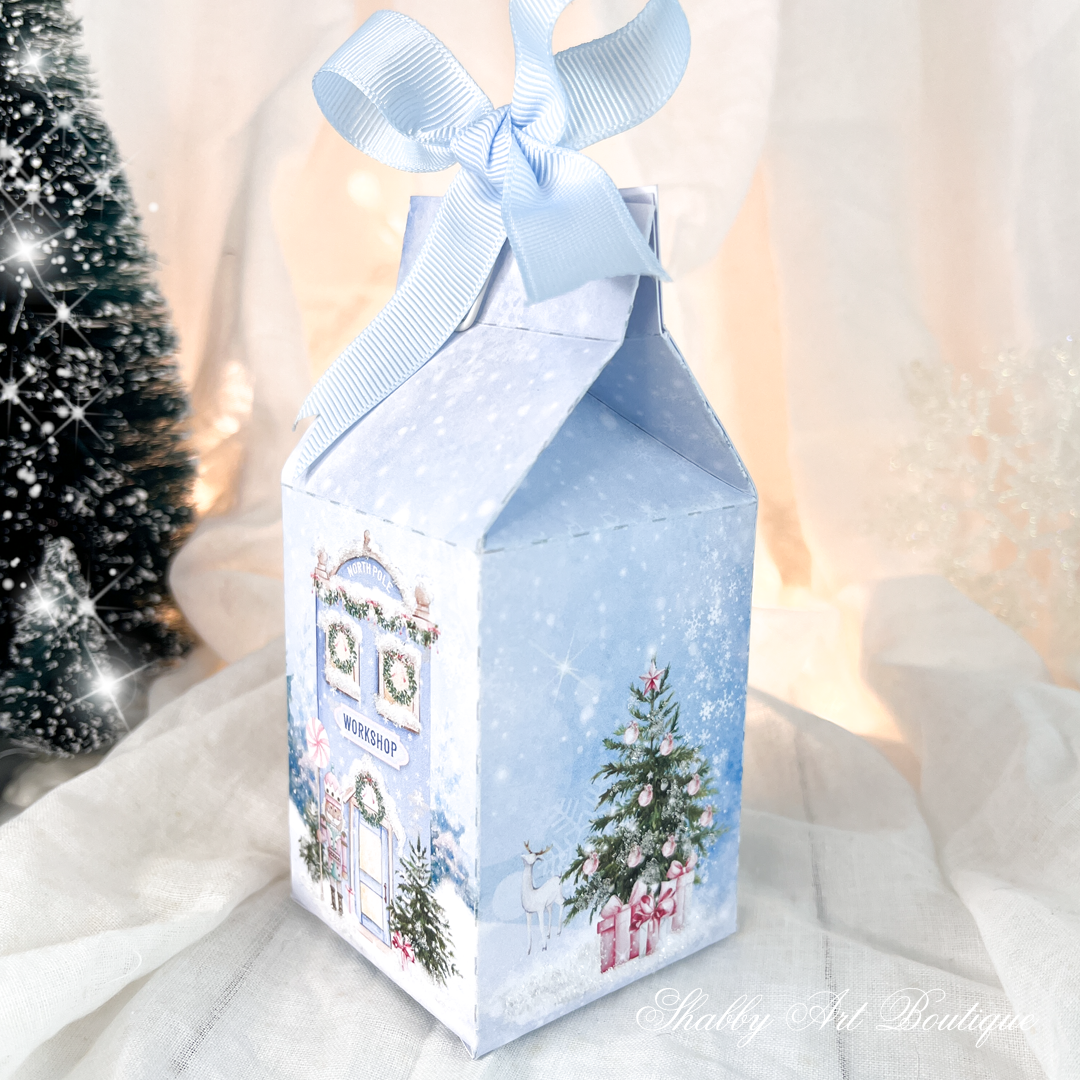
One of the first items I made with the new Winter Wonderland kit was Christmas village milk carton gift boxes.
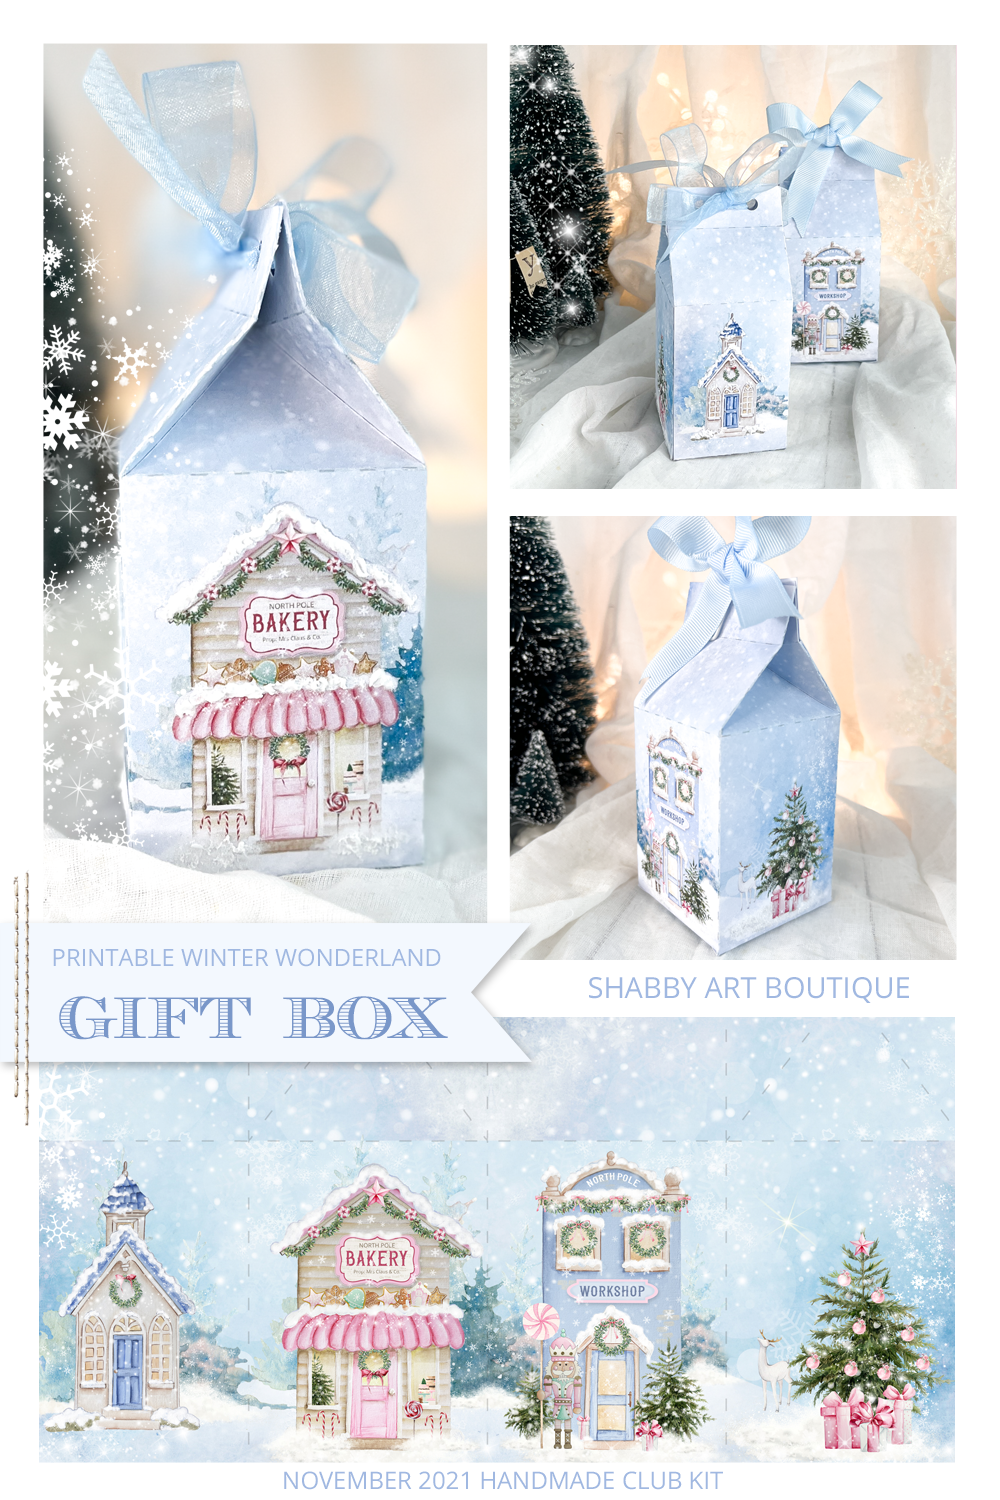
I love using mini milk carton gift boxes year round and I know many of you do too.
This design seemed absolutely perfect for small Christmas gifts… fill them with chocolates, candy or jewellery.
How to make a Christmas Village Gift Box
1. My ‘Print & Make’ Mini North Pole Christmas Gift Boxes kit is available from my Etsy store.
2. Print the file onto card or use 250 gram matte photo paper.
3. Using a sharp craft knife and a metal ruler, cut out the design.
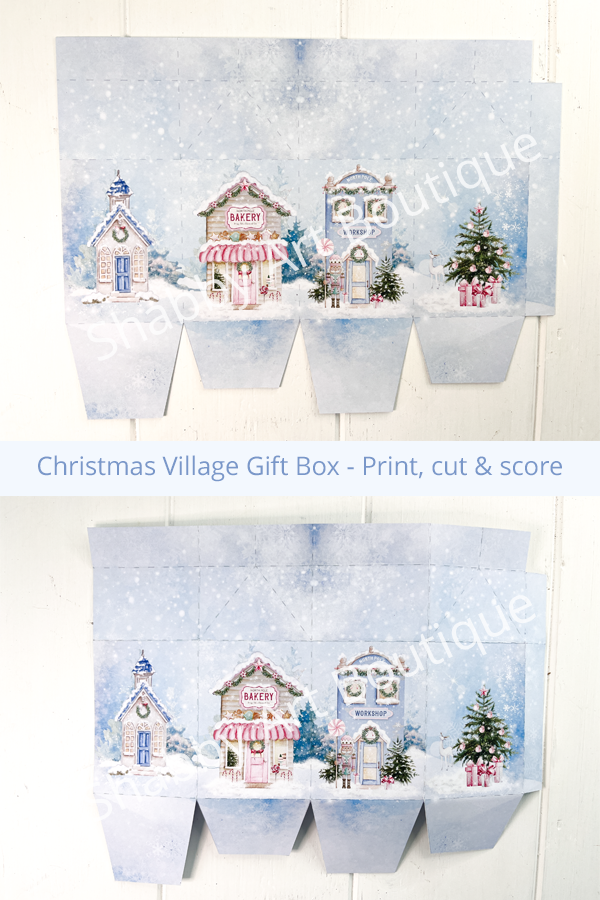
4. Score the dotted lines with a scoring tool or bone folder by placing your metal ruler where you want your fold to be, and run the bone folder along this straight edge to make a clean score line, then fold.
Tip: I run a damp paint brush over the score lines before I fold my box up. This just adds some moisture to the card so it doesn’t tear or crack while folding it…. which can be a problem in a hot climate like where I live.
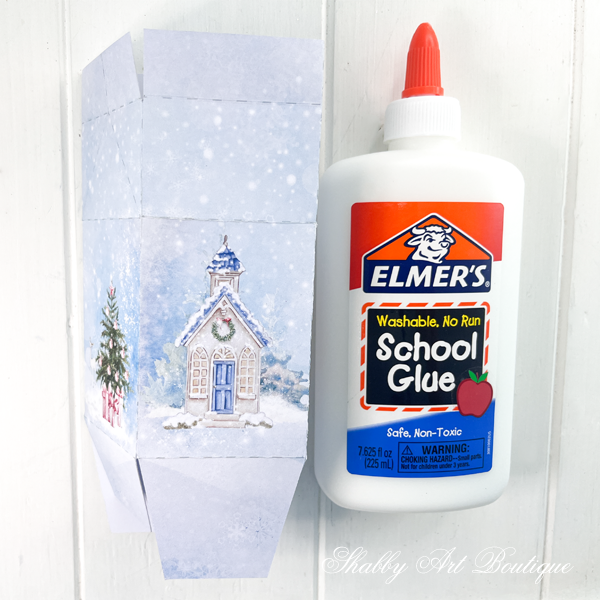
5. Using white glue or a glue stick, apply glue to the side tab to close the box. Next, apply glue to the tabs at the bottom of the box and fold in to close the bottom of the box.
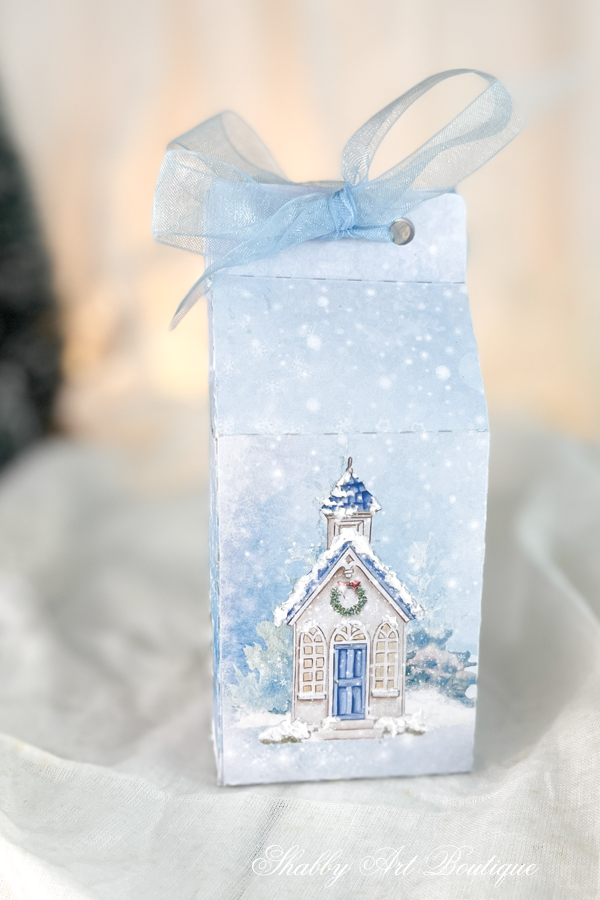
6. Fold your creases at the top of the box to form the carton top. I used my hole punch to make two holes in the top and threaded a length of ribbon through to tie a bow to secure the top of the box closed. I also used a white paper clip with a ribbon bow attached for another box.
Note: there are essentially 4 layers of folded card in that top section of the box, which may be too thick to get your hole punch through. I placed my hole punch where I wanted my hole to be and squeezed the hole punch quite firmly to indent the card, then I opened the top out slightly and punched a hole through 2 pieces of card first and then the other two pieces of card. Repeat for the hole on the other side of the carton top.
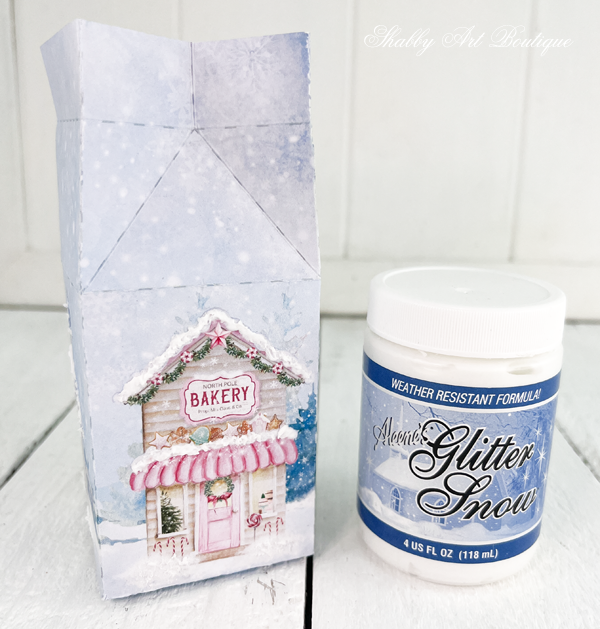
7. Adding texture for snow: (optional) I used two products for adding different snow affects. On the first box I used Aleene’s Glitter Snow, just dabbed on with a stylus. It gives a nice raised texture affect on the snow areas and has a small amount of glitter that sparkles.
On the second box I used my usual go-to for a glitter look, German Glass Glitter. I simply apply a smear of white glue and sprinkle glass glitter over the top and shake off excess. Both options look lovely, but you can of course leave it plain.
These boxes are so quick and easy to print and assemble, so great to have as a stand-by over the holidays!
Winter Wonderland Kit
If you love this theme, you may also like to see the full Winter Wonderland digital kit.
Click here –> for letter size Winter Wonderland digital kit.
Click here –> for the A4 Winter Wonderland digital kit.
![]()
Happy crafting!
Hugs
♥
Kerryanne
Let’s be friends on….


Get instant access to the free printables in my Newsletter Printables
Library by joining my email newsletter subscriber’s list.
I send out a weekly newsletters with updates on all things
‘shabbilicious’ at Shabby Art Boutique.
I invite you to join our fabulous and friendly
Facebook group – Simply Shabbilicious
where you’ll enjoy our friendly banter and inspirational creativity


These little boxes are just great for small gifts, or sweet treats! And they make great decor pieces.