Appliquéd Christmas Table Runner
Hey Everyone! Kris from Tag Along Teddies here!
When Kerryanne told me about her “Simply Christmas” plans, I just KNEW I had to be part of the fun … though I think perhaps I’m a lost cause as far as getting ORGANISED!! :0)
I DO, however, like to make gifts for people whenever possible and so when Kerryanne invited me to share a Christmas project with you all, I was “BEARY” happy to do so! Tee! Hee! Hee! This is a great gift idea for those who enjoy a bit of hand-stitching while they watch their favourite TV program … “Escape To The Country”, “Midsomer Murders”, “Bones” … It’s also very easy on the budget, as you’re mostly going to be using ‘left-overs’ from your stash. So here we go, making an appliquéd Christmas Table Runner.
YOU WILL NEED…
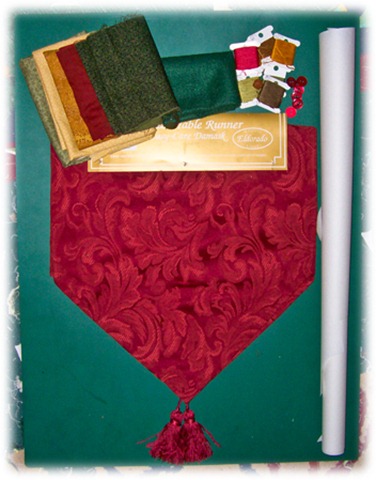
· A pre-made table runner (under $10 from Spotlight)
· Some fabric scraps, none need be bigger than 6” square
· Dark green felt aprox. 10”x6” piece or four 5”x3” pieces
· Matching or contrasting embroidery threads
· Double-sided fusible webbing (vlisofix, heat-n-bond or similar)
· Six red buttons – can be different sizes & shades if you like
· One ¼” diameter bell (mine is a rusty bell, but shiny works too)
· Small scrap of quilt wadding for hat fur-cuff
- Pattern – download here
How To Do It:
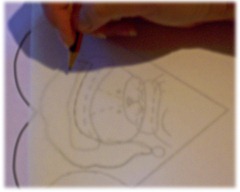
1. Trace the appliqué elements onto the paper side of the fusible webbing (bumpy side down). (I’ve already reversed the design for you … because the shape you’re tracing on to the fusible webbing goes on the BACK of the fabric, it will be reversed once you iron it on right-side-up.) Some shapes overlap, so be sure you trace to the dotted lines which indicate the overlap.
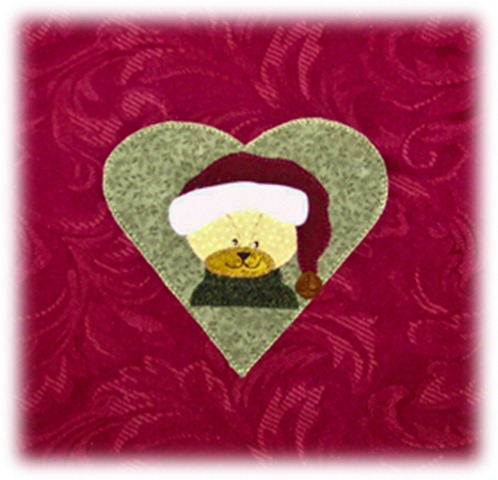
You should have traced: heart, hat, hat cuff, bear’s head, bear’s muzzle, jumper/sweater. Make sure you leave some room between each shape, about ¼”.
2. Cut out each shape roughly … NOT right on the line.
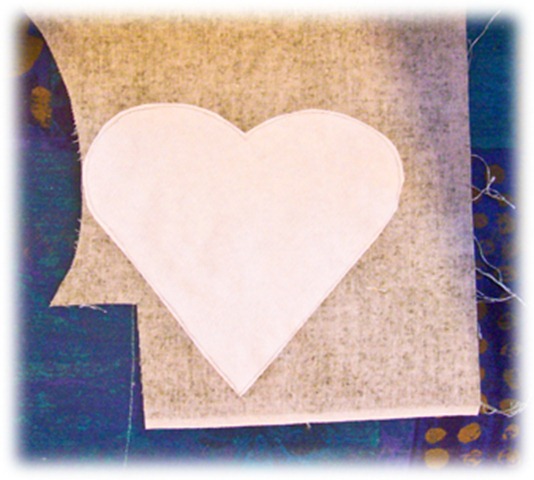
3. Following the fusible webbing instructions, iron each shape onto the BACK of the fabric you’ve chosen. Make sure the bumpy side is down before you iron it in place or you’re going to have to clean you iron AND retrace the appliqué shape! :0) I chose to use a scrap of 100% quilt wadding for the hat cuff to give it a furry feel, attaching the fusible webbing just as I did for fabric.
4. Cut out each of the shapes neatly, on the traced line.
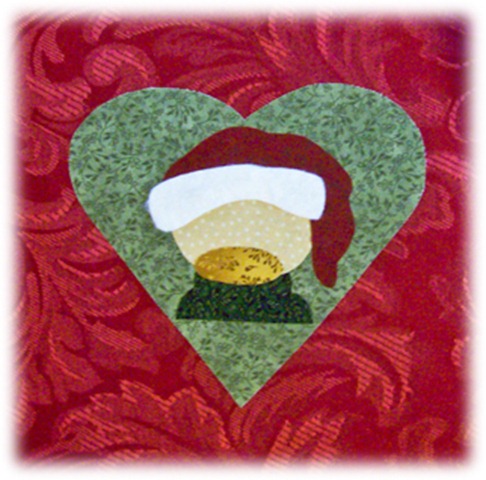
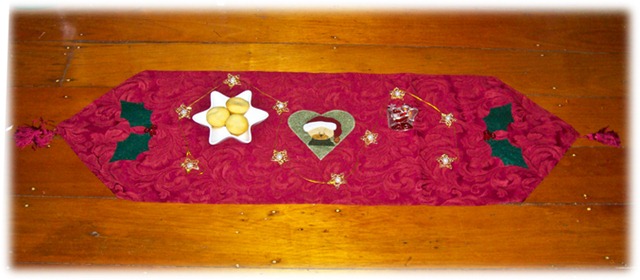
5. Peel the paper off the back of each appliqué shape. Lay your table runner out lengthways, find the centre and layer the appliqué design in place. I placed my design to face to the side, but that’s a personal choice. Fiddle with it all until you’re happy with how it looks, referring to the photo of the finished design to help you. Once you’re happy with how it looks, iron it gently in place.
6. Using two strands of matching/contrasting embroidery threads, stitch around each shape … except the hat fur-cuff, which I’ve attached using a running stitch.
7. Embroidery facial features: facial stitch detail in running stitch, nose and eyes in satin stitch and mouth in backstitch. Add a ‘twinkle’ to Teddy’s eyes with a French knot in white thread. I also blanket stitched across the front of the jumper/sweater to create the look of a roll-neck.
8. Stitch the bell in place at the tip of the hat.
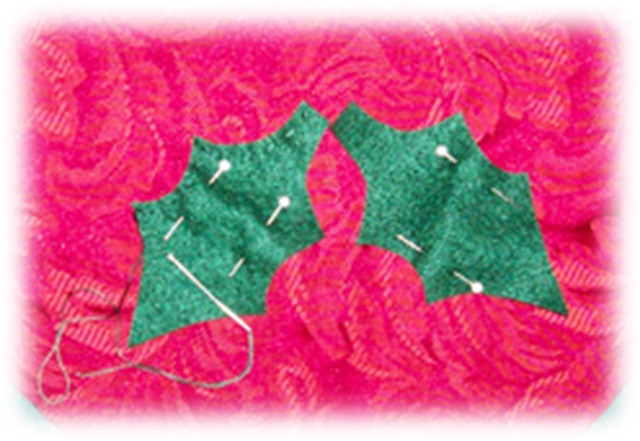
9. Holly Leaves: Trace four leaves onto your felt and cut out.
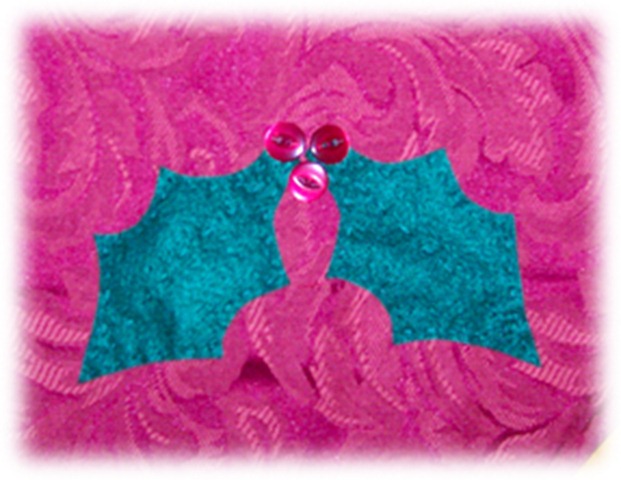
10. At each end, place two leaves. (refer to photo) and pin in place. Using two strands of matching embroidery thread, stitch around the outside of the leaves with a large, decorative running stitch, about a ¼” in from the edge, making sure your stitches go through the leaf AND the table runner to stitch them in place. Add a line of running stitch down the centre of the leaves for detail.
11. Stitch three red buttons in a cluster over the holly leaf stems.
12. VOILA! A “BEARY” festive table runner for your Christmas table!
If you’re very energetic (and organised!!) you may like to make a set of matching placemats by adding holly leaves to a corner of each placemat, or even a little Christmas bear in the centre of each. If you got REALLY carried away, you could decorate all sorts of pre-made items with your little Christmas bear and holly leaves … tea-towels, tablecloths, calico ham bags, pillow cases … you’re limited only by your imagination! Today a table runner … tomorrow THE WORLD! Tee! Hee! Hee!
I hope you have a lot of fun playing with my little Christmassy bear. I would LOVE to see some photos of your finished items, so email them to Kerryanne or me so we can take a peek. And if you’d like to pop across to my blog, I’ll be sharing one of my favourite Christmas recipes later today for you to make up and display on a pretty plate on your new table runner! :0)
Thanks, Kerryanne, for inviting me to ‘visit’ your bloggy home … when there WASN’T an internet problem! :0) And I hope you all have a safe and happy Christmas season this year, where your friends and family are the best gifts you receive!
CHRISTMAS BEAR HUGS!!
CHEERS!
KRIS
Wow…. thanks Kris for guest posting today and for sharing this ‘beary’ cute tutorial. Those of you who have been following from the beginning of ‘Simply Christmas will already know Kris. She was nice enough to step in several times when we lost our internet connection. Kris also shared her recipe for Sugared Coated Peanuts….mmmmm, did you try them?
Kris is very generously gifting this gorgeous Appliqued Christmas Table Runner to one lucky person. The giveaway will be open for one week with the winner being drawn next Wednesday 8th December. To be in the draw, all you have to do is pop over to Kris’ blog and leave a comment on today’s post (Dec 1st), telling her you popped over from ’Simply Christmas’. Kris probably won’t have her post up until later today so you’ll have to wait until then to enter.





Hi Kerryanne,
Oh wow, Kris has done a great job on this table runner, It’s gorgeous!
Thank you both for another great Christmas post.
Hugs,
Anna
I love the table runner! thanks for some more fun!
What a great project and ideal gift. Thank you for sharing.
Toni :o)
Thanks for the tutorial. Great idea and looks easy enough for someone like me.
Lee:)
Hi Kerryanne!
Kris is such a sweetheart isn’t she? What a terrific and fun project! 🙂
Love it!
Love and hugs!! Vikki xx 🙂
This comment has been removed by a blog administrator.
OOOOOHHHH so beary cute!!
Good tutorial and a lovely table runner. Julie.C
Lovely table-runner! Thanks a lot!