Hello creative friends,
Just a quick post today to share these sweet little button and string sewing envelopes with you.
Aren’t they just the cutest!
[PIN for later]
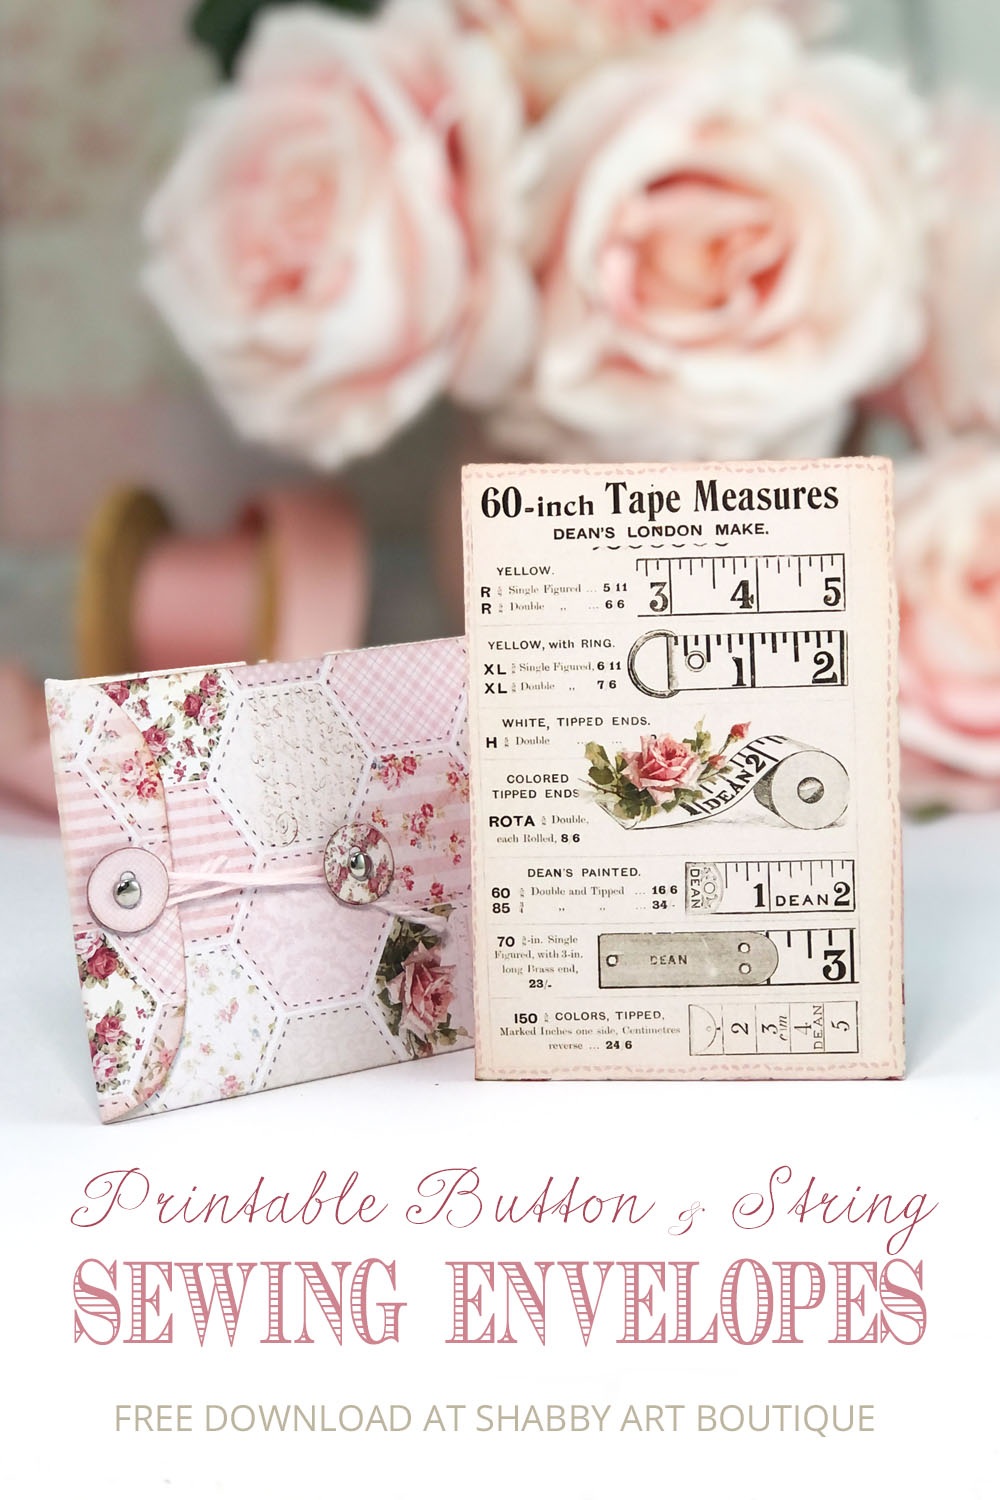
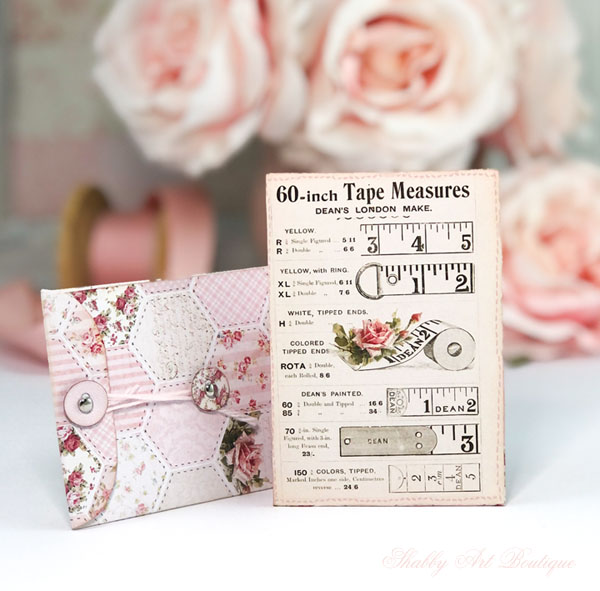
They are quite petite, measuring just 7 cm x 10 cm (2 3/4″ x 4″)…..
But the perfect size to tuck into a pocket of a journal, notebook or handmade card.
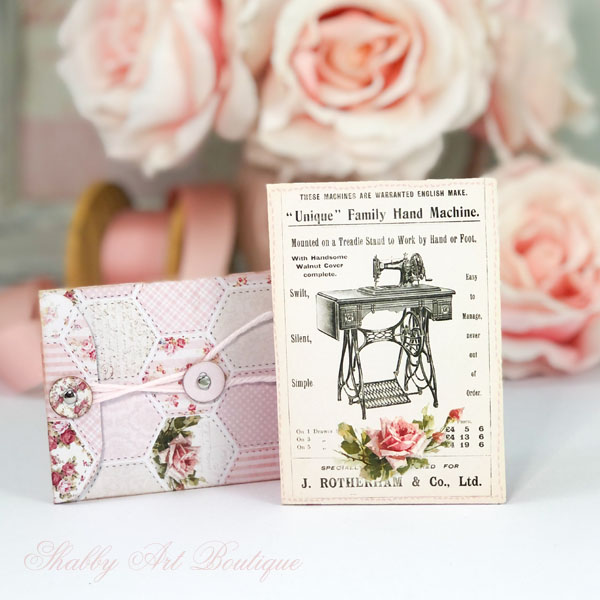
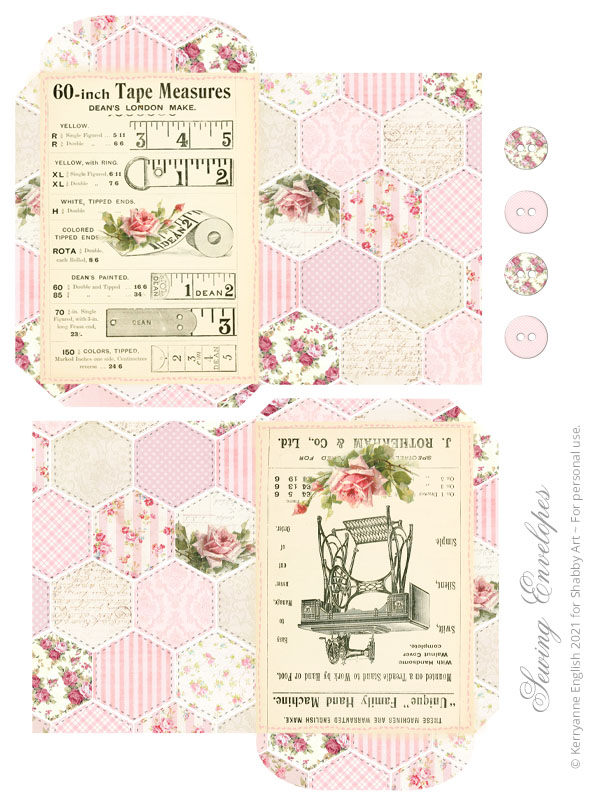
The front of the sewing envelopes feature pages from a vintage haberdashery catalogue, while the back is a pretty pink patchwork fabric paper I made today.
Do you like them?
How would you use them?
This ‘print and make’ project is so quick and easy to put together, you’ll knock these out in just a few minutes… and there’s a handy tutorial below.
How to Download
This free PDF printable for the Button & String Sewing Envelopes is available to download in the Newsletter Subscribers Printable Library – the password to this page is on the bottom of your latest newsletter.
Not yet a member?
No problem, simply sign up for the Shabby Art Boutique newsletter with an email address and get instant access to all of the free printables in the library.
Please note: you must add my email address to your email contacts list to prevent the newsletter going to your spam folder – kerryanne @ shabbyartboutique (dot) com
Note: This printable is for personal use only and not to be sold as either a digital or finished item.
Click here —> for my full copyright and policy disclosure.
How to Make
- Download and print the free printable PDF and the cut out envelopes with a sharp craft knife.
- Score the perimeter of the front graphic using a bone folder and score board. Fold all four edges to the back.
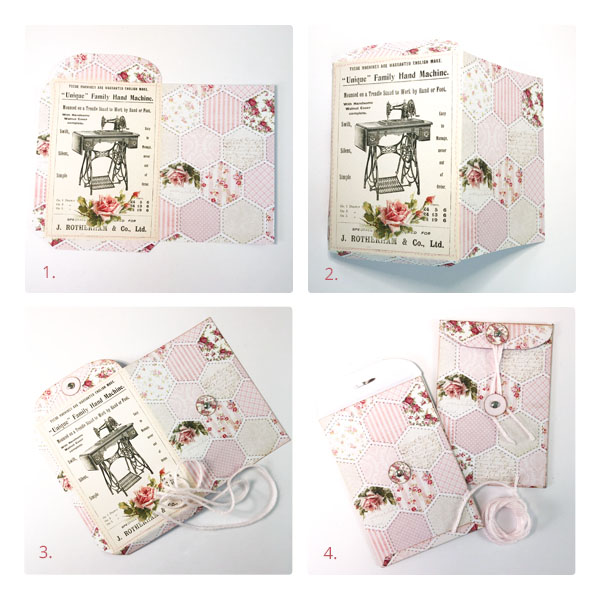
3. If you choose to ink the edges of the envelope and buttons, please do that now. The buttons have been attached with small paper fasteners – one in the middle of the top fold down flap and the other in the middle of the back envelope panel. This needs to be done before the envelop is glued together.
4. The final step is to run a small bead of white glue along the two tabs and fold the back panel over and stick down. You can glue the tab at the bottom either under the back panel or over the top of it… I’ve shown it both ways. Use a small length of cord, floss or wool to tie around your buttons to close the envelope.
That’s it… super easy…. but very cute!
Hope you enjoy this fun little project!
Happy crafting my friends!
Hugs
♥
Kerryanne
Let’s be friends on….


Get instant access to the free printables in my Newsletter Printables
Library by joining my email newsletter subscriber’s list.
I send out a weekly newsletters with updates on all things
‘shabbilicious’ at Shabby Art Boutique.
I invite you to join our fabulous and friendly
Facebook group – Simply Shabbilicious
where you’ll enjoy our friendly banter and inspirational creativity.


latest password isn’t working?? help!
Hi Linda,
The password is definitely working, so you may have entered it incorrectly sweetie.
Just check your newsletter for the current password and be sure to type it exactly as shown.
Hope you enjoy these little envelopes.
Kerryanne
Absolutely wonderful. Put a smile on my face. Thanks.
I love this design! It’s going to look great on my bulletin board in my sewing room where I display vintage sewing notions and patterns.
These are so beautiful! Thank you very much!
Beautiful, thank you!
I LOVE this! I hope we’ll see more of this lovely patchwork pattern!
Printed these out this morning and assembled them. What a pretty set of pockets!
Thank you so much for sharing. <3
Hola 🙋♀️, a mi en mi correo del boletín no me ha llegado ningún password 🤷♀️, que hago ?????
La contraseña está en la parte inferior de cada boletín. 🙂
Bonjour,
Je n’arrive pas à me connecter. Comment créer mon mot de passe ?
Merci beaucoup.
Cordialement.
Bonjour, vous devrez vous inscrire à ma newsletter hebdomadaire et vous recevrez un mot de passe à utiliser pour la bibliothèque imprimable.
Happy crafting,
Kerryanne