Hi creative friends,
Welcome to my 13th Annual Simply Christmas event.
If you are new here, this is the Christmas event that I run every year from the 1st November until Christmas Eve.
It started as a one off event to evoke the simple joys of an old-fashioned ‘homemade’ Christmas… but it’s become a bit of a tradition here at Shabby Art Boutique.
 For the next 8 weeks until Christmas Eve, I will be sharing lots of free crafting projects, printables, recipes, Christmas decorating and gift ideas…. so I hope that you will join me as we put the homemade and home baked back into Christmas.
Traditionally, I kick off this event every year with free printable Christmas Planner pages.
2022 Christmas Planner
When I was uploading my Handmade Club kits to my Etsy store earlier this year, I decided to hold onto the Cottage Christmas planner I designed back in 2019 so I could share it with you as a freebie for Simply Christmas.
If you were a club member back in 2019 and already have this printable, I have added perpetual November and December calendars and the 2022 November and December calendars, so you’ll be able to add these to your files.
In the 11 page free 2022 Christmas Planner pdf file, you’ll receive:
– Front and back 5″ x 7″ cover pages
– November and December 2022 Calendars
– Blank perpetual calendars for November and December
– November and December daily planners
– list pages for cards, gifts and emails
– Planner pages for menu’s and crafting
– Shopping lists and special delivery cards.
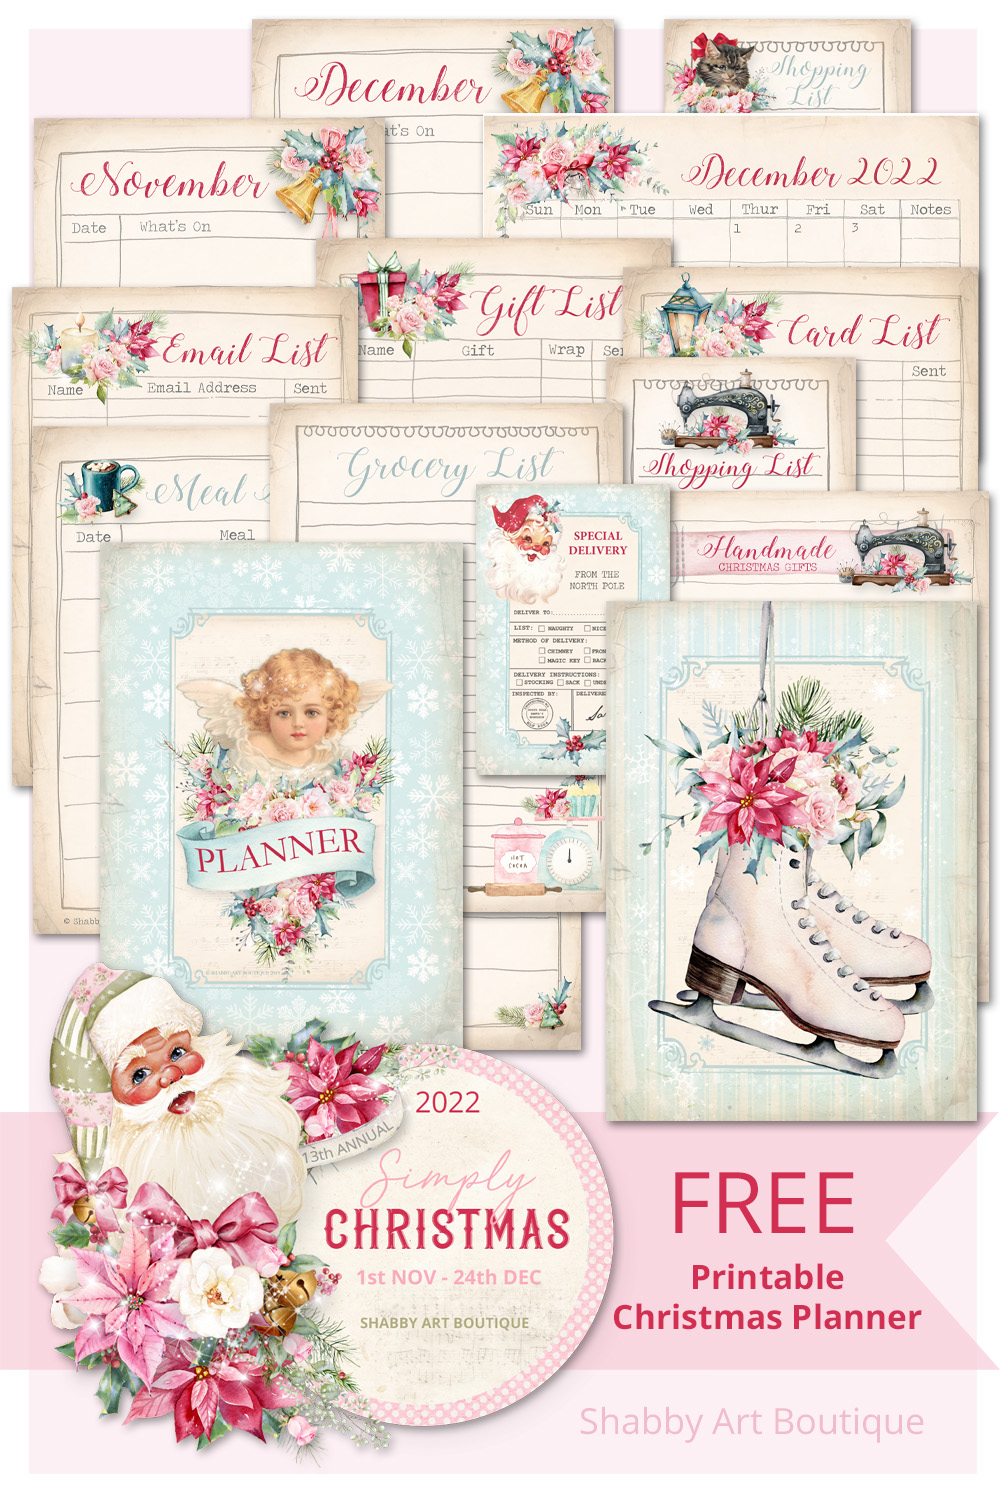
The planner pages measure 4.5″ x 6’5″ and fit nicely into a 5″ x 7″ journal.
For optimal results, the pages should be printed on matte photo paper card weight (250 gsm) or coated presentation card on the highest print setting.
DOWNLOAD the Christmas Planner
In order to protect this file, I have added it to my free printable library.
The free printable Christmas Planner file is ready to download now in the Newsletter Subscribers Printable Library – the password to this page is on the bottom of your latest newsletter.
Not yet a member?
No problem, simply sign up for the Shabby Art Boutique newsletter with an email address and get instant access to all of the free printables in the library.
Please note: you must add my email address to your email contacts list to prevent the newsletter going to your spam folder.
- This printable planner and the Add-on Planner Extras on Etsy will only be available until Christmas.
How to use the Christmas planner pages:
There are lots of options on how you can use these Christmas planner pages… journals, box planners, folios, clipboards etc.
I made a Christmas planner with these printables back in 2019, which you can see below on YouTube (it’s a short video, but not the best quality, unfortunately).
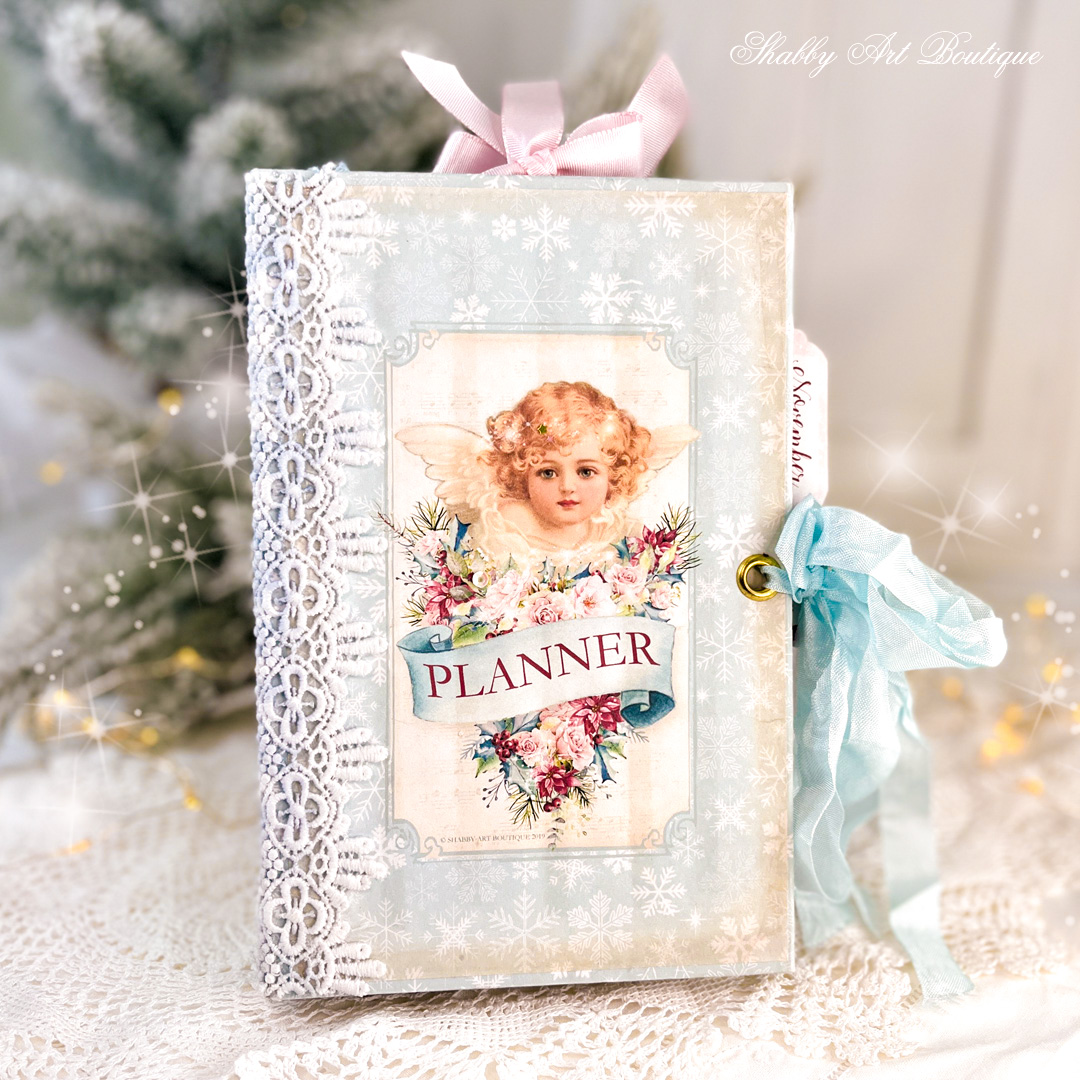
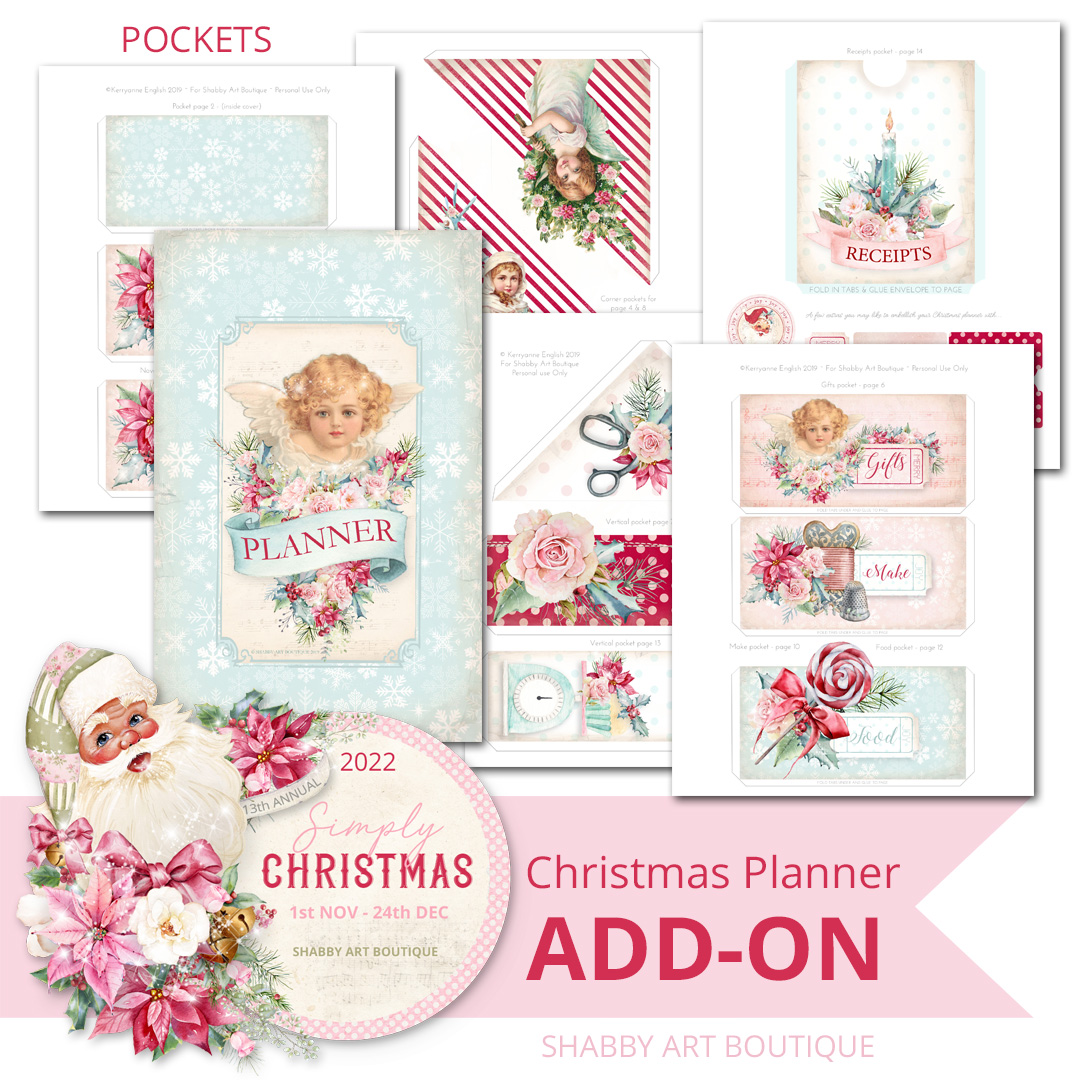
In addition to the free Christmas planner pages, should you want to create a journal like the one I made, there is an add on Christmas Planner file listed in my Etsy store (it contains the pockets and planner papers I used).
Click HERE –> to see Etsy Add-on Planner listing.
How I made my Christmas Planner
As always, I encourage you to make your projects your own, adding in the type of embellishments that you like to use and adjusting the size and techniques accordingly.
You may like to use my planner as inspiration and create a planner with your own papers, pockets etc.
At this stage, I do not have a video of the making of this planner, but I am happy to share written instructions on how I made mine.
My Christmas planner uses the free 2022 Simply Christmas planner pages and the add-on kit.
My planner cover measures 5” x 8” and the six inserts are 5” x 7”.
I used a fixed spine… there’s a very easy to follow tutorial on YouTube for making this type of journal.
Don’t be worried that it is not in English, it has subtitles and is quite self explanatory anyway.
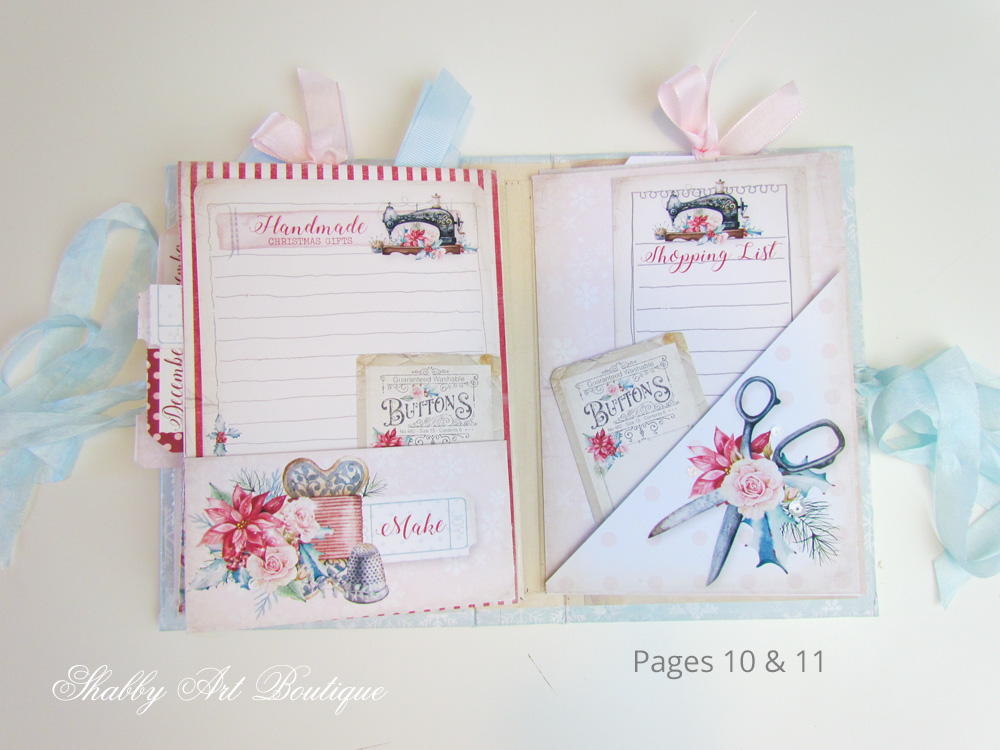
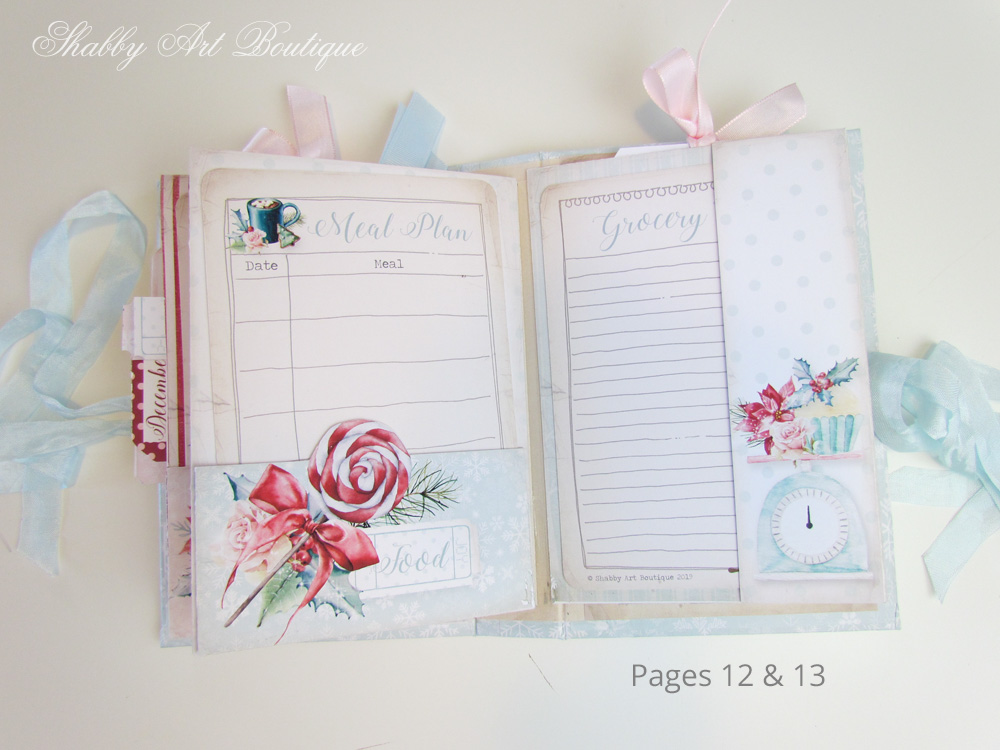
My pages fold across from the side, instead of down from the top. I included page pockets in both the tops and sides, so I could pop in tags and planner pages.
For the side pockets, I trimmed off a couple of millimetres when the page was completed.
I used two pages of my blue print paper (joined together) to make a cover for the planner. Once I had assembled the cover I attached the front cover page and the two inside cover pages.
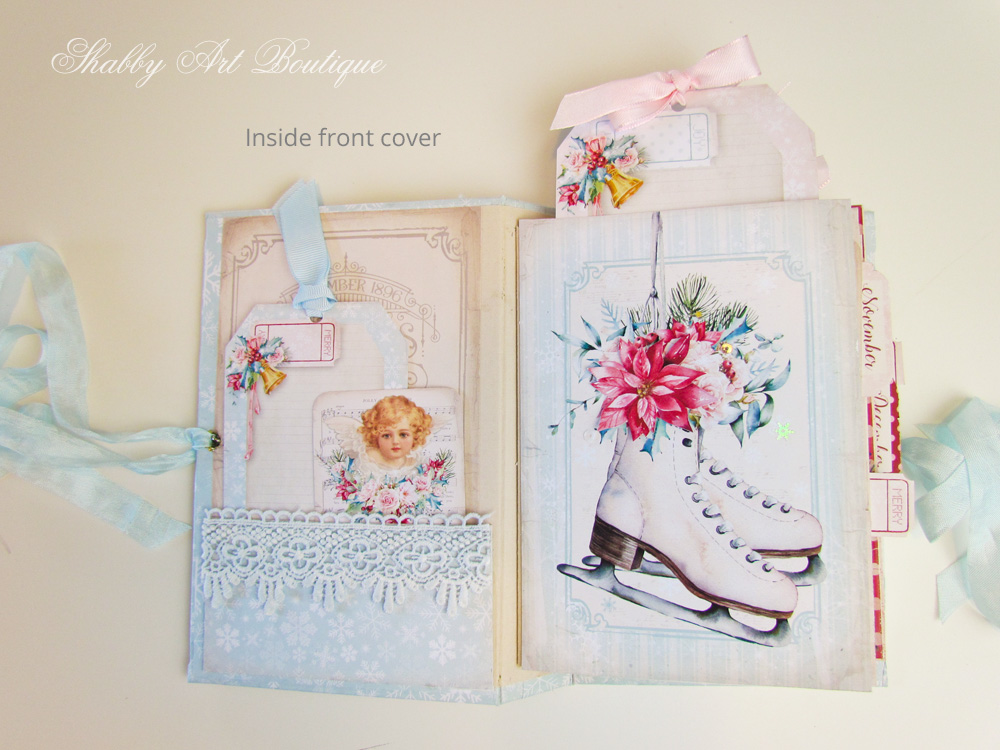
I know a lot of people use double sided tape in their journals, but I prefer to use actual white glue for long term adhesion.
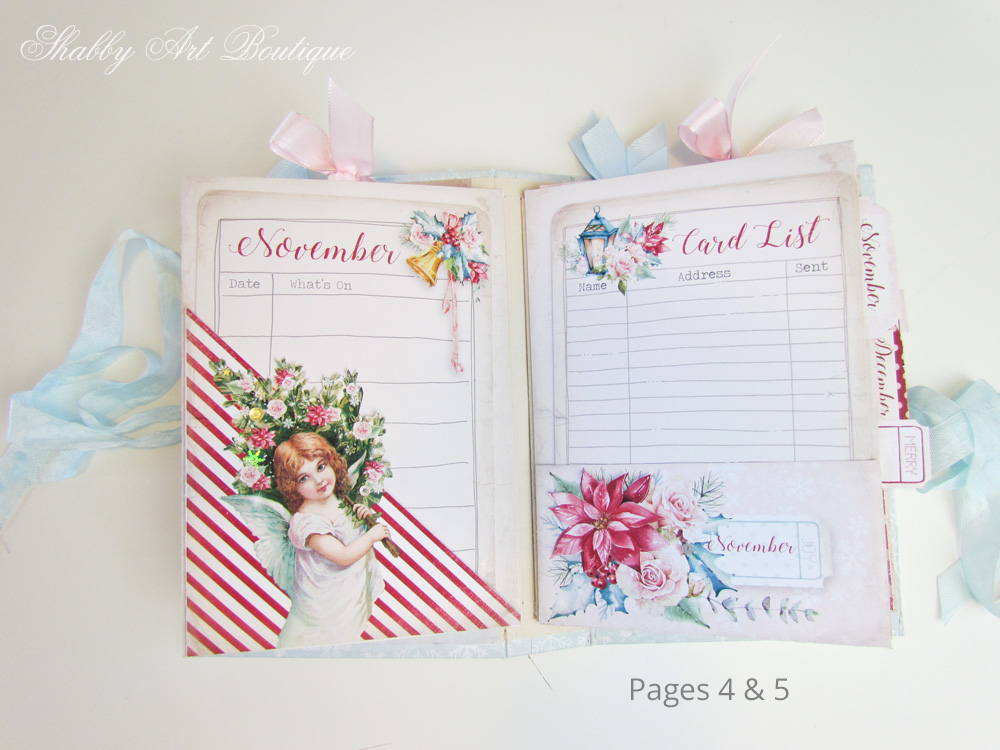
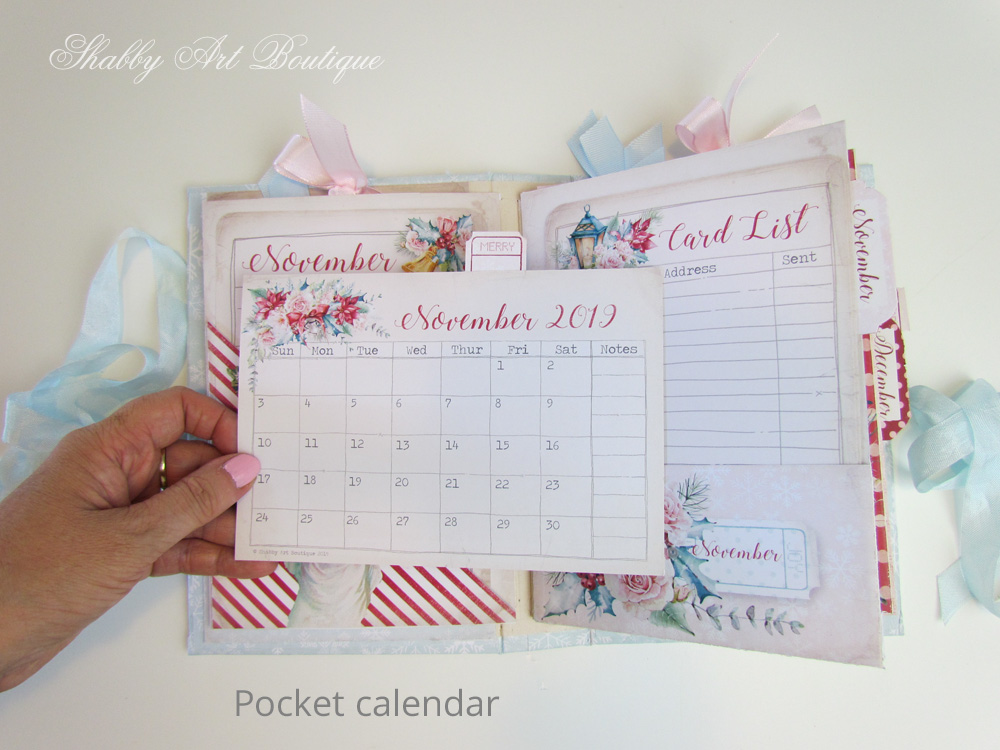
There are new updated and perpetual calendars in the free file,
that have replaced the original 2019 calendars.
Assembling the six internal pages
The add-on PDF contains 6 double page printables. I printed mine on 250 gram matte photo paper.
This double page is cut out as one whole page… then scored down the centre of the page and folded over to create the pocket page. You will end up with six of these.
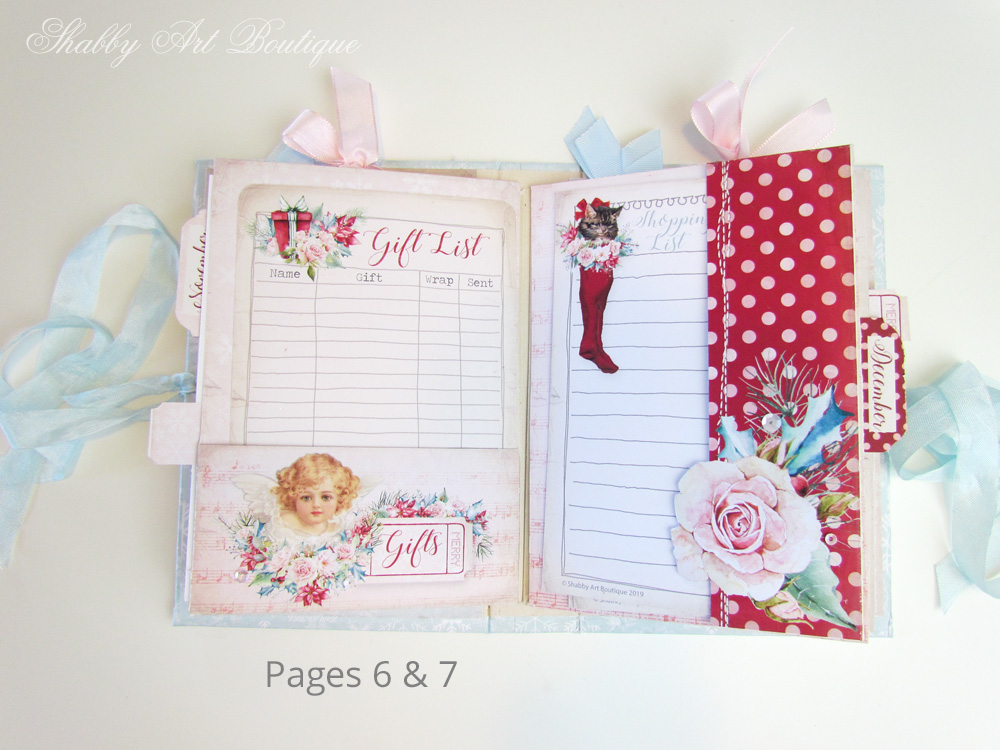
Pockets
Page pockets: On pages one and six, I made the pockets in the top.
For pages two and four I made the pocket opening in the side after I had assembled the planner.
I simply ran the knife down the length of the page about 2 mm in from the outer edge, thus creating an opening for a side pocket.
Once the planner was assembled, I started adding the extra pockets. All of these pocket printables have tabs on them. Score tabs, fold over and glue the pockets to the relevant page.
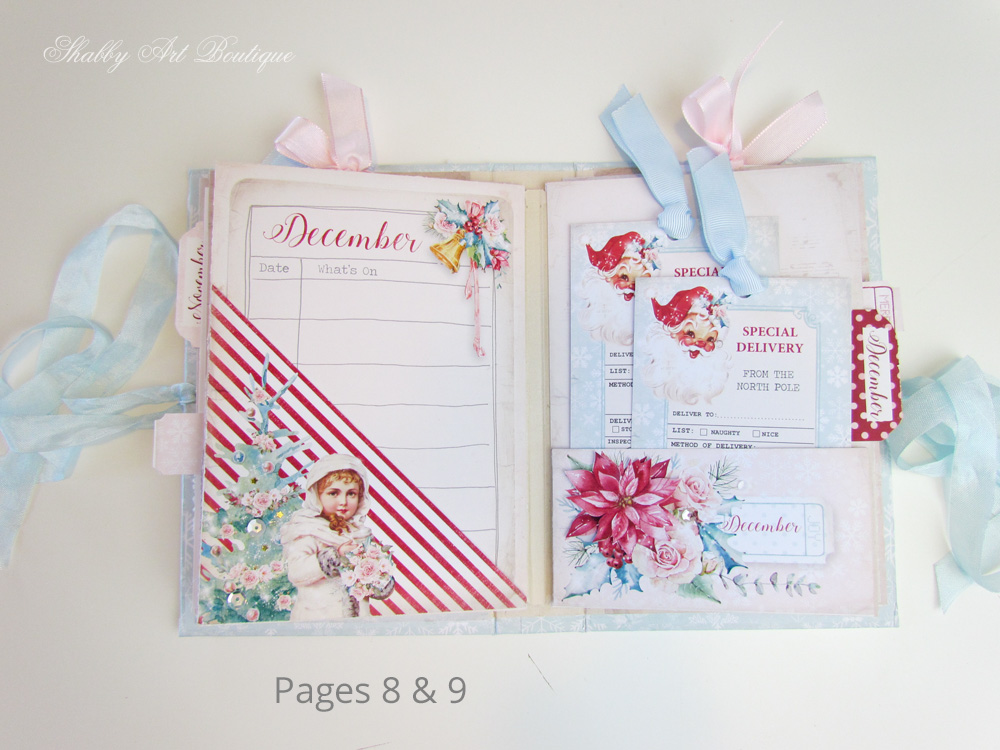
Decorating the planner
Extra poinsettias are included in the PDF and are for fussy cutting and adding as a second layer over the printed poinsettias on page 3 (first internal page), page 5 – November page and page 9 – December page.
On the front cover and throughout the planner I have added lace, small sequins and glitter to add dimension.
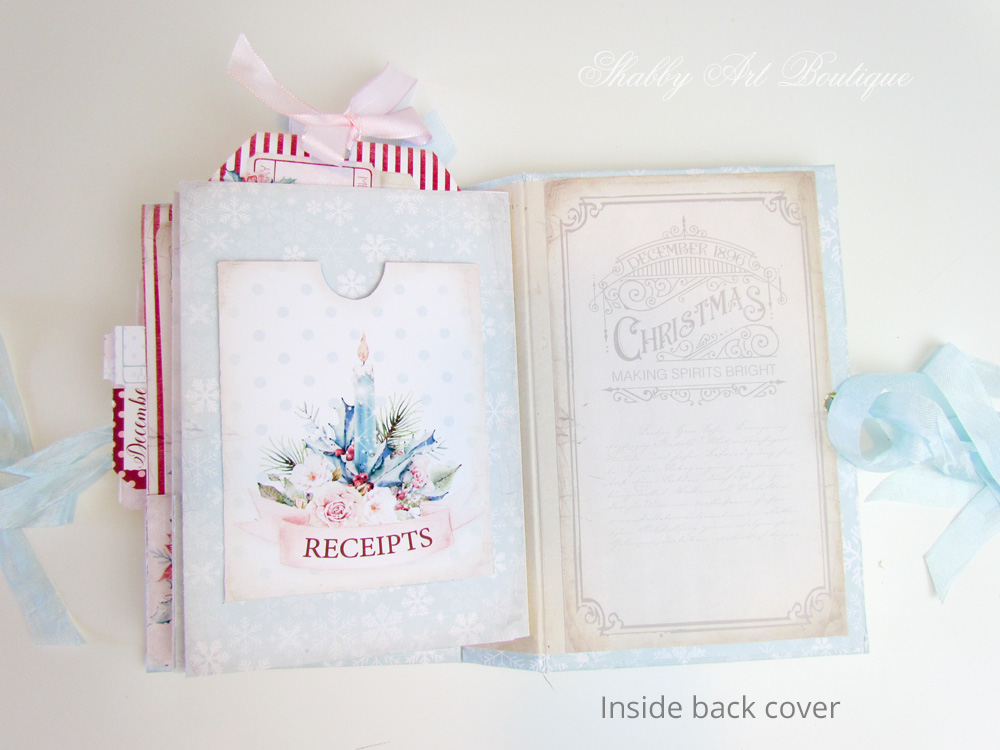
I added eyelets to the front and back covers so I could attach a ribbon tie, but this is definitely optional.
The planner, if made correctly with the right sized spine, sits nicely closed without a tie…. but oodles of silk seam binding and a pretty rhinestone button adds to the overall gorgeousness, don’t you agree!
Finishing touches
-
I used a corner punch on my card inserts for rounded corners, which is completely optional.
-
Add journal note cards and pretty embellishments to you pockets. Honestly, you can do whatever you like to make this Christmas Planner perfect for you.
-
Tip: You can re-use your To-Do lists and menu planners by laminating them and using a whiteboard marker.
Last year I added my Christmas planner pages to a tri-fold folio
which is another way to organise your planner pages.
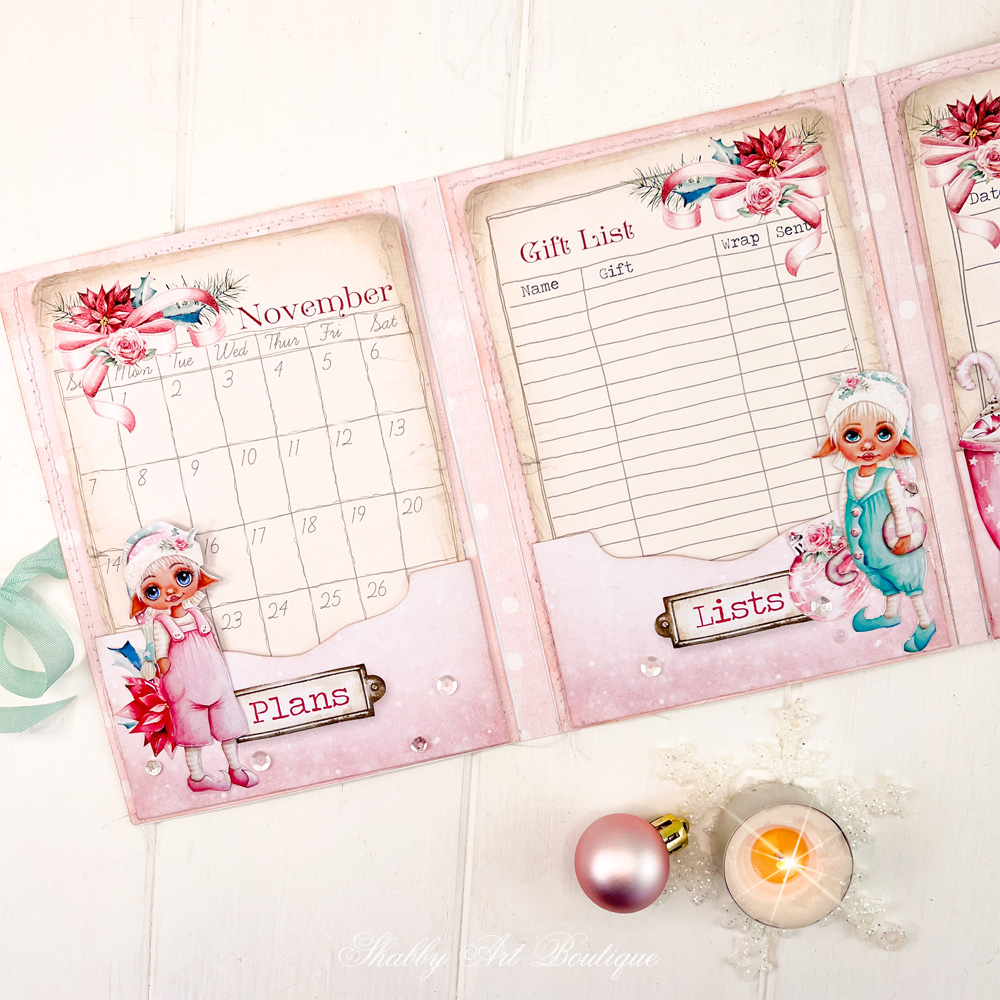
I hope you find the Christmas planner helpful for getting organised for Christmas.
Happy crafting!
Hugs
♥
Kerryanne
Let’s be friends on….
Get instant access to the free printables in my Newsletter Printables
Library by joining my email newsletter subscriber’s list.
I send out a weekly newsletters with updates on all things
‘shabbilicious’ at Shabby Art Boutique.
I invite you to join our fabulous and friendly
Facebook group – Simply Shabbilicious
where you’ll enjoy our friendly banter and inspirational creativity.


I’m so happy to see this planner again! I’ve been watching for it! Thanks!
This is exciting. I love making Christmas lists. Thank you so much. 💖
I’m quite new to your page – and thank you so much for the freebies for the Planner. I’ve been inspired to buy the additional print-outs from Etsy and am now ready to go!! BUT – you point us to a YouTube tutorial to make the journal book before starting to stick in the add-ons. HOWEVER – the tutorial shows us how to make a book 7 inches wide and 5 inches high – your print-outs are for 5 inches wide and 7 inches high – the other way round and I’m getting quite confused! Can you give advise the measurements of materials to use to make the journal book the correct way up for your print-outs – please. I’ve tried to figure it out, but the insert pages don’t seem to line up size-wise. Sorry if I’m sounding a bit confused – but I am!!!
Hi Valerie,
I’m sorry if my blog post was confusing. I’ve given all the measurements in my post for a 5″ x 7″ journal, which is what my journal is. I shared that I had used a fixed spine technique to make my journal and I provided the link to a YT video that shows how to make a fixed spine for clarification…. but I wasn’t suggesting that you make that particular journal. If you wanted to make a fixed spine journal you’d need to create a spine that fits with the measurements of your own journal – I used a 6.5″ high fixed spine, but the same spine widths as shown. I’ve not provided a full tutorial on making the journal I created, because it is just one option for using the planner cards. I know that my readers have a variety of ways to make and use their Christmas planners and this was intended to be a post to share my free printables. I’m sorry that it was confusing and I hope I’ve helped with the issue you are experiencing.
Happy crafting,
Kerryanne
Bonjour, inscrite depuis quelques mois, je découvre à l instant ces superbes calendriers, est il possible de recevoir celui gratuit ? Vos désigns sont magnifiques !
Merci, belle journée