Hi creative friends,
One of the frequent questions I receive from readers of my blog is about fussy cutting; what tools do I use and how best to do it.
Fussy cutting papers is not hard to do and with the right tools and technique, even people with arthritis in the hands can usually manage to fussy cut.
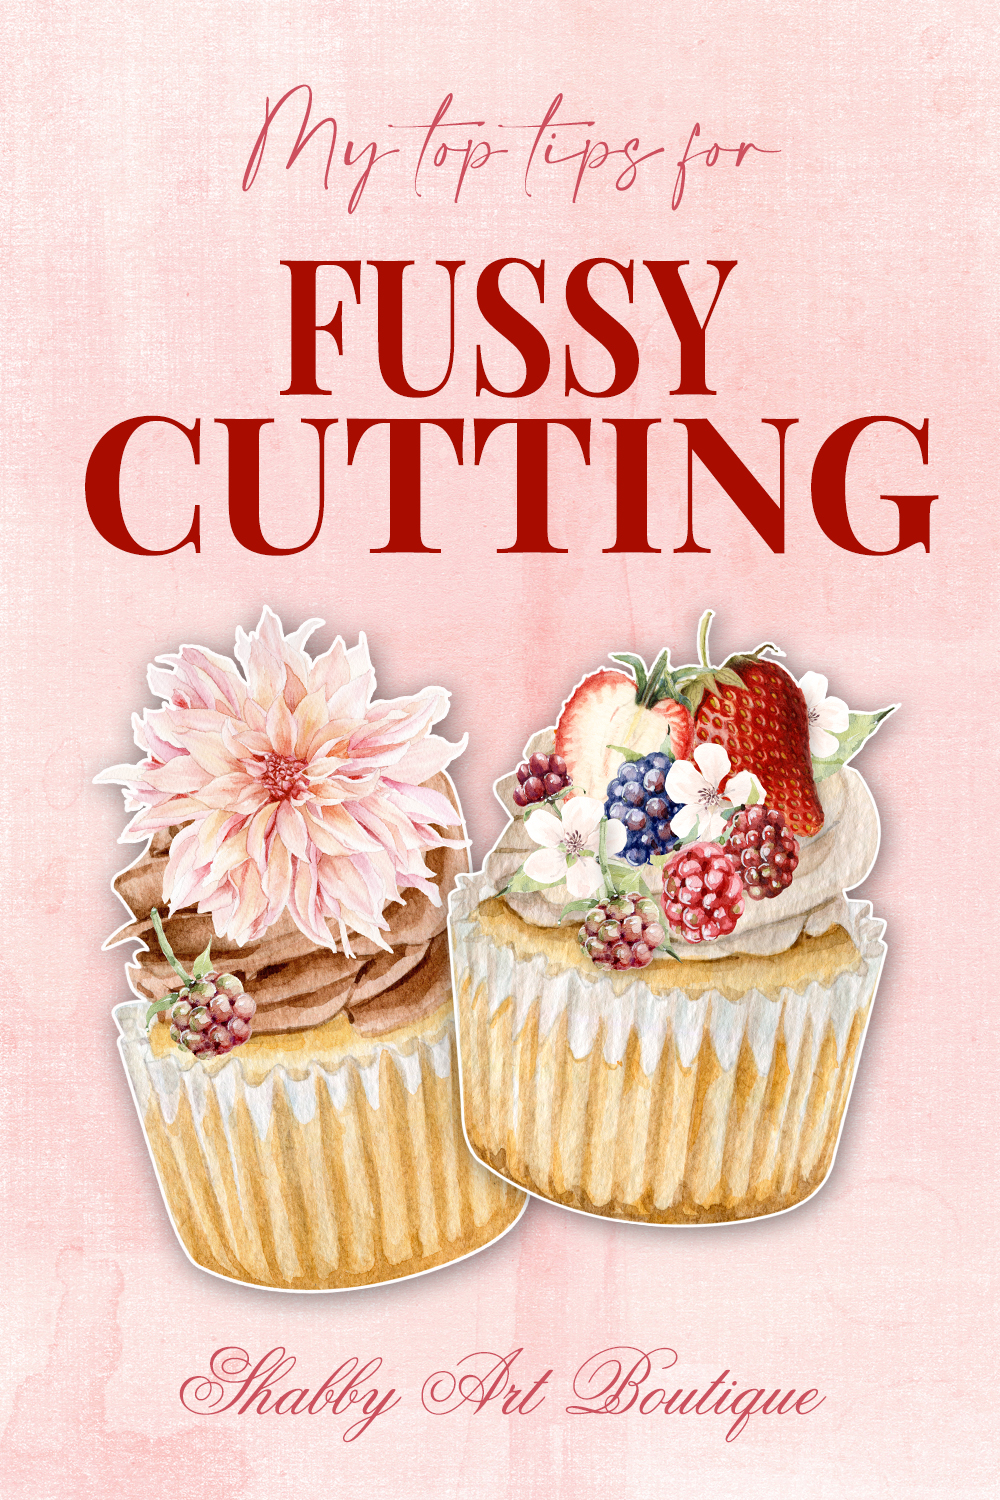
So today I am sharing my top tips for fussy cutting digital elements.
This post contains affiliate links. Please see my policy disclosure.
My Top Tips for Fussy Cutting
#1. Tools
The best place to start is with the tools required to fussy cut. You will need both scissors and a sharp knife, but having the correct scissors will make a huge difference.
Scissors: For fussy cutting you require small, very sharp scissors with a pointy tip.
I’ve got a few pairs that I alternate between, but my favourite scissors are the Friskars 5″razor edge micro-tip shears. They have a spring action which helps with hand fatigue, plus I love the safety lock. Another pair that I like are the Tim Holtz Tonic Studios 5″ titanium mini snips. They are super sharp too and have a comfortable handle.
Knife: I use a scalpel knife for a lot of my fussy cutting and this is one tool where you do need a comfortable handle. I use the Tonic Studios Tim Holtz Retractable Craft Knife, which has a fabulous Kushgrip handle and a retractable blade. There are of course lots of different brands available, but I would suggest you look for a scalpel knife with a comfy handle (not bare metal).
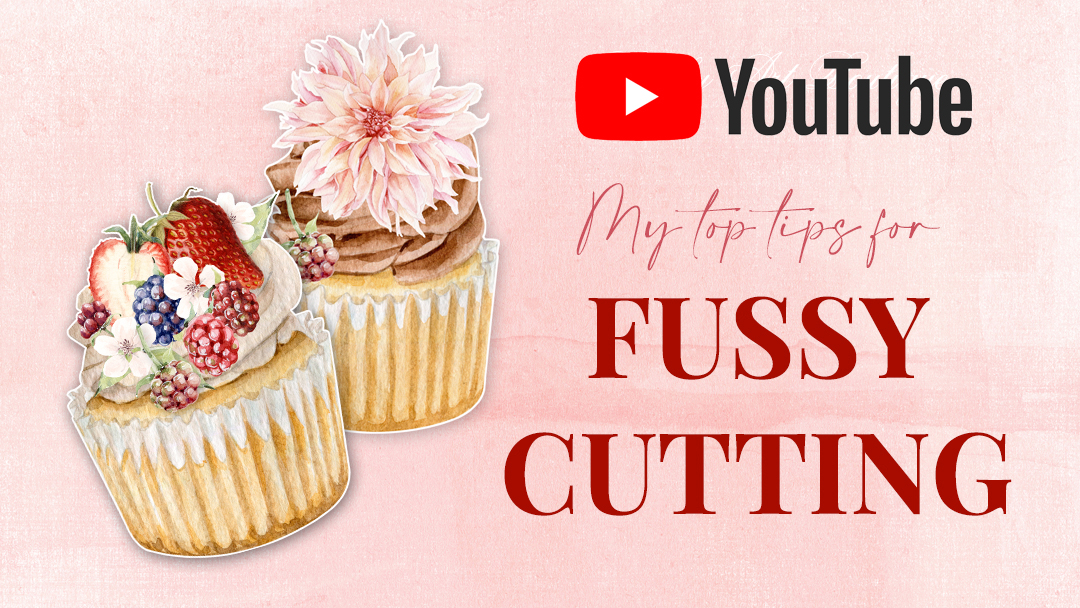
Click here to –> watch my Fussy Cutting YouTube video.
#2. How to Fussy Cut
Paper fussy cutting is basically trimming out a design from a larger piece of paper to use in your paper crafting projects.
I have a few tips for cutting that will make this even easier.
- Cut the section that contains the image you wish to fussy cut from the larger piece of paper. This will make it much easier to handle.
- How you hold and use the scissors is very important. Your scissors should only open and close… they do not move around the image. Hold the scissors in the right hand and feed the paper through the blade of the scissors with the left hand… let the paper do the work. This makes cutting much easier and faster… especially for those with hand issues.
- For a cleaner cut, feed the image into the blade of the scissors, close to the handle and not the tip of the scissors.
- Slightly angle the scissors blade away from the design so you can see what you are cutting.
- Cut out the basic design and come back to any intricate areas.
- You don’t need to cut in one continuous line and all in one direction. Switch directions to suit the design so that you get neat cuts at angles and points e.g. leaves and flowers.
- If your design has any negative white areas e.g. the inside of a teacup handle, you need to cut this area away first with a scalpel knife, before cutting the outside of the design with scissors. This will always give your fussy cut elements a nicer look.
- To have a white border or no border… this is a question I receive a lot and my advise is, if you are layering elements over each other, a small white border of about 2 – 3 mm adds definition between the layers. If you are new to fussy cutting, a border is also very forgiving and it isn’t such a big issue if it varies in size slightly around the outside of your element. For those crafters who are well practiced with your cutting tools, you’ll have no issue with cutting precisely around the edge of the design for no border. I do it both ways, depending on the actual project.
#3 Extra Tips
- For very intricate and detailed designs, you can apply a coat of matte gel medium to the back of your element (prior to cutting) to provide extra stability and help prevent tearing.
- Fussy cutting like any technique, improves with practice, practice, practice!
I find cutting my designs out by hand to be extremely relaxing and I hope these tips will be helpful to make fussy cutting quicker and easier for you too.
Happy crafting!
Hugs
♥
Kerryanne
Let’s be friends on….


Get instant access to the free printables in my Newsletter Printables
Library by joining my email newsletter subscriber’s list.
I send out a weekly newsletters with updates on all things
‘shabbilicious’ at Shabby Art Boutique.
I invite you to join our fabulous and friendly
Facebook group – Simply Shabbilicious
where you’ll enjoy our friendly banter and inspirational creativity.


Thank you! I’m grateful for these tips!