Sometimes… you just can’t escape your past!
A few years back, hmm…four to be exact, I designed a quick and easy vintage look sewing box.
It was one of those projects born out of necessity. At the time I was teaching craft classes in my studio and I was needing something to store cotton reels and bobbins in for class use, so this little black box was whipped up in a quick crafting session.
The next day I decided to share the graphic on my blog, so others could use it too.
It was a practical project, but not one that I thought was anything special…
But that little black box turned out to be incredibly popular and was one of the biggest downloads from my website.
It again had a resurgence in popularity in 2013 when I fixed a broken link on Pinterest, after many emails asking for the tutorial.
That little black box and I parted company long ago…. it served its purpose well, but no longer fits with my decorating style.
Back in February when I closed my website to do a make-over and a bit of a clean out, I finally turfed this freebie download out.
I thought it had well and truly had its day…

But, I’m wrong again…. I don’t seem to be able to escape this little black box.
I’ve had so many emails letting me know that people can’t find it on my website. Plus, Pinterest still has dead links to it (which I can’t seem to fix), so I’m still getting asked to provide a link to the tutorial.
SO… the little vintage sewing box, which is mocking me with its popularity is BACK!
You can download the graphic for the Vintage Sewing Box HERE.
And here’s a quick tutorial on how I threw this baby together:
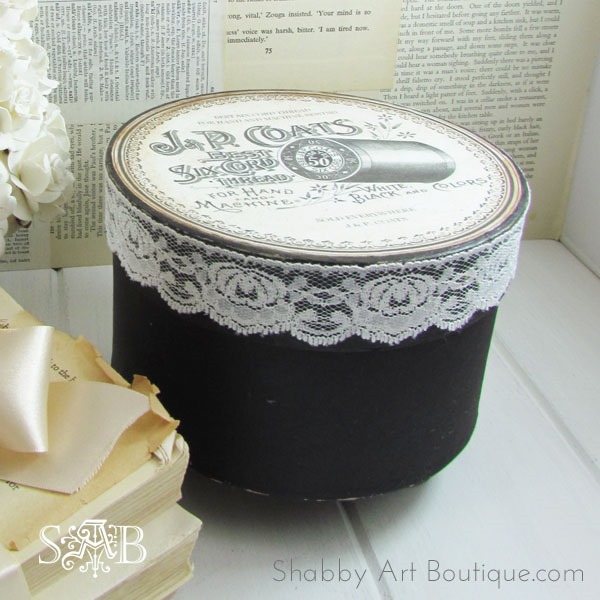
I used a paper mache box with a 6” diameter lid.
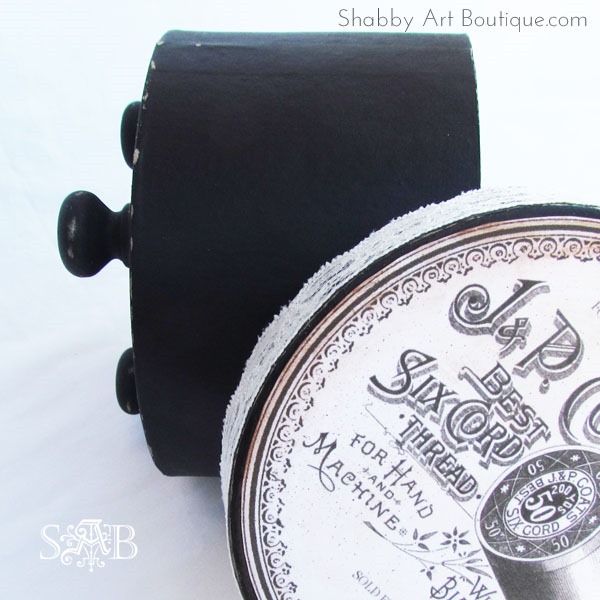
3 mini wooden door knobs were glued to the base of the box to make sweet little decorative feet.
The outside of the box was painted with black paint and the inside with cream paint.
I combined two graphics that I downloaded from the Graphics Fairy to make this vintage look label in Photoshop. You can download the free printable label HERE

I printed the graphic, cut it out and adhered it to my box lid using Mod Podge.
Then coated the top of the lid with Mod Podge to seal it. When dry, I floated a little Burnt Umber around the edges of the label and fly specked it with an old toothbrush (with Burnt Umber) for a more vintage look.
The edges of the box were distressed with sand paper and I gave the whole box a spray of matt varnish to seal it.

For the final touch I added this ivory lace around the rim of the box lid.
Trust me, this is a super quick and easy project… but be warned, if you post photos of it on the internet, it may haunt you for years to come!!
Happy crafting my friends,
Hugs
♥
Kerryanne
I’d love for you to connect with me at:


Follow on Bloglovin
or if you’d like my posts delivered directly to your Inbox
Subscribe to Shabby Art Boutique by Email
If you’d like a private pass to all things ‘shabbilicious, sign up today for my fortnightly newsletter.
It contains personal stories, sneak peeks, recommendations, discounts and freebies.


Gosh, was it really four years ago…doesn’t time fly.
I can understand why folk found this so interesting because it was pretty but so very useful. Perhaps you need to make a new one in pretty pink floral or duck-egg polka dots so that you can get away from the ‘black’
Hope the ‘haunting’ continues to be a friendly one.
Toni xx
I want to thank you from the bottom of my heart. I turned 79 this month and I love to craft. However only being married for years my husband has dementia. However my time is limited. I am soooo thankful for generous way to share your talents. I am so grateful. I love all the things you do.
What more can I say except a big THANK YOU!!!!!!!! Mikki
The link for your sewing box is not available from your site, It says account suspended. I do love the box and want to make a few of them for gifts. Thank you for sharing your awesome talents.
Este
Hi Este, I’m sorry that the link was broken when you visited the post. The original printable was from 2011, but I tracked it down in my files and have reloaded it to my blog for you. All of the links are now working 🙂