I was considering my fabric fall leaf coasters today, which have been well used with family staying with us this past month.
I’m very happy with how they have stood up to frequent washing, so I wondered about what I could make to replace them for spring.
Although we are only two thirds of the way through winter, we’ve had the hottest July temperatures on record, so it is feeling more like spring than winter. I’m ready to launch into my spring projects!
After checking out my fabric stash I decided on some pretty pink florals… they felt very spring-like…
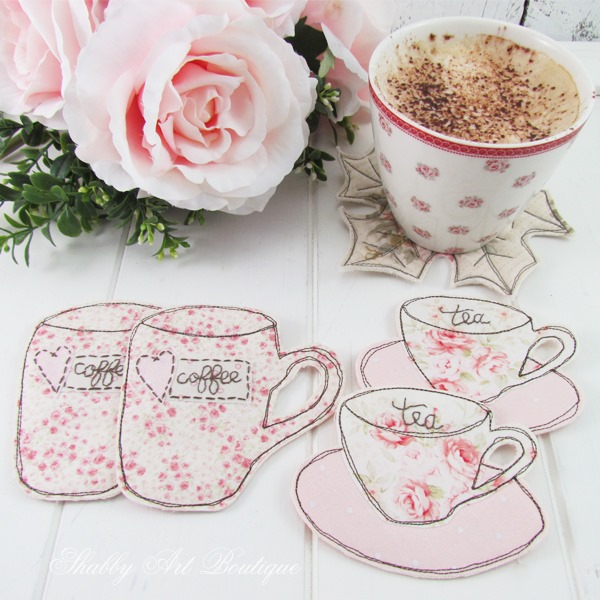
And my new teacup and coffee mug coasters evolved from there!
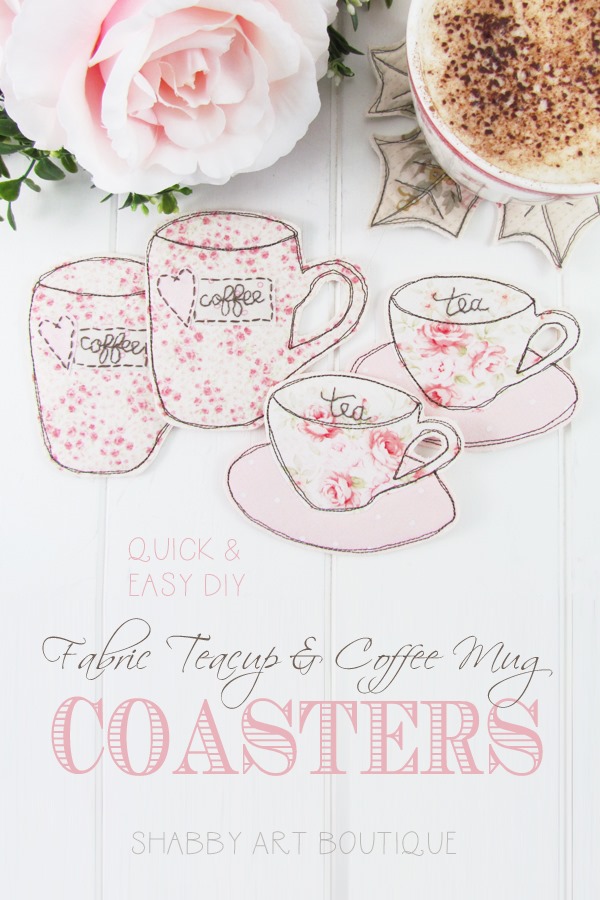
This design could be made in any coloured fabric and I think you’ll be surprised at just how quick these cuties are to make. Allow 2 hours for a set of 4 coasters.
How to Make Fabric Teacup and Coffee Mug Coasters
Size: Coffee mug – 10 cm x 10 cm, Teacup – 8 cm x 10 cm.
Requirements:
(Please wash all fabrics before use)
An assortment of fabric scraps,
Visoflex (iron on applique paper),
Small pieces of calico for applique – approx. 11cm x 11 cm per coaster,
Cream wool felt for backing,
Template – download Letter size HERE and A4 size HERE.
Iron,
Sewing machine and usual sewing supplies.
Note: Applique papers have lots of different names. Visoflex is the one I have readily available where I live, but yours may be called something entirely different. What you need is an iron on paper sold for patchwork and applique.
Instructions:
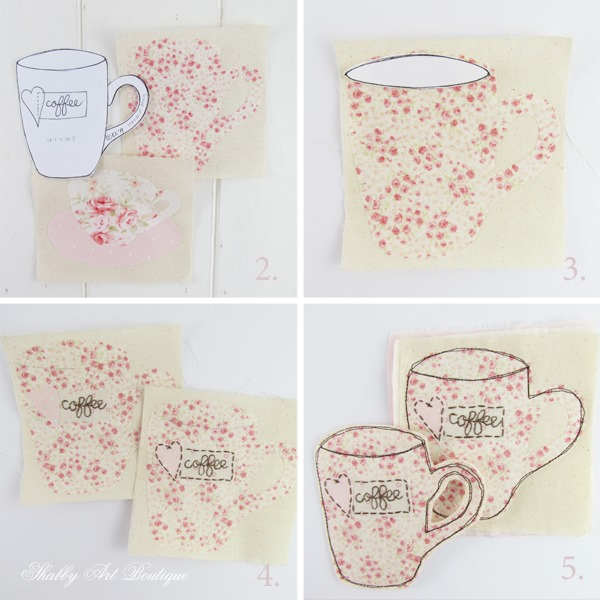
1. Trace the pattern pieces for the teacup and mug onto the paper side of your Visoflex. Cut them out allowing a 3 mm allowance around the outside of the design (this will be trimmed later). Set your iron to no steam and iron the applique cut-outs onto the back of your fabric.
2. Cut calico (muslin) squares of approx. 11 cm x 11 cm. Peel off the backing papers from your applique fabrics and arrange fabric pieces on your calico fabric. Iron to adhere (no steam). To make placement easier, I sometimes make a pattern tracing on tracing paper and arrange the pattern pieces underneath the tracing paper design.
3. Cut the opening of the cups from the template and place the paper pattern on your applique (shown above). Trace the outline ready for sewing.
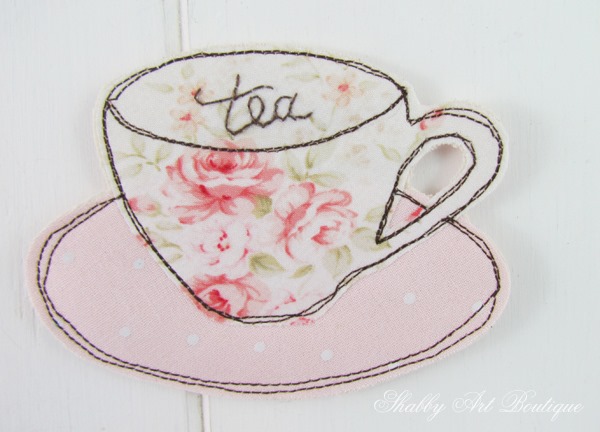
4. I added the words tea and coffee in backstitch on an additional piece of fabric – this step is optional but shown on the pattern piece. I also added a heart to the coffee mug and then stitched the pieces on using brown DMC embroidery cotton. I also embroidered the word tea directly onto the teacup design.
5. When you are happy with your design, sandwich your piece of felt between the front and backing fabric. I used pink polka dot fabric as the backing for all of my coasters. It was cut to the same measurement as the front piece.
Pin the three layers together and then using a free motion stitch technique, stitch around the perimeter of the teacups and mug twice. When finished, secure cotton ends at the back and then, using sharp scissors cut away the excess fabric.
There you have it… super easy fabric coasters that are pretty enough for any tea party.
[PIN for later]
If you enjoyed this project, you may also like my tutorials for
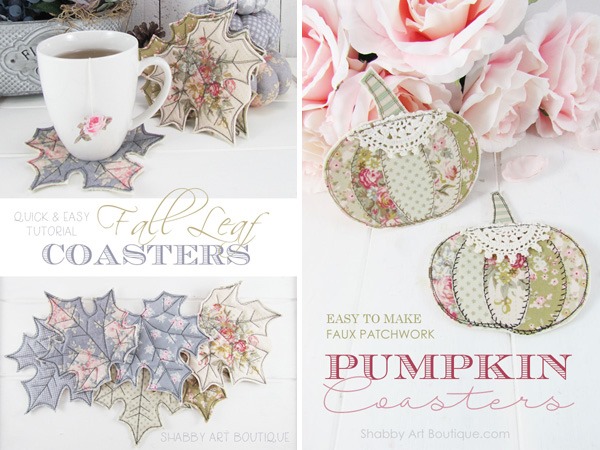
Fall leaf coasters and pumpkin coasters.
Happy crafting!!
Hugs
♥
Kerryanne
I’d love for you to connect with me at:
Get instant access to the free printables in our Member’s Only
library by joining my email newsletter subscriber’s list.
I send out two newsletters a month with updates on all things
‘shabbilicious’ at Shabby Art Boutique.
Follow on Bloglovin or join our Facebook group Simply Shabbilicious.



What a lovely idea thank you for sharing ?
Very pretty, love them ?
These are lovely!
What a charming idea, Thank You..:)
Thank you for all the Hard Work you do to bring us such Beautiful projects.
God bless u n urs.
Such a sweet comment Marguerite and one I appreciate very much. I hope your 2020 is filled with much creativity and fabulous projects.
Hugs ~ Kerryanne