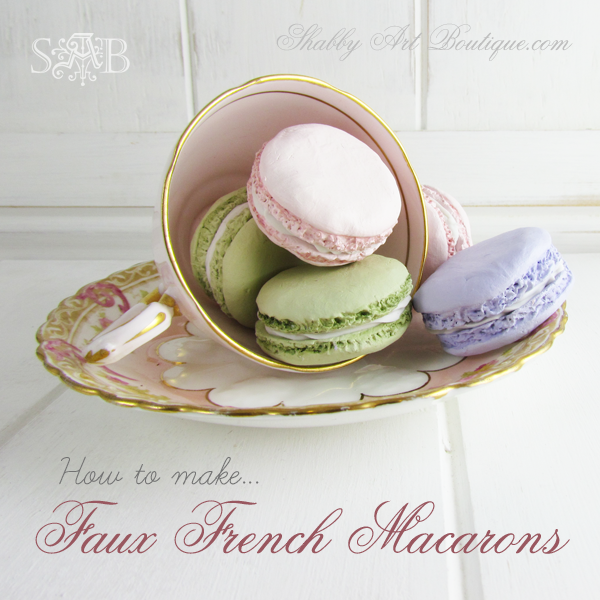
The world is in love with French Macarons.
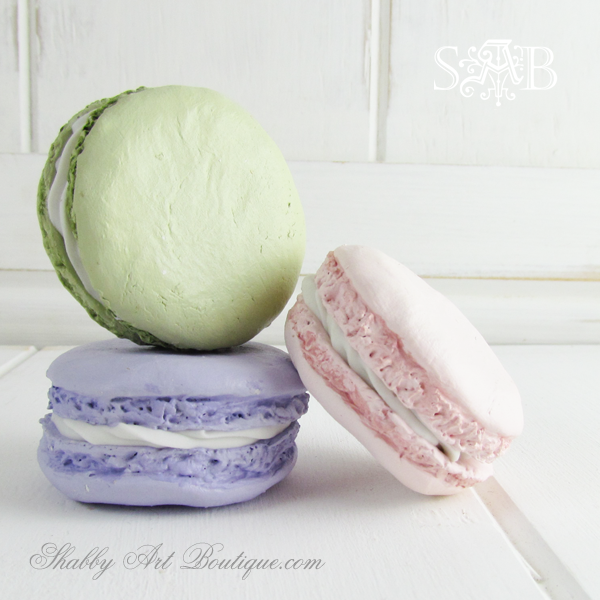
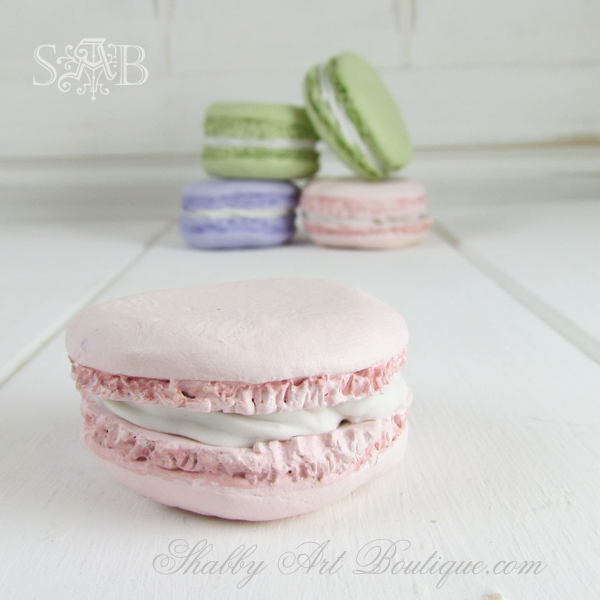
This confectionery is characterized by its smooth, domed top, ruffled circumference (referred to as the “foot”), and flat base. It is mildly moist and easily melts in the mouth. . .
Unless of course it is a ‘faux’ French Macaron.
Now you can impress your friends and decorate your kitchen with these gorgeous French delicacies. Make them in different sizes and in any colour combination.
Materials
Packet of Air Dry Clay
2 pencils
Clear stamping block
Silicon paper
Round cookie cutter
Bamboo skewer
Icing set.
Paint: colors of your choice
Matt spray varnish
Texture Paste
Instructions
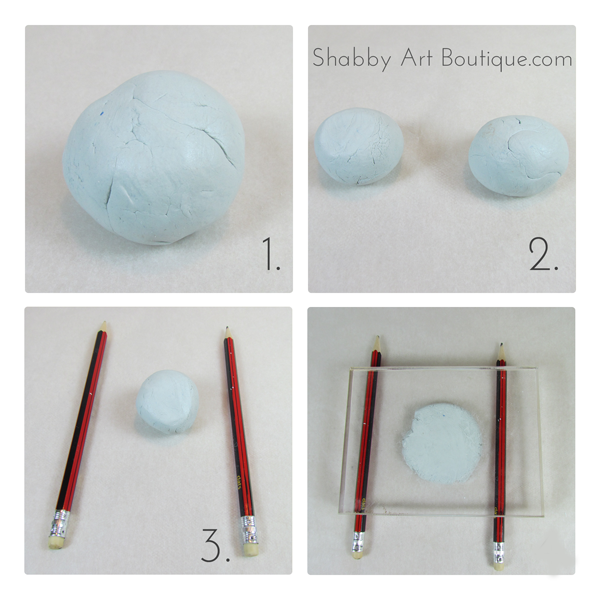
Step 1 – take a small chunk of your air dry clay and roll into a ball.
Step 2 – divide that ball in two equal parts and re-roll into balls.
Step 3 – take two pencils and place them on your silicon paper work surface so that they are parallel. Place one ball of clay between the pencils and press down with the clear stamping block. The pencils will act as a guide, always giving you the same thickness.
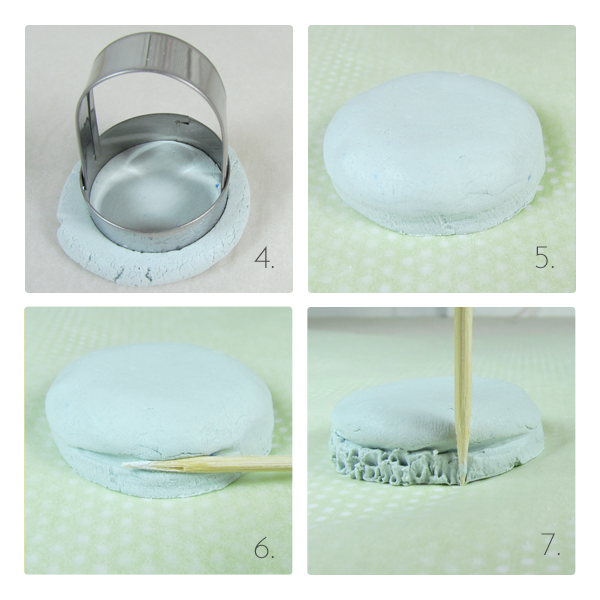
Step 4 – press a round cookie cutter into your flattened ball. I used a 4 cm diameter cutter, but you can make your macarons any size. When you remove your cutter you have a round slice of clay with sharp square edges.
Step 5 – you need to soften and round those top edges. I did this by pressing my thumb along the edge very gently.
Step 6 – Macarons have a ruffled edge that is called a foot. To make this, I pressed a bamboo skewer along the side edge about half way to make an indent.
Step 7 – then using the point of the skewer, make small indentations along the edge of the macaron.
Step 8 – Continue this process for the remaining macarons. Place the macarons on a flat level surface and leave to dry for 2 – 3 days.
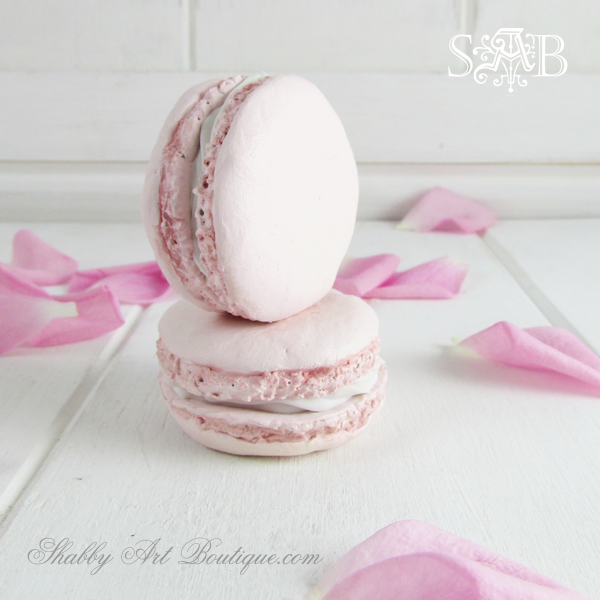
Step 9 – Once dry, the macarons can be painted with acrylic paint in any colour. I applied 2 light even coats of paint to all surfaces of the macaron.
To add dimension to the ruffled side area of the macaron, I deepened the colour a little closer to the main indentation – see photo below.
Step 10 – Fill a piping bag with Texture paste (I use Jo Sonja’s Texture paste straight from the jar with no colour added). Pipe a ring of paste on the flat surface of one macaron and then place another macaron on top, sandwiching the paste between the two cookies.
To finish, seal macarons with several light coats of Matt Spray Varnish.
There you have it….
Beautiful faux French Macarons that will add that just baked touch to your kitchen or dining room.
They look amazing… and very realistic when placed under a glass dome.
Happy crafting my friends,
♥
Kerryanne
I’d love for you to connect with me at:
Follow on Bloglovin
or if you’d like my posts delivered directly to your Inbox
Subscribe to Shabby Art Boutique by Email
If you’d like a private pass to all things ‘shabbilicious, sign up today for my fortnightly newsletter.
It contains personal stories, sneak peeks, recommendations, discounts and freebies.



this is wonderful :):):)
Soo pretty. They look real too. I can so see myself late at night walking into the kitchen in the dark and taking a bite out of these. : )
Oh my these are so very pretty but also look yummy! Lisa@ Sweet Tea N’ Salty Air
These are adorable Kerryanne and they look so real.
Toni xx
LOL…I thought…OH YUM…we’re making real macaroons! 🙂 They are beautiful!!
Those are adorable! I love the colors. My daughter loves to eat them, I couldn’t keep them in the kitchen 🙂 I like your method of getting them even. I wanted try that with some real ones. xoxo
Well done! this is too cute & fun!
These are amazing!! Sharing & pinning 😉
Hugs, Jamie
Thanks Jamie. Everyone always thinks they are real on my shelf 😉
Beautiful!!!!!! Would u mind telling us the colors/brand of paint u used and what matte varnish u used?❤️❤️❤️