Today we are going all granny chic…
Although my inspiration for apron wearing comes from my grandmother, I’m pretty sure her aprons never looked anything like mine.
My nan’s aprons were more the basic gingham variety with maybe a little simple pocket embroidery. Aprons of that era were generally your everyday half apron, pinafore or full apron.
I like all of those aprons too… but that’s were the similarities stop. I like to embellish them with fun altered details… sort of a salute to that era, with a modern twist!
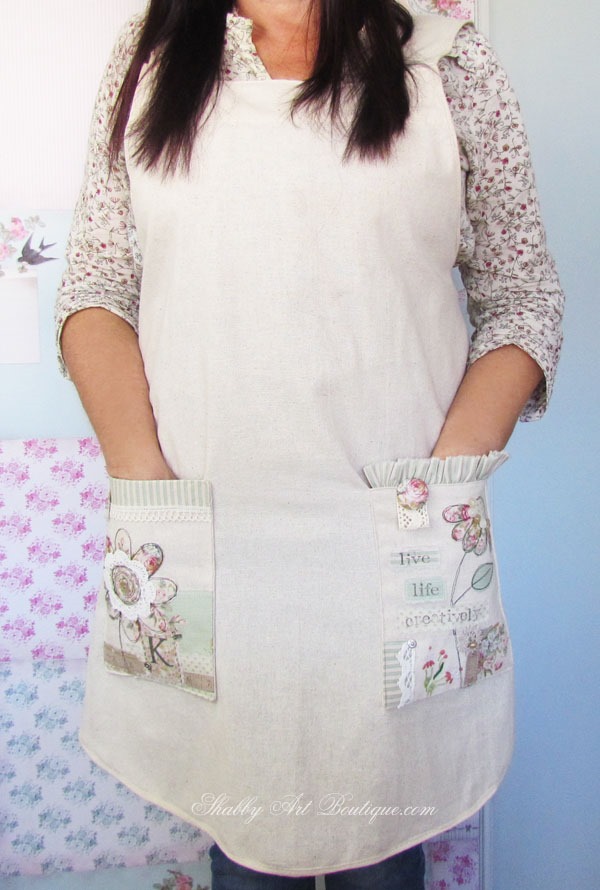
Yesterday I shared my latest apron, a cross back apron, often referred to in recent times as a Japanese apron.
I used the free pattern from Japanese Sewing Books blog, but I redrafted the pattern to suit my dimensions.
The tutorial shares two patterns; one for an adult and the other for a child. I found the adult pattern was way too long for my 5’ height, but the child’s size was the perfect length for what I required in this apron. I needed to adjust the width of the pattern to allow for ‘lady bumps’, so I drafted up a combination of the two patterns to achieve what suited my needs.
I quite like the look of these cross back aprons worn long (as in the original pattern), but that wouldn’t work for me in the craft room.
My aprons are kind of like my work uniform, so they have to be practical. For that reason, pockets are a must and as this pattern didn’t have any included, I added two large pockets to the front of the apron. They are large enough to hold my iPhone, iPod, cotton reels and any other crafty goodness I may need to keep close at hand.
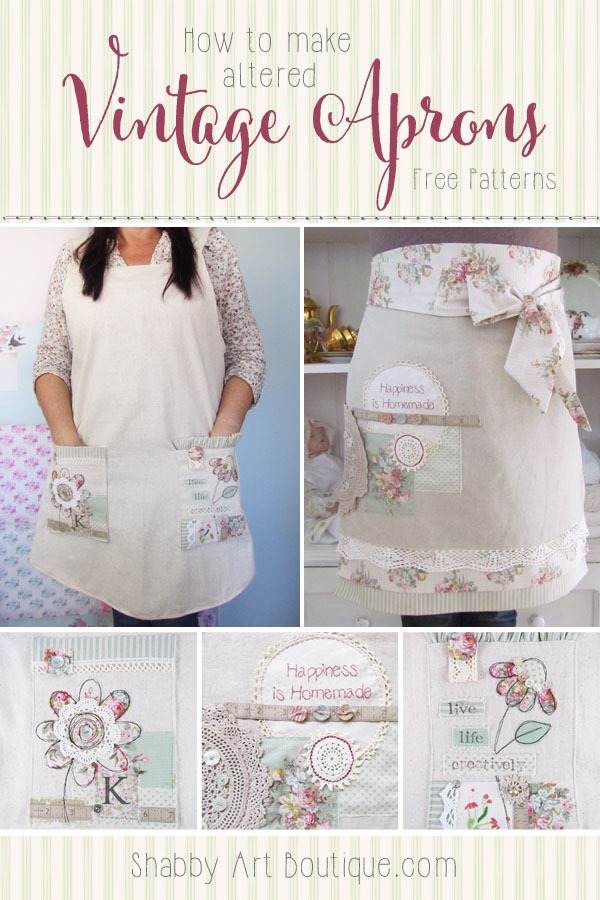
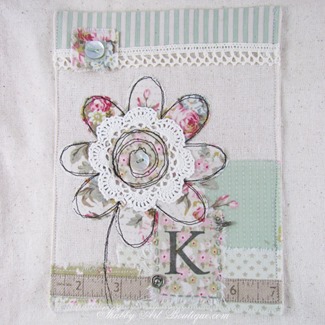
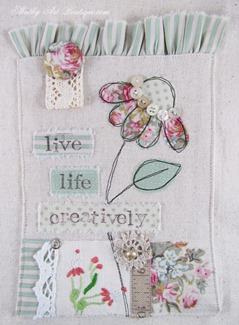
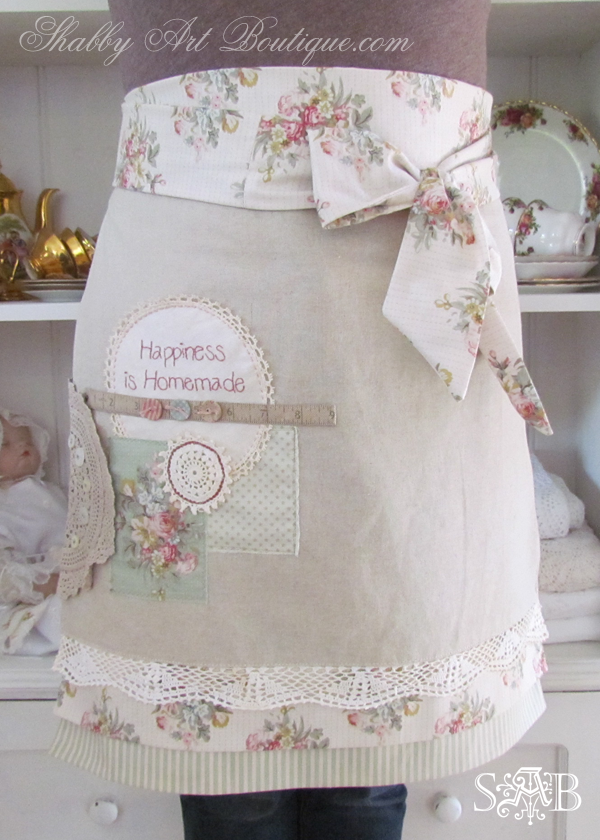
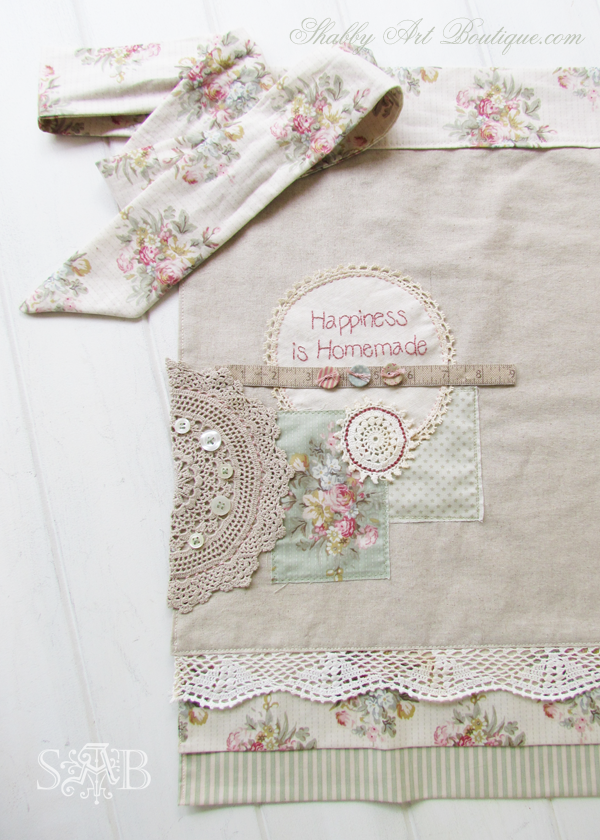
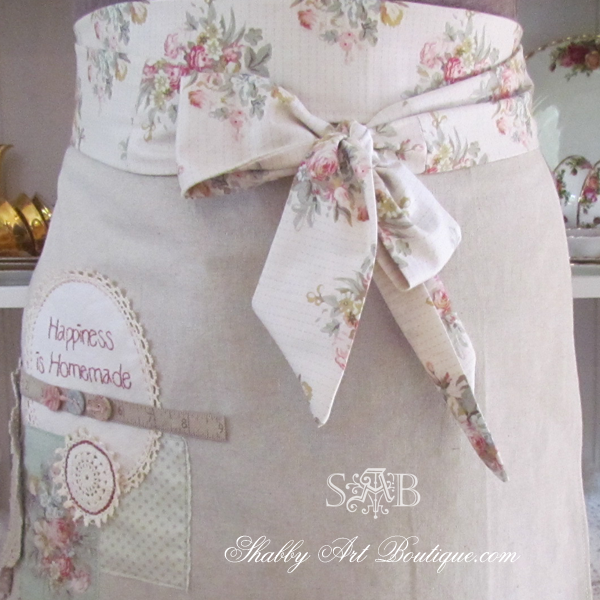
While the apron is left plain, the pockets are like little altered artworks. I’ve included a mix of modern sewing techniques and vintage embellishments.
In yesterday’s post I shared a little about the vintage embroidered doily I used, that was made by my great and great great grandmothers. Other embellishments included appliqué and free motion stitching for the flowers, patches of pretty fabrics, scraps of lace, a measuring tape, stamped words on ripped fabric, vintage doily medallions and vintage buttons, hook and eyes and press studs.
When I work on altered art works I usually have no fixed plan… I simply gather supplies and just get creative.
With these pockets I kept to a group of matching fabrics, which formed my colour palette. The flowers are appliqued on and I used a free motion stitch over the top.
Creating these pockets was so much fun. I love how they add a pop of colour and texture to the otherwise plain apron and I have to say, this is a very comfy apron to wear.
You can get the free cross back or Japanese apron pattern HERE.
This is an earlier half apron I made using the same altered style. This was made using another free pattern designed by Jona at Stop Staring and Start Sewing (free PDF).
The original apron on the free pattern is fairly plain… but mine just evolved into this altered vintage apron and I couldn’t be happier with it.
Once again I added a mix of modern and vintage embellishments… with no real plans. There are no rules with this kind of creating. It’s more about what speaks to you. I think if you keep to a simple colour palette and not too many different types of embellishments, it all just works.
You can see more photos of this half apron on this post.
Helpful hints and tips:
If you are looking for ideas for embellishments to use for making an altered vintage apron, here are a few that I like to use: fabric scraps, crochet doilies, old buttons, vintage sewing supplies which you’ll often pick up thrifting, lace, ribbons, beads, stamping on fabric using permanent ink, stenciling using fabric paint, embroidery, ribbon roses etc.
I always pre-wash all fabrics before use.
I use iron on applique paper to position many of my fabric embellishments before sewing them on.
Try using a variety of sewing stitches with both your machine and hand sewing.
Most importantly, have fun creating!!
I hope you are inspired to try making an altered vintage apron.
Happy crafting
♥
Kerryanne
I’d love for you to connect with me at:
Follow on Bloglovin
or if you’d like my posts delivered directly to your Inbox
Subscribe to Shabby Art Boutique by Email
If you’d like a private pass to all things ‘shabbilicious, sign up today for my fortnightly newsletter. It contains personal stories, sneak peeks, recommendations, discounts and freebies.



Thank you! I plan on making one as soon as our move is finished.
You are welcome Michelle and I hope you enjoy making an apron. 🙂
Beautiful aprons!
Thank you Jackie. I’m certainly enjoying them 🙂
My mom’s birthday is coming up and her old apron is on its last leg and I think I might make this for her. Thanks for sharing, it’s so cute! 😀
Hi dear… thank you for the tutorial
What is the type of appron fabric
Is it kattan or lenin or anything else