Sewers are always coming up with new ways to store their embroidery floss.
I’ve seen a variety of cards, plastic holders and novelty items that you can attach your floss to.
But I wanted something that reflected my style and taste….
Something a little more… vintage.
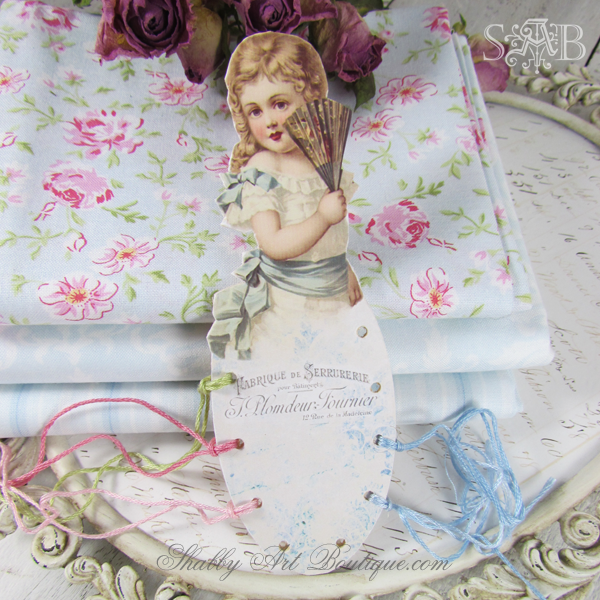
First came this little lady for my current long term project.
This is a project that I work on just occasionally and it will take me some time to complete.
I named this sweet vintage girl Eleanor, after my nan.
She kind of matches my project.
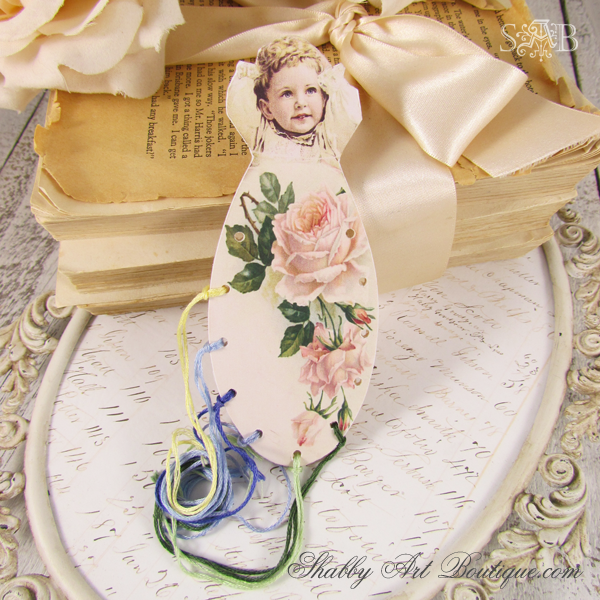
Then a week later I was starting a new stitchery project and wanted to store some more embroidery thread.
I needed another floss holder.
So this little sweetie, Charlotte, joined the sewing bag.
I’ll be making several more of this particular project for gifts, so I left the floss on my Charlotte vintage floss holder.
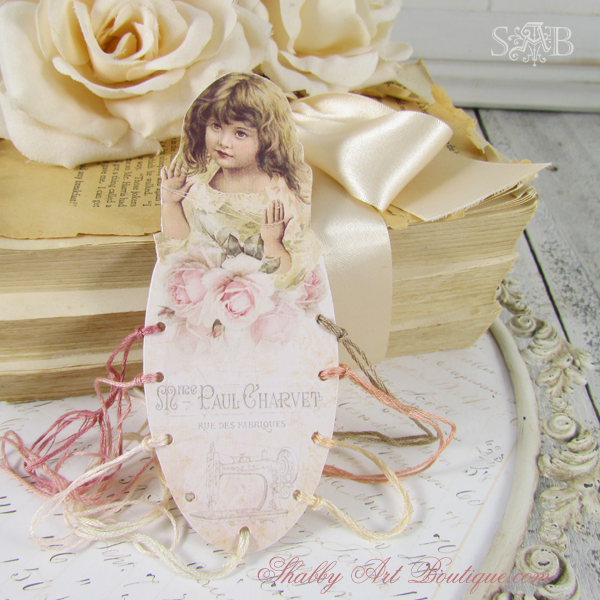
Now this week I’m putting together a kit for a crafty catch-up date… and I’m sure you have guessed where this is going…
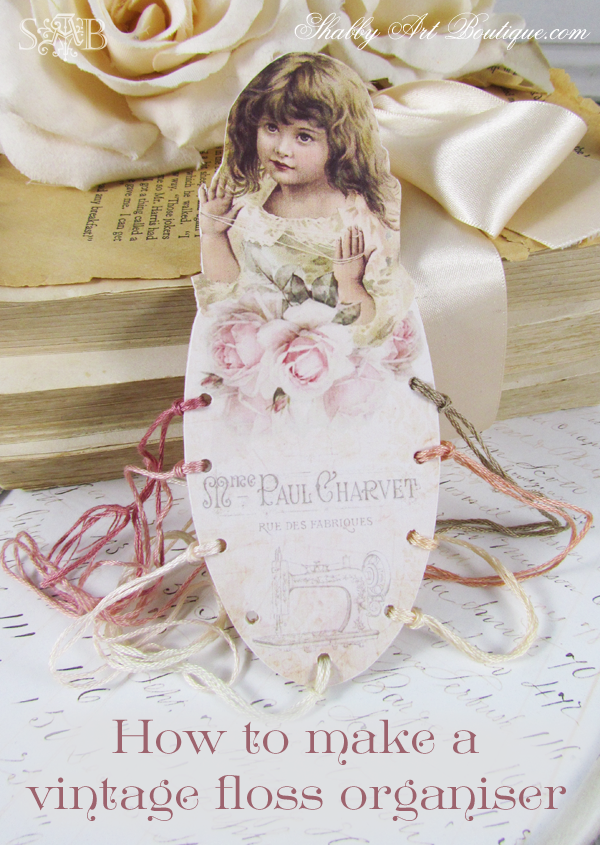
Yep, another sweet vintage lass has joined my hard working sewing organisers.
Meet Rose…
I promise you, she is the last.
There may be a few clones along the way, but I’ll stop at three designs.
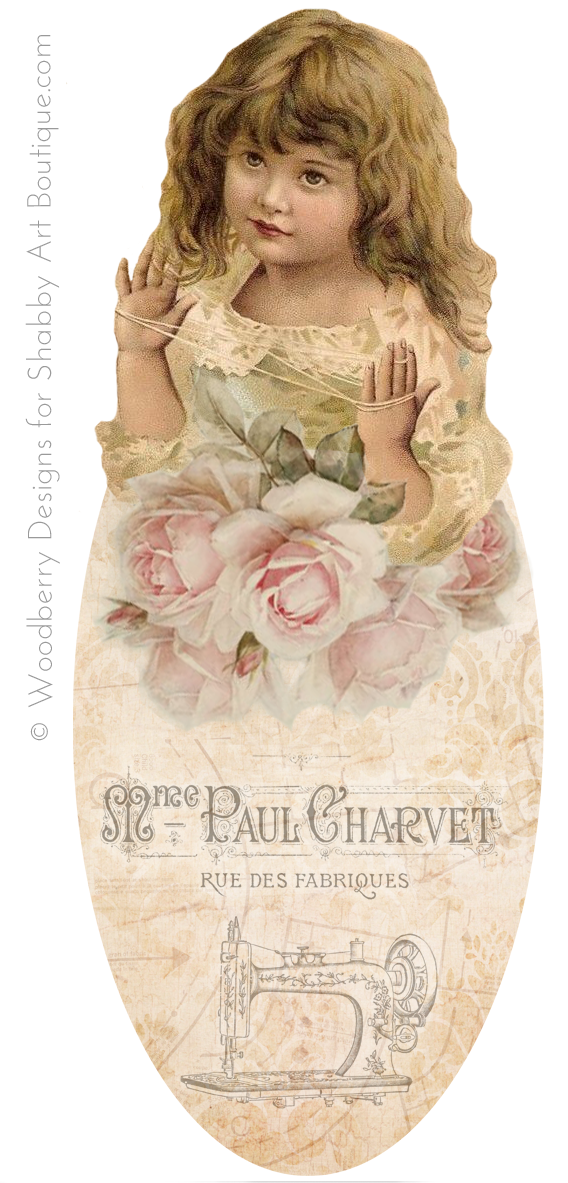
I decided that I’d share my Rose Embroidery Floss design with you too.
She is so easy to make and you don’t need special tools.
Materials:
Small piece of Balsa wood (available at craft and hardware stores),
1 x ‘Rose’ digital design (download HERE),
Matt photo paper for your printer,
Mod Podge and brush,
Sharp craft knife,
Drill and small drill bit or cylinder file.
Instructions:
Please read all instructions before beginning.
- Save the ‘Rose’ pdf file to your computer or print directly from the file.
- Print the document onto a piece of matt photo paper.
- Cut the design out allowing a 3 – 5 mm white border around the edge.
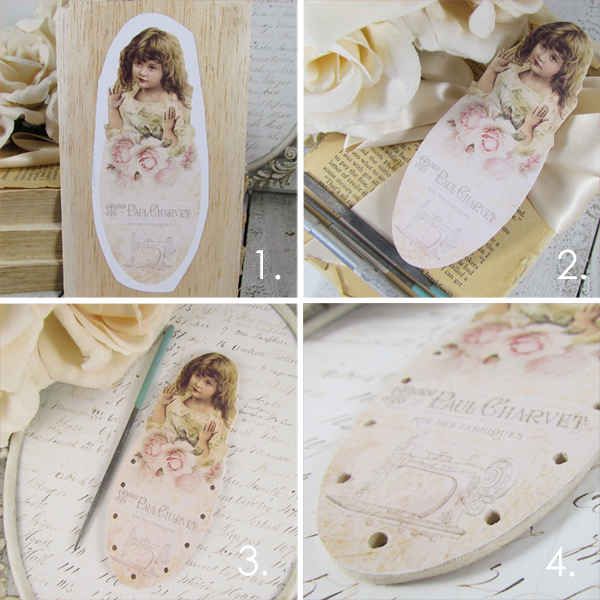
- Brush Mod Podge onto both the balsa wood and the back of the printed ‘Rose’ design. [diagram #1]
6. Lay the ‘Rosie’ cut out down onto the pre-glued balsa wood. Smooth out, removing all air bubbles. You may like to use a small squeegee or the edge of a credit card to ensure the photo paper has adhered well to the wood and without any bubbles or clumps of glue.
7. Allow project to dry well. Place the wood onto a cutting board and using a sharp craft knife, cut out the design around the printed edge. [diagram #2]
8. Use a pencil to mark where you’d like the floss holes. Use either a cylinder shaped file or a drill to make even spaced holes around the lower edge… remember, this is just balsa wood, so use a very light pressure. My holes are spaced 1.5 cm apart. [diagram #3]
9. Sand the edges lightly with fine sandpaper. [diagram #4]
10. Thread your embroidery floss through holes.
Tip: I placed a strip of masking tape down the back of Rose to write the floss ID numbers on.
Happy crafting
♥
Kerryanne
I’d love for you to connect with me at:
Follow on Bloglovin
or if you’d like my posts delivered directly to your Inbox
Subscribe to Shabby Art Boutique by Email
If you’d like a private pass to all things ‘shabbilicious, sign up today for my fortnightly newsletter. It contains personal stories, sneak peeks, recommendations, discounts and freebies.



Wow, these are just beautiful, Kerryanne! Almost makes me want to get back to embroidering.
It’s something I don’t get to do often enough Julie, but I really enjoy it when I do. 🙂
Sooo lovely! Thanks for sharing!
Thank you for stopping by Martina 🙂
Adorable! I love your new design! I don’t embroider but I have always admired those that do.
Thank you Gigi. I especially appreciate you taking the time to comment when you are not a sewer yourself. 🙂
Your thread holders are gorgeous, Kerryanne.
Thank you Christine. I like them and they are like my crafting style than a plastic thread holder 🙂
Thank you for the lovely image and the amazing project!
You are most welcome Patricia 🙂
I hope you do a series of these and sell the images! they are SO lovely!
How lovely. What a beautiful addition to anyone’s workbasket. Thank you for sharing the design & instructions.
Toni xx
Oh, this is so lovely Keryanne!! Loooove! Thanks for sharing.
Hugs,
Vesna
these are precious, kerryanne! tfs!
That is so sweet and cute , I love the victorian sweet soft colors of the little girl
Embroidery is making a huge comeback. I can’t wait to make this for my sister. Thanks so much for sharing the perfect little rose.
How fun and pretty this is! You are such a creative inspiration! This will pretty up my own embroidery stash and make sweet gifts for my embroidering friends! Thank you!!!!
Thanks for the lovely thread holder Kerryanne. Soooo much better than those plastic ones. I, like you, love to embroider when I can which is not often enough. My current project(s) are some cushion covers. Love your blog too, so will follow etc. Happy design and inspiration time… M
Absolutely adore these! Can’t wait to make some for friends at our annual stitching retreat…would love a series of these!!
C’est ravissant, trop joli, félicitatons !
Oh my, how breath taking are these creations of yours? Can hardly wait to get some balsa wood to make this and other projects. Is it possible to get the graphics for 1st two floss organizers? Pretty please, would love to make these for gifts and have couple people in mind. Would be so grateful and appreciative to you. Looks like I’ll be buying lots of balsa wood. Thank you so much for all this incredible inspiration, This is what I needed to get me going again. Happy happy week. Is it winter in Australia?
Hi Jane, yes it is winter here in Australia, but right now where I live it is feels more like spring… which is very nice!
If you check out my latest blog post (29th July) you will find the other 2 designs are now available for you to download. Happy crafting ~ Kerryanne
I love these darling little girls. I always have several embroidery projects going at once so these are perfect. Thank you for sharing them with us.
You are very generous for sharing these lovely girls with us of to t he shops tomorrow for supplies thanks again some inside work for a cold Melbourne day Thanks again Janene
Wonderful images! I think I will use them for bookmarks! Thank you for sharing these special little ladies with us! ♥