Over the past few months, I’ve been showcasing paper projects using pretty blush coloured papers that were hand dyed.
The homemade dye is made using one simple ingredient…. avocados!
This dye is extremely easy to make and creates the prettiest blush pink tones.
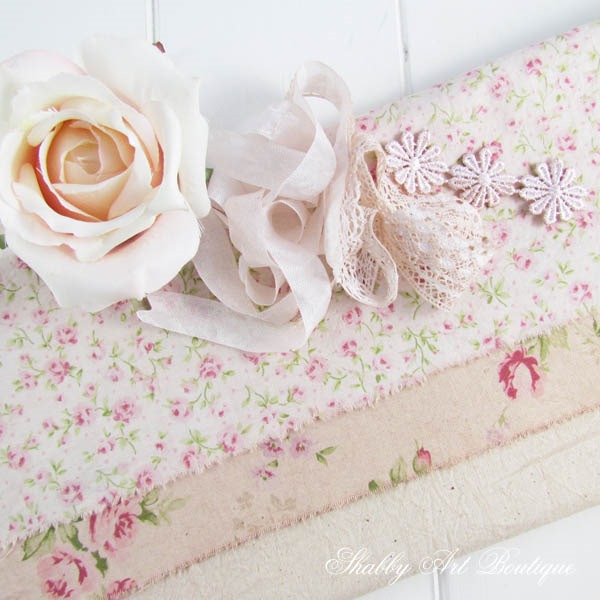
Although I was intending to use blush papers in my projects, the paper wasn’t the only thing I dyed in my avocado dye bath…. I also soaked ribbons, laces, doilies and fabric.
And I absolutely loved how the fabrics turned out. I knew I needed to make something luscious, pretty and pink, incorporating all of the avocado dyed fabrics and laces.
But first things first…. let me tell you how easy it is to make your own avocado Dye.
How To Make Avocado Dye
My family eats avocados every week, so I make a fresh pot of dye when I need it and tend to only make a litre (4 cups of liquid) at a time.
I use the skins and pits from 2 avocados – the more avocados you use the darker the dye. I like just a hint of blush colouring, so 2 avocados seem to work well for my requirements.
Making the dye: Add the avocado skins and pits to one litre (4 cups) of water and bring to the boil, then reduce the heat to a simmer. I allow mine to simmer away for about 45 minutes to one hour. The colour becomes quite dark. Strain the water to remove the avocado skins and pits.
You could use the dye while it is hot, but I prefer to let it cool and keep my dye for several days in a container. When I’m ready to dye, I collect all of the things I want to dye; paper, card, tags, doilies, ribbon, laces, fabric, paper flowers etc.
Because I like just a hint of blush, I dip my items in the bowl filled with dye for just a minute or so. Obviously the longer you leave the item in the dye, the darker the colour you will achieve.
For fabrics, I wring out the excess dye and line dry. Paper products are dried out in the sun. As I live in a warm climate, this is the easiest option for me, but you can also dry your papers in an oven on low.
So there you have it…. easy avocado dye! Simply boil, soak and dry.
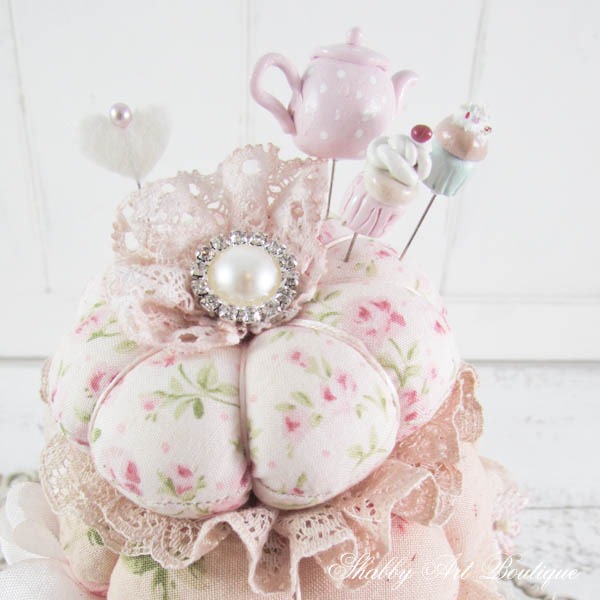
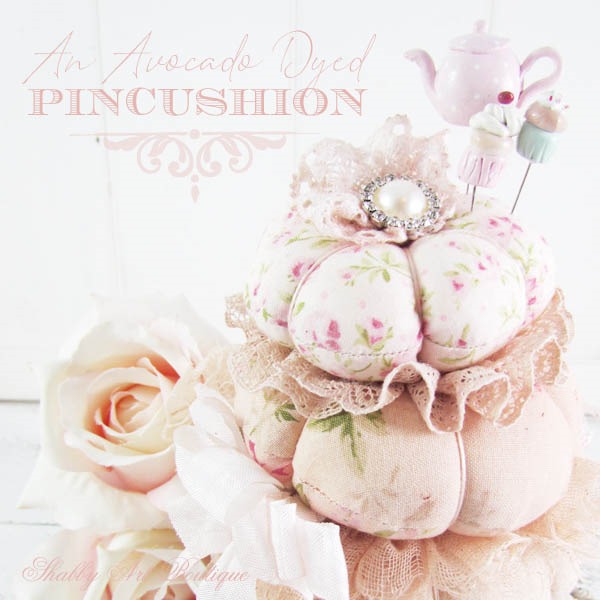
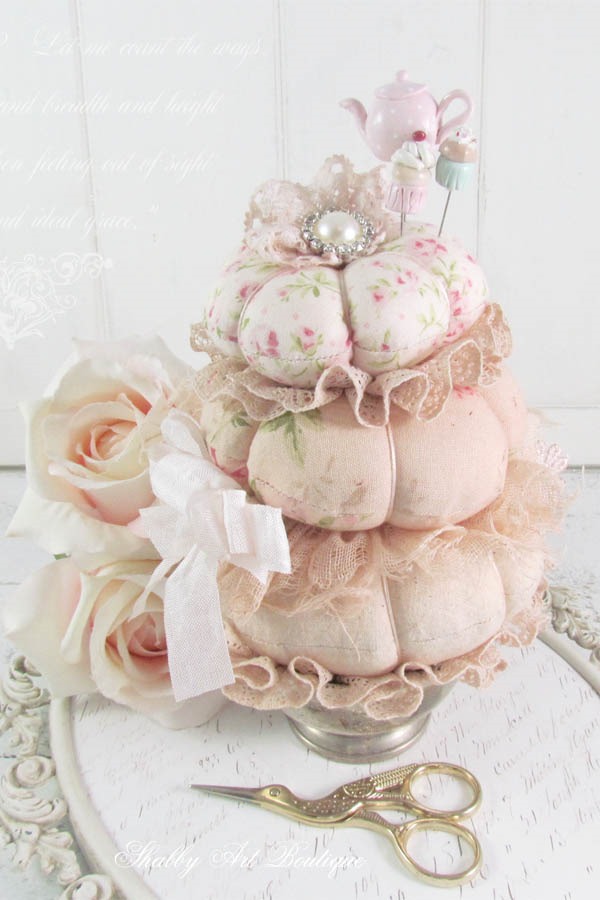
I loved the combination of pretty fabrics that I dyed. There were pretty floral scraps, calico and muslin. Together they had such a vintage look and I knew I wanted to make something that incorporated all of them in the one project…. a layered vintage floral pincushion.
Hmm… I bet some of you are saying “doesn’t she have enough pincushions already”. Well, yes I do have quite a few, but can a crafter ever have too many pincushions?
Make this Pretty Blush Pincushion in just 2 hours
Materials
-
3 different avocado dyed fabrics – small scraps
-
avocado dyed laces or muslin
-
Embroidery cotton and a large doll needle
-
sewing machine and normal sewing supplies
-
Hobby fill
-
hot glue gun
-
a container to hold your pincushions eg, small bowl, teacup or tart tin.
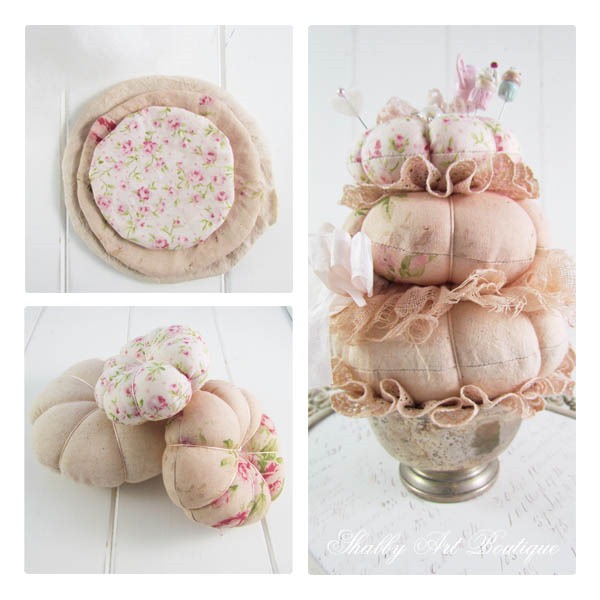
1. Make 3 circle templates for your pincushions. Mine were 13 cm, 11 cm and 9 cm in diameter.
Fold your first piece of fabric in half, right sides together and trace around your circle template. Repeat process for the remaining two fabric pieces.
2. Using your sewing machine, sew around each circle, leaving a small opening in the seam for turning through. Trim fabric excess and turn circle right side out. Press with an iron.
3. Stuff each pincushion with hobby fill until you have a round ball. Using the large doll needle threaded with an extra large length of embroidery cotton, insert the needle in the center of the ball from top to bottom. I have a photo tutorial of this step on this post. Take thread around the outside and insert in the same spot again. Pull cotton tight to make a dent. Continue making the same stitch until you have divided the ball into four equal parts. Continue working around the ball, adding another segment in each of the previously made quadrants.
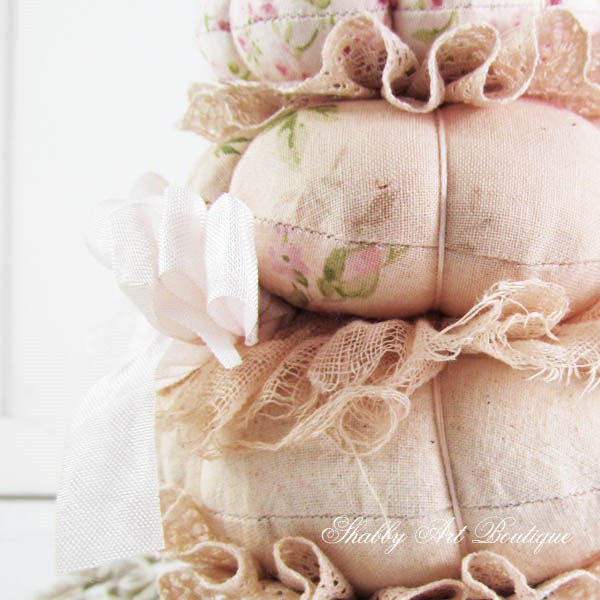
4. When you have completed your three pincushions, they are going to be stacked on top of each other and placed in a vessel. I used a small tarnished vintage bowl for mine. Between each pincushion layer, I used gathered lace and muslin to create texture and interest. I particularly liked the frayed edge of the muslin strip. I hand gathered my laces and used a hot glue gun to assemble my pincushions. There’s no right or wrong with this step… just enjoy creating a tower of gorgeousness!!
All of the items used in my pincushion were dyed with avocado dye and I love the subtle variations in colour. If you make your own avocado dye, I’d love to see what you make with it.
[PIN this image for later]
In my next post I’ll be sharing how I made the decorative pin toppers!
If you’d like more pincushion tutorials I have more HERE, HERE and HERE.
Happy crafting my friends!!
Hugs
♥
Kerryanne
I’d love for you to connect with me at:
Follow on Bloglovin
or if you’d like my posts delivered directly to your Inbox
Subscribe to Shabby Art Boutique by Email
If you’d like a private pass to all things ‘shabbilicious, sign up today for my fortnightly newsletter.
It contains personal stories, sneak peeks, recommendations, discounts and freebies.



What a neat tip! I’m going to try it soon. I eat avocados every week if I can, so will try it next time. I love that light pink blush. Am excited to try it on papers, as I love pink and don’t always have the pink papers I want and need. Am interested to see how white paper turns out, and also some sort of print. Oh.. and the pin cushion is darling too! hugs.. Marilyn
It is such fun dyeing papers Marilyn. I’ve used it on ordinary copier white paper, envelopes, doilies and vintage music and book paper. It all looks good 🙂
Well this is surely something to try! I was expecting green from avocados, certainly not pink!
What a nice surprise!
And the tower of pincushions is so much yumminess to make!, I’m sure!
Hope I can try these tips soon!
I’ll be sharing the link to this post in my blog for sure!
Hugs!
I think we all initially expect avocado dye to be green Dorabella, so yes, it is a nice surprise to see pink.
Happy crafting,
Kerryanne
Your directions aren’t intimidating at all! About how big are your avocados? Our California ones are quite a bit smaller than the ones from Florida.
Can’t wait to see how you do the pin toppers. 🙂
Gayle, my current avocados are on the small side (easily sit in your hand). I’m not sure if different kinds of avocados give different results or colours, so I guess it is a ‘try and see’ approach to this recipe. I’ve made several batches and they have varied in the intensity of colour, which I put down to the amount of time I simmered the pot for. For me, part of the fun is seeing what the results are when the paper/fabric etc dries. I hope you enjoy giving this a try. 🙂
Thanks! I will experiment. 🙂
nous mangeons des avocats toutes les semaines, je vais essayer,
merci beaucoup
douce soirée
Véro
Bonne chance avec teinture avocat yoru Vero 🙂
Thank you so much for your tutorial. I love pink, vintage pink. It seems soooo easy! And I’m looking foward to the decorative pin toppers, you promised?
Hugs from Oporto, Portugal ??
It really is a vintage coloured pink Maria and works so well mixed with vintage book paper too. I hope you enjoy trying out the recipe 🙂
Never would have expected pink from an avocado. Your pincushion is adorable. I have tea and coffee-dyed things. Great to add to my limited repetoire!
It’s quite a surprise to achieve a beautiful pink dye from avocados Kathy 🙂
I think you’ll find this a nice addition to your tea and coffee dyeing techniques.
Pin cushions are enchanting, so colorful and with all the gorgeous embellishments are even more so. Partial to cushion with mint green ruffled tape, so special. Great tutorial.
Doggone it, lost my comment, hands are getting worse, so hard to type right keys.
Love idea of dyeing papers and fabric, etc. with skin and pit. Can hardly wait to try it.
Are your fabrics you use to make pin cushions bought out of ones featured for sale? Love what prints and colors you use.
Had to get load out of dryer, pup likes to take pieces of laundry out of basket to run with ,especially my underwear, lol. Time for supper, cottage cheese salad tonight, hubs made it while I was on computer. Pup gets into all kinds of mischief while we’re on computers. Loves my magazines, tears them up.
Have wonderful weekend
Hi JaneEllen,
The pincushion tempalte only requires small pieces of fabrics, so I raided my scraps bag. These were quite old oddments, so maybe no longer being made. I don’t waste any of my fabric… even the smallest piece goes into my scraps bag.
Hugs to you xx
I just tried this and my fabric came out a tea dye color, not a pretty blush color. What did I do wrong ?
Oh dear Corless…. I’m thinking maybe you needed to simmer the dye longer. It is initially more brown than pink. Every dye mixture will be as different as the avocadoes we use, so it’s hard to say exactly what it was. I’ve made a few batches that were a darker colour than I actually wanted because I simmered it for too long. Hopefully, you will try this process again and achieve a blush result 🙂
Yes girls I have used avocado skins to dye my laces be patient with the simmering as Kerryanne said the result is a soft vintage glow. Make sure you strain it well so no green bits come through. I love the result
I would LOVE to see some photos of the process of making avocado dye… you would think it would be green, not blush! Crazy!
You would think avocado skins would make green dye Julie, but it is definitely pink. It’s not a very exciting process to photograph unfortunately…. the water is just a dark murky colour until you drain it and even then it looks quite dark. It’s a fun process to undertake and one I recommend to try if you like a pretty blush colour.