Hello! I am Kelly from My Soulful Home.
This week marks my 6th month as a blogger. Each day has brought new challenges, opportunities and friends my way. Kerryanne is one of those friends, so it is with great excitement that I guest post here at the Shabby Art Boutique.
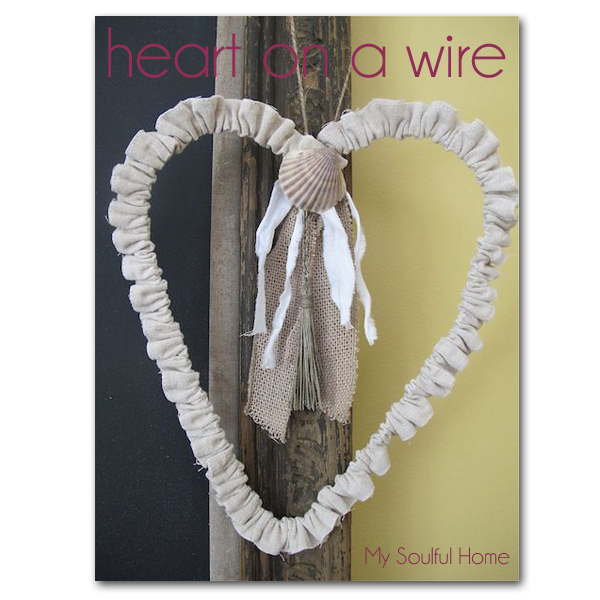
I am sharing with you an easy & fun tutorial for making a heart wreath from a wire hanger, scraps of material and some embellishments. I love several things about this project: you can make it spur of the moment, as it is likely you have the necessary materials on hand; it involves re-purposing an item that is often discarded; and, you can make it again & again using different embellishments.
The one I am showing you today has a "shabby" seaside look. If you visit my blog you can see the one I made for July 4th using a vintage flag & red burlap ribbon. Once you create the basic heart let your imagination run wild with ideas to personalize it, make it seasonal or even leave it plain for a simple country look.
My daughter Lara and I had a wonderful time making this heart. We pulled out lots of supplies & let our imaginations go. I especially love getting lost in the process of crafting something special out of something mundane. This project fits that bill.
I call it “Heart on a Wire”.
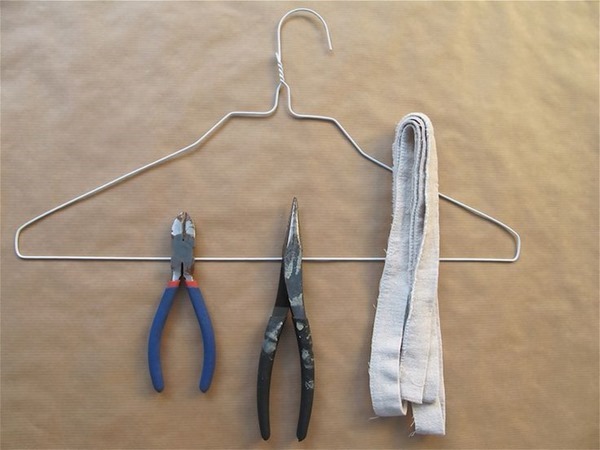
To make a “Heart on a Wire” you need things you probably already have on hand:
- a wire hanger;
- wire cutters;
- needle nose pliers;
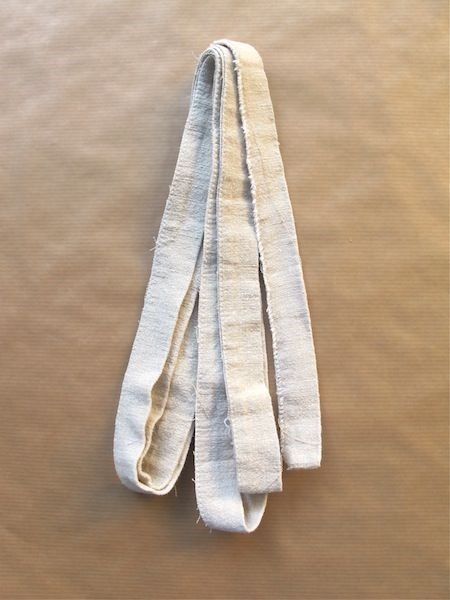
- a strip of fabric about 90″ long & 2.5 wide;
- embellishments.
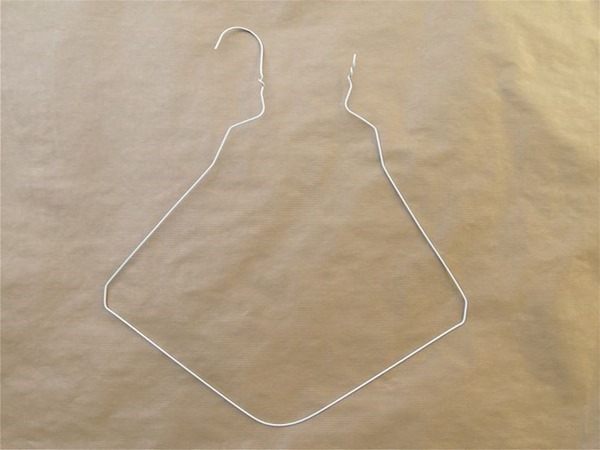
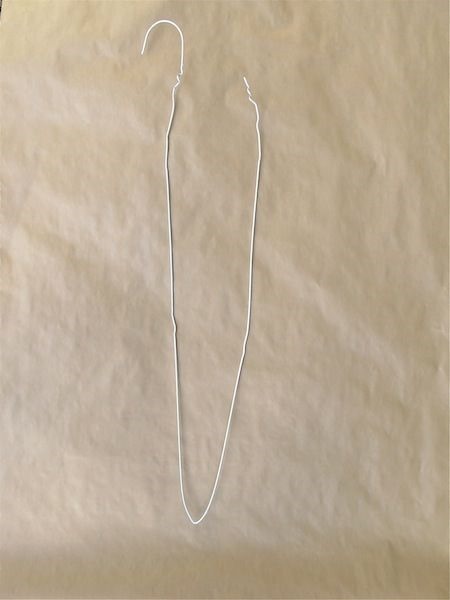
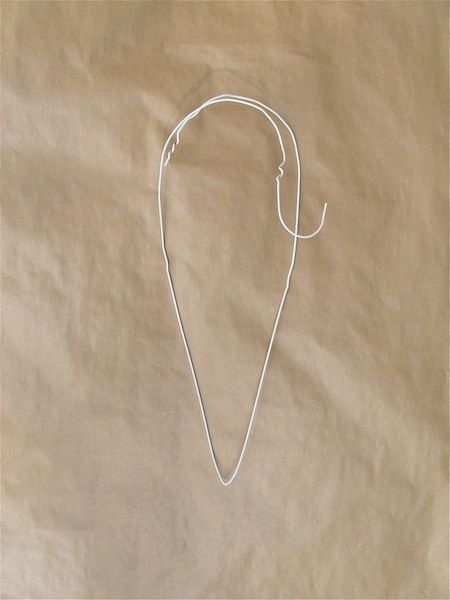
1. Untwist the top of your hanger & bend in half with the rounded top as extra;
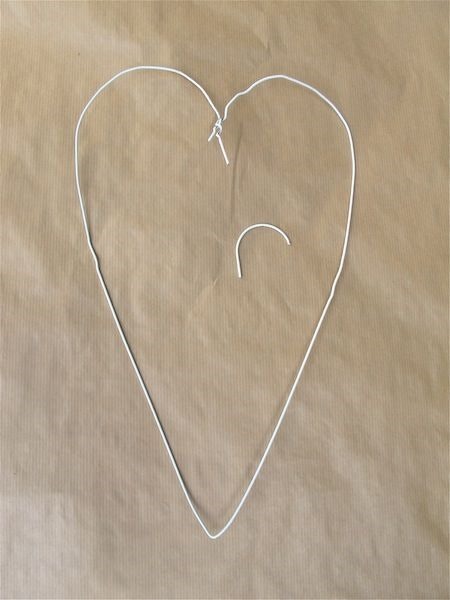
2. Shape the two ends into the rounded parts of the heart;
3. Press the two sides together to check for symmetry ~ does not have to be perfect as fabric will cover it;
4. Cut off the top off the hanger ( the part that would sit on the rod ) leaving about an inch to make a loop later;
5. Lay out your fabric strip…fold it in half the long way ( this maybe easier to do with an iron..UGH, I know, ironing, but just for a minute or two;
6. Sew a seam down the length of your fabric so the wire can slide inside it;
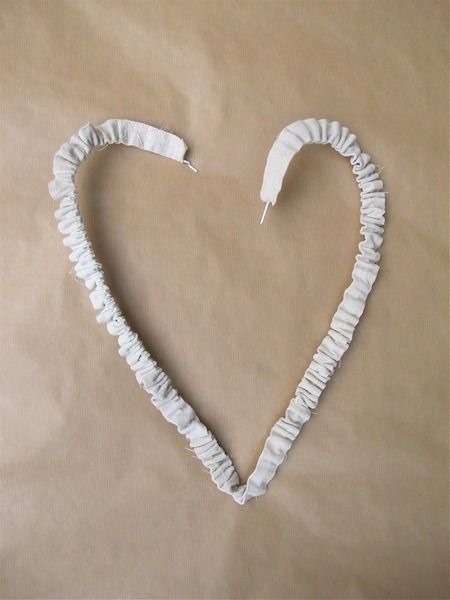
7. Thread the wire into the fabric ‘tube’ & scrunch/shirr it as you go;
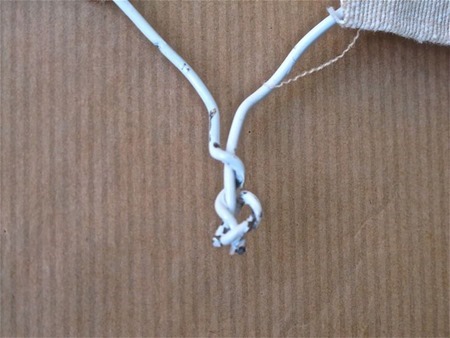
8. Twist the ends of the wires together with the pliers & your fingers;
9. Using the pliers, twist the extra inch of wire up to form a small loop ~ the loop will be where you attach ribbon or such for hanging and/or the embellishments;
10. Now the fun really starts ~ decorate your heart! Use ribbon, novelties, flowers…
Fill your ‘heart ‘with things you love!
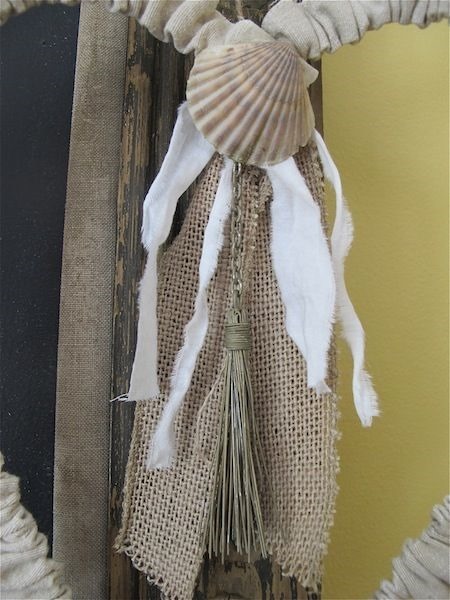
I used burlap, linen, a metal tassel that came off a yard sale shelf & a shell. I have so many ideas for wire hearts that I stopped off at the dry cleaner to get a stash. I plan on making one for my door and Lara wants me to make a few in different sizes to hang from her bed post.
…now that I have all these hangers do you have any more ideas?
Thanks so very much to Kerryanne for giving me this opportunity to connect with you! I hope you enjoy the tutorial and give it try. If you do, stop back at my blog and let me know how it went and how you decorated yours.
You can also visit My Soulful Home
on Facebook and Pinterest.




Kerryanne thank you so very much for this opportunity to “meet” your readers & share my little project. It is simply a delight to be here!
xo
So thrilled to have you posting here at Shabby Art Boutique Kelly. It’s a great tutorial and I’m so grateful to you for helping me out during this busy time.
Hugs,
Kerryanne
Hi there Kelly, thank you for sharing this fun project…looks like I’m gonna have to get me some wire hangers LOL
Toni xx
Hi Kerryanne and Kelly! Kelly’s project is just lovely and wonderful tutorial! I’m very happy to meet you, Kerryanne, and your site is gorgeous. Look forward to following and getting to know you. Hope you both have a wonderful rest of the week!
Thank you Cindy. Always nice to meet new friends…. I’m popping over to visit you now at Little Miss Celebration.
I’m glad you liked Kelly’s project. It was wonderful and I’m so appreciative of her helping me out during my move.
I think these look great!
So do I Romey. Kelly has planted a seed and now I’m buzzing with ideas of what else I could do with them.