Hi, it’s Jordan here from Polkadot Prints.
With a background in freelance graphic & digital design, I started Polkadot Prints, a boutique invitation and paper goods business, to help create beautiful celebrations for your family. Whether they be weddings, birthdays, or the arrival of a new baby. I love life and feel privileged to be able to pursue my passions and creative side as a profession. I write about creative things on my blog and I have lots of paper goodies in my store.
Well, it is my turn to share something for ‘Simply Christmas’. Can I just say, I love Christmas! The carols, the tree, the gift giving, the remembering of why we have Christmas, the baking, the family times, and here in Australia, the beach and summer!
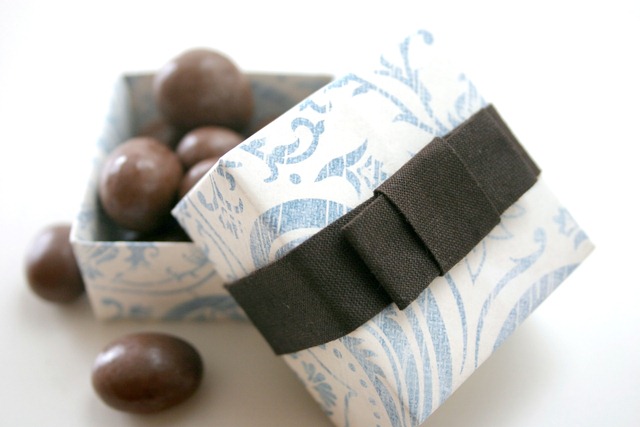
I have a soft spot for baked goods packaged in a cute way – truly the simple made special! So for my contribution, I wanted to provide you with a tutorial to make some treat boxes for your baked goods. Now just a disclaimer to start…in keeping with the ‘simply Christmas’ theme, I went back to my childhood Christmas school projects for inspiration. These boxes really are simple but with a bit of ribbon and tag, they can be made pretty spiffy!
It’s definitely a project to do with your kids to make some simple gifts for teachers, neighbours and community service people.
So let’s get down to business!
You’ll be happy to know you will only need:
Paper (I used a scrapbook paper so it’s easier to see the folding for this sample)
Scissors
Ruler
Ribbon & Tag of your choice
Instructions:
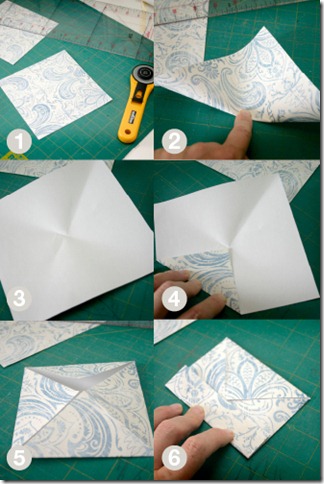
- Cut a square of paper 8” x 8”
- Fold in half diagonally and press in the centre with your finger
- Fold diagonally in the opposite direction to get a centre cross (you don’t want to fold all the way or you will see it on the top of the finished box)
- Fold the corner to the centre mark
- Repeat for all corners
- Fold the first straight edge into the centre point
7.Repeat folding into the centre point for each side of the square
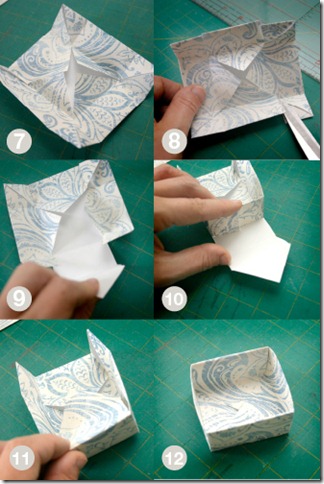
8. Make a cut up to the fold point on opposite sides of the square (be careful not to do all corners or they will no longer be attached!)
9. Pull out the triangle flap
10. Fold up sides to create a gate
11. Fold triangle side up and over the side
12. Repeat for opposite side. You can tape the centre if you wish.
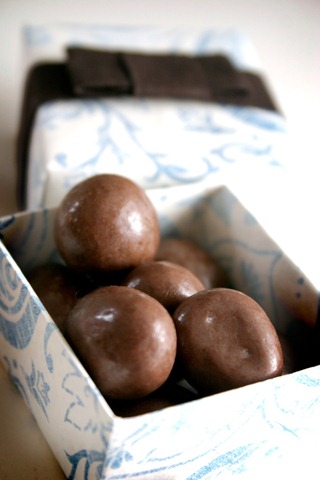
Create a slightly smaller square to create a base that fits within the first box. You can then decorate and fill with truffles, gingerbread, chocolates or whatever you wish!
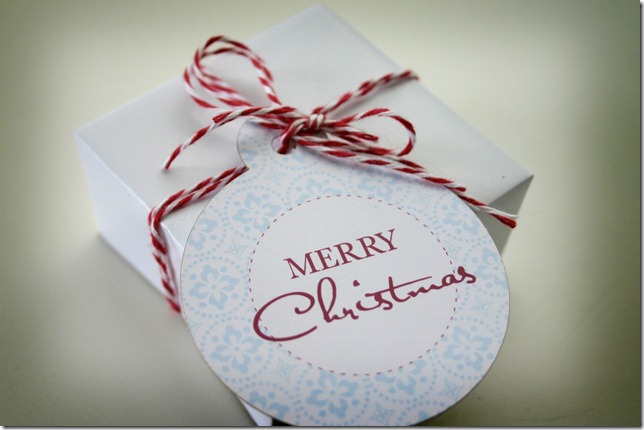
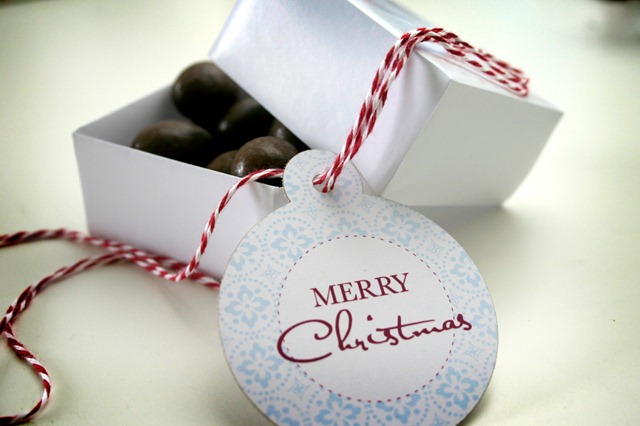
This one I made out of white wrapping paper and used bakers twine and one of my Polkadot Prints Christmas tags. You’ll get the hang of these in no time and have it on a production line I’m sure! And that’s it, it really is simple!
Giveaway: I’ll also be gifting a pack of 10 gift tags and a 5m bundle of red bakers twine, as used in the Christmas box, as a giveaway. To be in the draw, pop across and comment on my blog and let me know you are visiting from Simply Christmas. The giveaway is open to everyone and will be drawn next Wednesday 15th.
I hope you enjoy a fun filled day folding paper and baking! Merry Christmas to you all, and a huge thank you for Kerryanne for having me here today!



what a adorable blog – now following over at Polkadot prints!
Wow!!! Don’t they look so good!
oh these are so cute!
Cute little box tutorial! thanks – visited polkadot prints – nice stuff!
Hi there Miss Kerryanne!
Jordan’s blog sure is full of inspiration, thank you once again for hosting Simply Christmas – it is fabulous!
Big hugs from wet and windy Melbourne! LOL
Vikki xoxo 🙂
Oh thanks to you both ladies… I’ve been making little recycled boxes today 🙂 Oooh fun xx
Just popped over from Daisy Quilts (thanks Robyn!)to see how these are done. What a great idea :)! Off to visit Jordan at Polkadot prints now for more inspirations.
Lovely little boxes and I love the paper Jordan used too!
Love those little boxes!
Thanks heaps…I’m off to make some:-)
Cheers
yeah…yet another fabulous idea!
and the guest post is such a fun idea too!
well done…to the both of you…
today is thimble thursday…but suddenly I am in the mood to fold some pretty paper!
great tutorial!
ciao bella
Creative Carmelina
Fantastic great idea, I would love these
Sharyn