Hi, I’m Jen from
School admin person by day, clothes and accessories designer by night (and weekends). I’m originally from Sweden, but decided to marry an Aussie to escape the cold, dark Swedish winters 🙂 We now have two wonderful children (a 10 year-old son, and a soon to be 7 year-old daughter).
My handmade career started a few years ago making cards, personalised with peoples’ photos. I then tried my hand at making a couple of outfits for my daughter, and after receiving several compliments, decided to make for the masses (at small local markets, lol). I’ve since expanded my range to include bracelets and other accessories. Hope you’ll pop by and visit me here. After a few very successful weeks, the stock in my shop is a bit low. However, make sure to keep checking in as Christmas approaches as I’ll be stocking up with lots of fab Christmas goodies.
Button bracelet tutorial
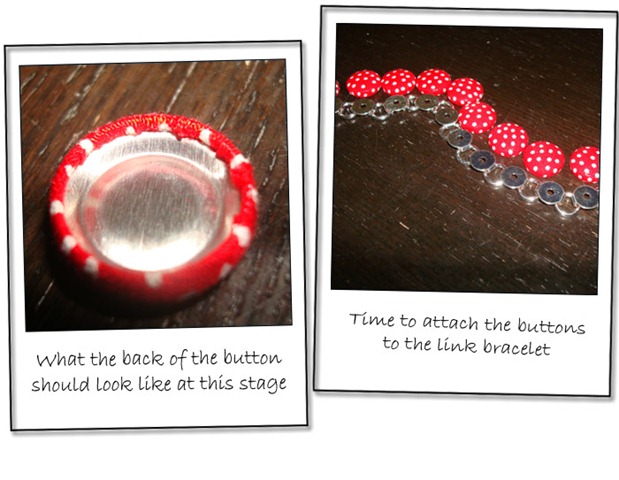
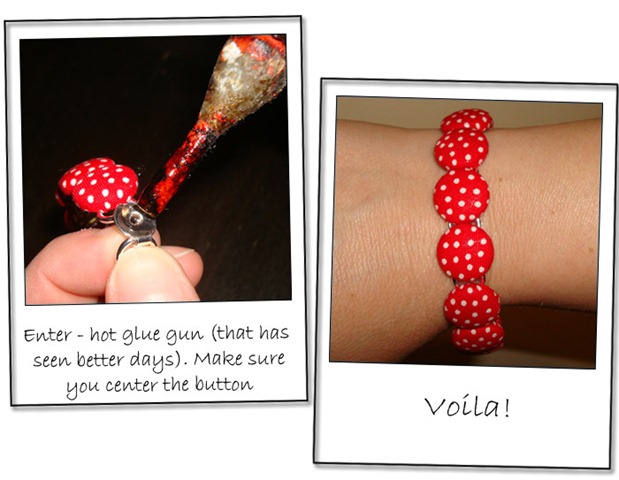
Say it with buttons! I understand that not everyone has these things laying around the house. If you check out www.ebay.com.au (or .com) and www.etsy.com and search for button blanks (I used size 24) and link bracelet blanks, you too will be able to make these fab button bracelets at home. After trying a few different glues I have found that hot glue works best (in my opinion).
I realise that I should have had a manicure before my hubby took these photos, so sorry about the monster fingers…
But the fun doesn’t stop there! If you enter a comment on either my blog or on this post at Shabby Art Boutique, you’ll be entered into the draw to win a fabulous mystery prize that will be revealed next Wednesday (27th Oct) when the winner will also be announced.
A BIG thank you to Kathryn from Our Shabby Cottage for her wonderful tutorial and guest post last Wednesday.
Congratulations to Lee of Artfulee Designed,
who is the winner of Kathryn’s Brooch Cushion Kit giveaway.


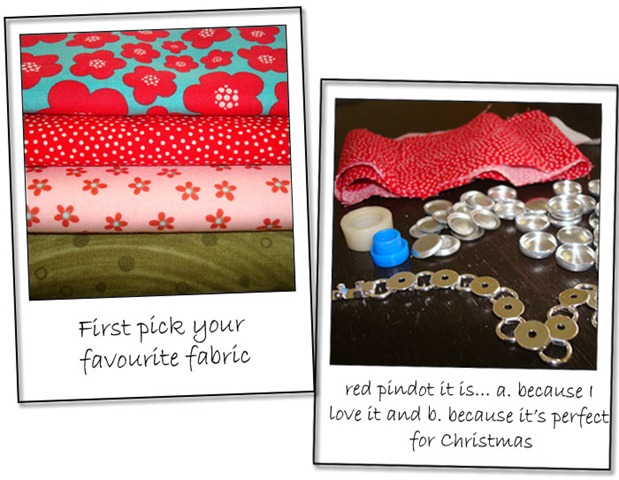
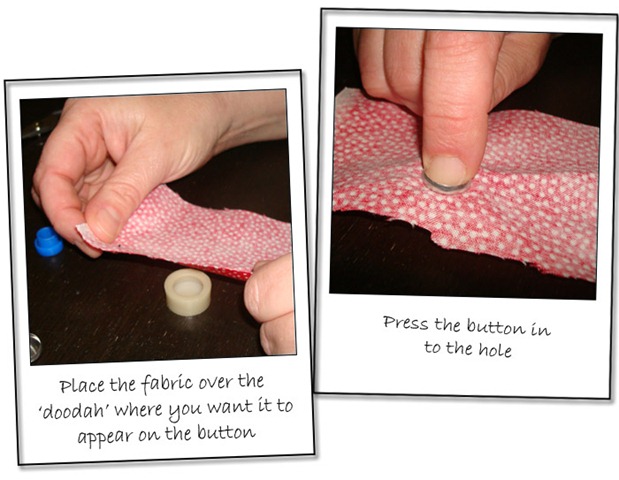
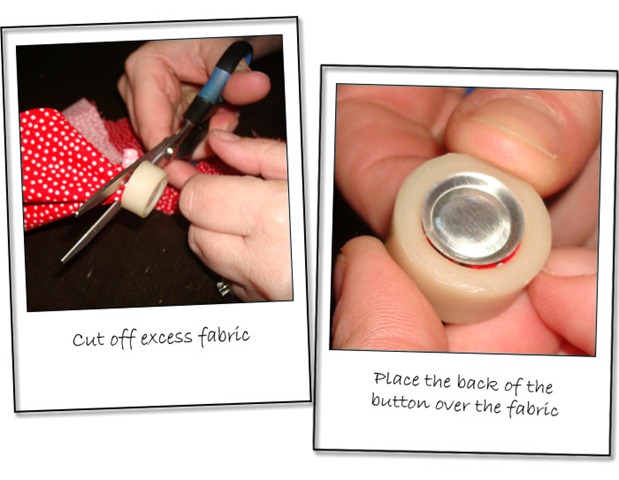
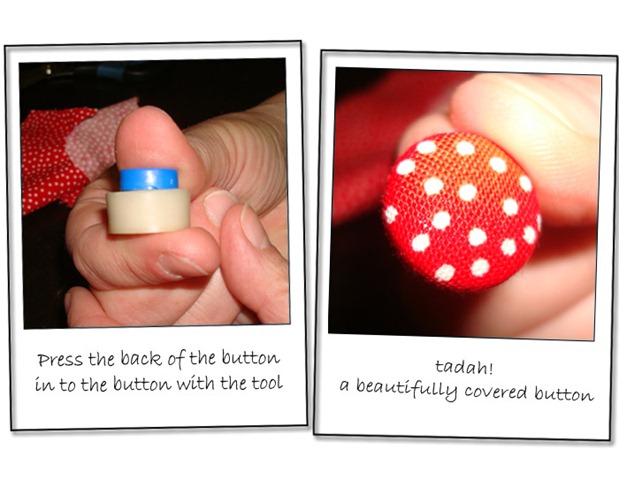


This is very sweet and a great idea – I didn’t realise covered buttons was so easy!
Hugz
AWESOME! I love them!! I’m off to etsy to explore my options!
What a lovely idea – the bracelet looks fab.
Toni :o)
Very cute; I’m gonna have to try this! 🙂
Love it, thank you for sharing.
My kind of crafting!! Where do you get the button kits from to make the covered buttons!?
Thanks Kathryn for the button-making tutorial..I remember when we made them by hand..oh goodie a mystery prize
What a great tutorial. I really love this idea, I can imagine a lot of my favourite fabrics whilst making one of these!
How simple but beautiful !
Thanks to your Kerryanne and Kathryn for the giveaway. I am over the moon
Thanks for this great idea Jen
Lee:)
Thats very cute 🙂
Wow! I am glad that I found this blog – i love Christmas but find it is usually uppon us before I have time to make anything. I am making it my mission to make the wonderful creations here to get me into the Christmas spirit and to make it a special time for my family and friends.
What a fabulous idea….I can’t wait to try it…..Thank You for the tutorial.
Elizabeth
(ejay)
What a great idea. Might have to make some for Christmas presents
Anne
What a gorgeous bracelet! I’ll be getting supplies @ my next visit to Spotlight. I love the dots…perfect fabric. As for the manicure….who wants to give up that much craft time???
Love,love,love this idea!! these would be a great gift to go with the bags I’m making for my neices this year for Chrissy 🙂 Barb.
Great idea – the bracelet looks really neat.
What a great idea. These are so fashionable at the moment and this seema so easy to make. Thanks Sharyn
Love this idea!Thank so much!
Thanks for a great tutorial – I’ve made covered buttons before but never used them in a bracelet
Gill
A good tutorial this is a lovely idea, Thank you. An well done Lee. Julie.C
OH INSPIRATION AND CREATIVE PROJECTS…
I LOVE THIS BUTTON WONDER….I’D SO WEAR IT TOO!
HAVE A GREAT NIGHT!
CIAO BELLA
CREATIVE CARMELINA
These would make lovely quick and easy gifts for girlfriends! Thanks for the tute. And a mystery prize… ooo er!
Wow, you couldn’t have picked a more perfect fabric for your tutorial. I love red and polka dots, not to mention button jewelery. Actually, I think I have that fabric… on my creative space this week!
Lovely idea, very clever
Chrissie
LOVE the bracelet! Great tutorial!
🙂 and this blog is fab! glad I found it.
Great gift idea!
Karla
What a great gift idea! Thanks for the tutuorial!
Hola querida amiga,
este es un brazalete fabuloso
divino
hermoso!!!
me encanta este tutorial, es fantasico, como se pouede hacer nunca lo eh visto
cariños
un abrazo..
me encantaria participar del giveaway
besos
Lore
Great bracelet,would be good for the gifty pile, & looks pretty easy. Thank you.
[email protected]
That’s such a cute idea and with lovely results!
Wow that looks amazing…need need need to make some of those for my daughters they will thing I am soooo clever. Thanks for the great tutorial, I am off to visit now,
Kiss Noises Linda
Hmm I should probably check for spelling in my comments…I THINK my daughters will THINK I am so clever not thing…jeez to think English is my first language!
Kiss Noises again..
Absolutely just perfect for a very hard person to make for…. I appreciate the instructions.
Sharon
Very cute idea! Love the red polka dots – thank you very much.
This is such a neat idea for gifts, lovely. Julie c.
Oh! I love that! What a cool gift idea, too…just so happens it is my sister’s birthday today!!
Thanks!
Claire
what a fantastic idea. a great way to use up some scrap fabric. cheers!
You make it look so simple!
Your tutorial is an awesome inspiration! Many thanks for sharing. I would like to feature your designs at http://www.handmade-jewelry-club.com/
Contact me here if you have a concern.
Jane
http://diylessons.org/