Don’t you just love the ambiance that a soft flickering tealight candle adds to a room?
Being both inexpensive and versatile, these tiny candles are a staple in most homes these days.
I like to use the lightly scented ones to freshen a room, but I also burn them in decorative holders for lighting or to add a warm glow to my decor.
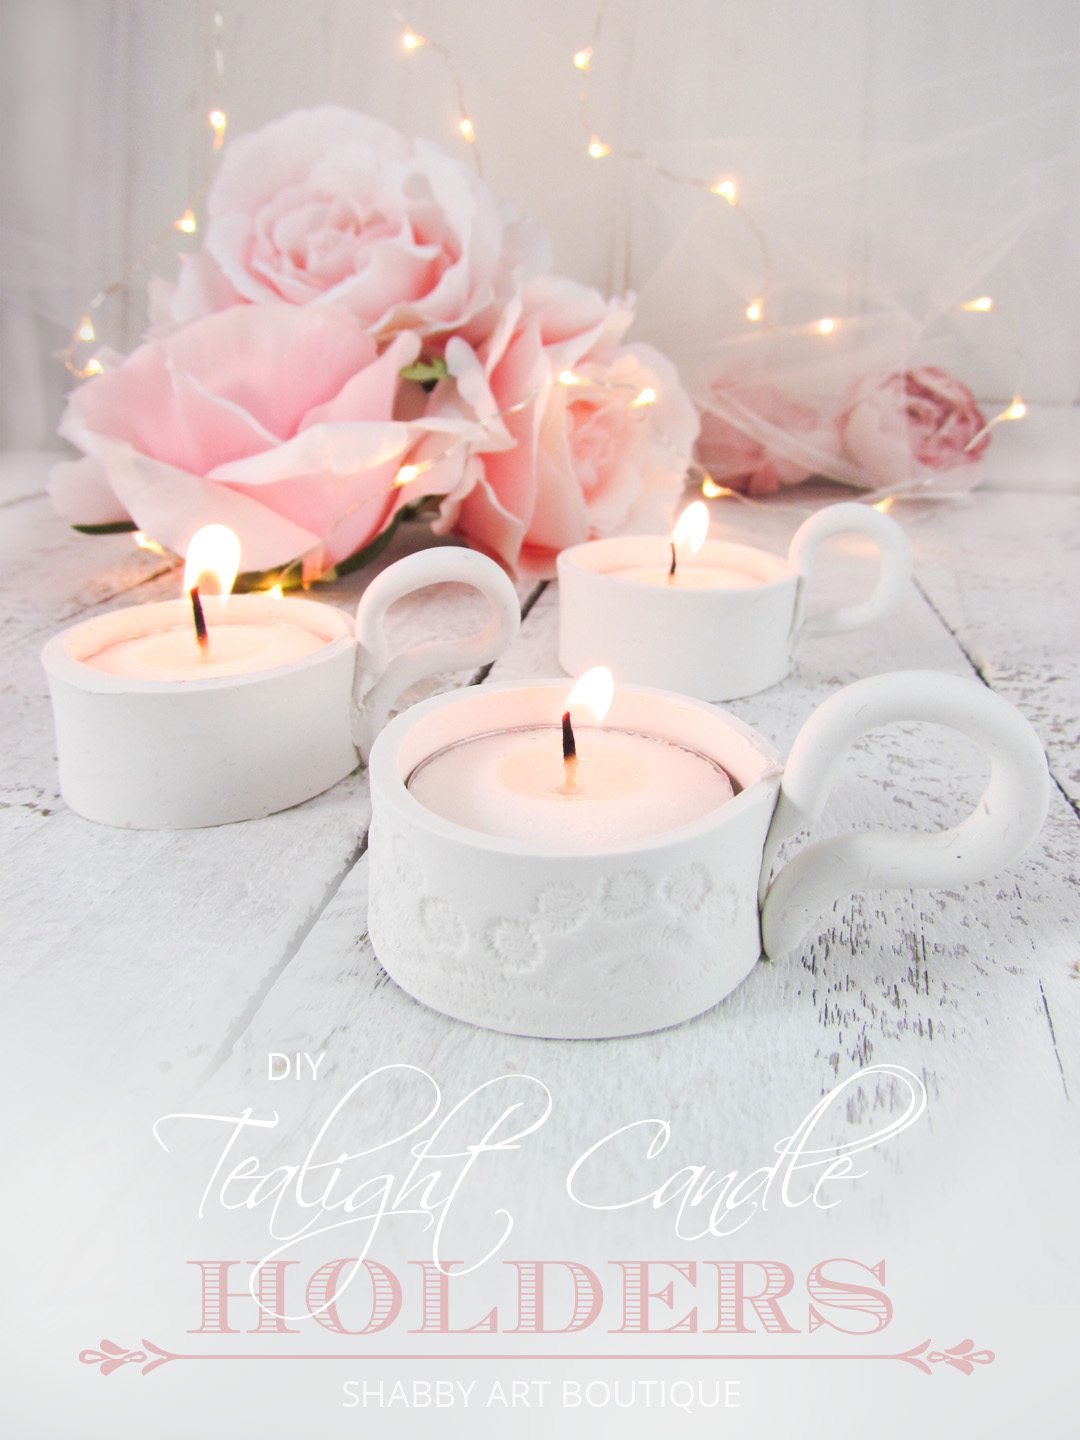
I’ve recently been creating and experimenting with polymer clay and these sweet little tealight candle holders are one of the projects I created.
They are plain and simple… and a little bit shabby…
And with the addition of a small handle they are also practical.
[Affiliate links are used in this post – please see my Disclosure policy]
How to make Tealight Candle Holders
Materials:
-
1 packet of Sculpey white Polymer Clay
-
Sculpey Bake and Bond
-
Acrylic clay roller
-
Scone cutter
-
Clay tools
-
Baking paper and foil
-
Baking pan and oven.
Instructions:
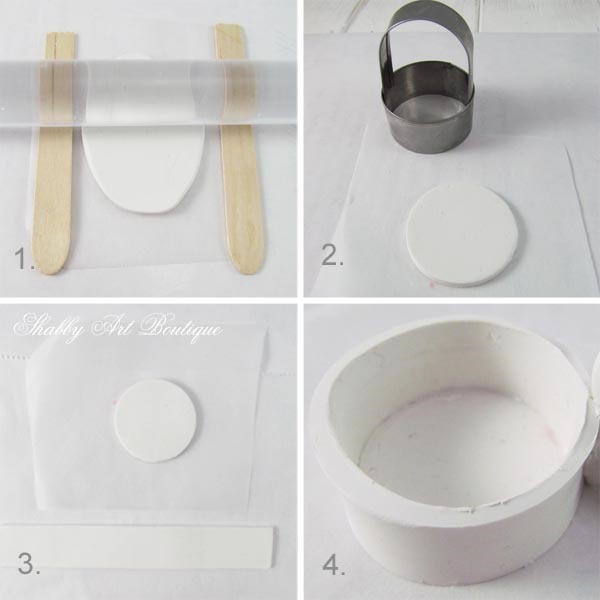
1. Start with clean hands and work surface area. I used silicon baking paper on my work surface and in my baking pan. Knead clay until soft and smooth. Roll the clay between two level surfaces – I used 2 popsical sticks and my clay roller.
2. You will need a base for your candle holder. I had a round scone/cookie cutter that was just slightly larger than a tealight candle, so it was the perfect size, but you could use any round surface to trace a base.
3. Next you need to make the sides of the holder. I measured the circumference of my base, which was 13.5 cm and I wanted the candle holder to be slightly higher than my tealight, so I made that 2 cm high. To make the side piece I rolled out the clay, as in step one and then used a ruler and craft knife to cut out a piece of clay using these dimensions.
4. Wrap the side panel around the circumference of the base. To ensure I had a good bond between the two pieces, I used a small amount of Sculpey Bake and Bond between the two surfaces and where the ends of the side panel met. Smooth and blend the edges together so they look seamless. I used a couple of tools from my clay tool set to smooth the edges, being careful not to handle my clay piece with my hands too much. Every little fingerprint and nail gouge shows up once baked.
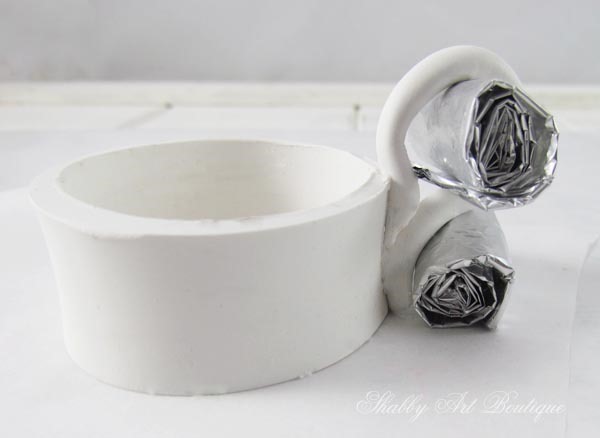
5. I rolled a piece of clay to make a handle, which I attached at the side of the holder where the seam is. I then rolled some small pieces of foil into tubes to help keep the shape of the handle for baking.
6. Bake at 275 °F (130 °C) for 15 minutes and allow to cool.
The candle holders I made have a simple rustic/shabby look, so I chose not to varnish them.
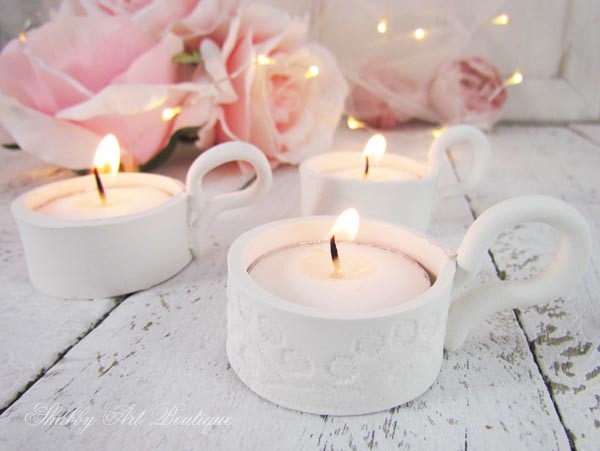
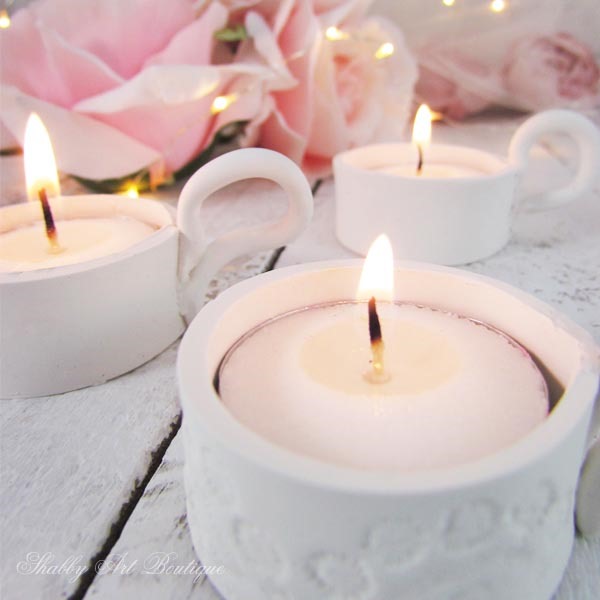
Tip: On one of my candle holders I rolled a piece of crochet lace across the clay before cutting my side panel, which left a nice imprint on the clay (see below).
PIN for later
This was a quick afternoon project, but I’m thrilled with how they turned out.
Whether used singularly in a vignette or as a collection on a dining table, they will add a wonderful shabby look to your decor.
Happy crafting,
♥
Kerryanne
Let’s be friends on….
Get instant access to the free printables in my Newsletter Printables
Library by joining my email newsletter subscriber’s list.
I send out a weekly newsletters with updates on all things
‘shabbilicious’ at Shabby Art Boutique.



These are too cute, just looooveee them!!! ❤
So lovely! Did you use bonding agent for handle as well?
I made one with and one without and they came out the same Carol, so that’s optional.
Hope you enjoy making this project!
Haven’t made anything with clay in too long ,still have all my tools however out in shed.
Your little candle holders are so cute and very sweet. Playing with the clay is so much fun and before I knew it was making lots of cute little things. The more I played the more I wanted to make. You did great job. What will you make next?
Think might be easier and objects turn out even better now with more tools like bonding agent to use. Making things with clay is so much fun, the more you play the better you get and try harder projects, can get innovative. So many great tools to work with.
I lost the turqoise out of a bracelet I bought tin Mexico so made up three colors of clay mixture to look like turquoise stone for my bracelet, is still on the bracelet after many years. Have fun Kerryanne
lovely. Such a pretty idea. Can’t beat candle light for a romantic setting
Great Idea:-))) I think I will have to try my luck and make some of these little tealight holders:-)
Greetings:-))
Really cute…and a good tutorial as always. I couldn’t get the PIN button to work, though.
These are just the cutest things Kerryanne!!!! How creative!!! So feminine and fun!!! Smiles, Deborah 🙂
These looks divine. Thanks for the tutorial.
You are welcome. I hope you enjoy creating this project!! 🙂