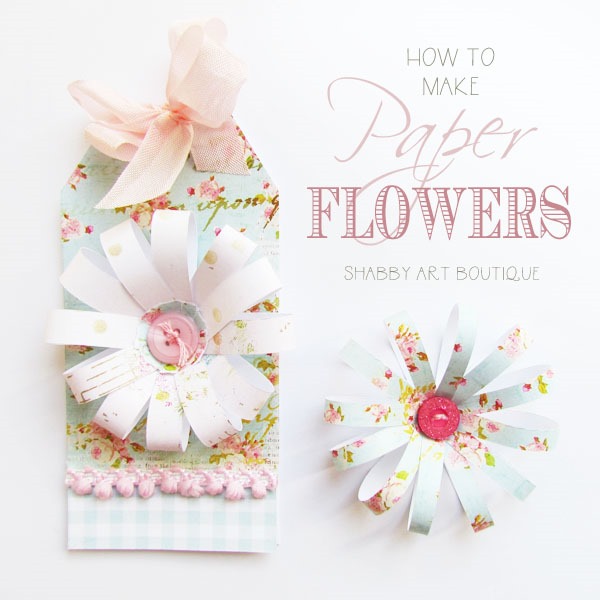
Strictly speaking…. I’m not sure these are really called flowers.
I use the less technical term ‘paper thingies’, but to prevent major confusion that will no doubt ensure if I call them ‘thingies’, we’ll stick to flowers for the purpose of this tutorial.
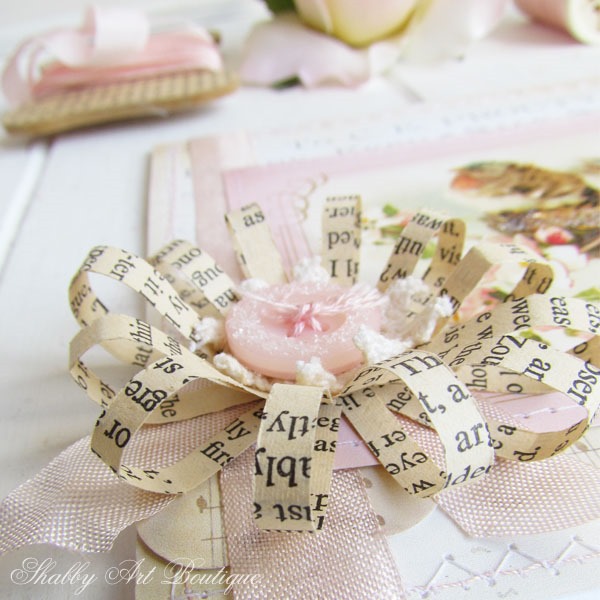
You may remember a couple of weeks ago I shared this post Handmade Cards with Vintage Graphics in which I showed one of these paper flowers on a card.
As a few readers were interested in knowing how I made them, I put this super easy tutorial together.
How to Make Paper Flowers
Materials:
6 strips of paper – see note,
Glue,
Button.
Note – Your finished flower size will be dependent on the size of your strips. In the two examples I’m sharing today, the strips are 17cm long. The green flower has strips that are 7mm wide, while the white flower has strips that are 1cm wide.
Instructions:
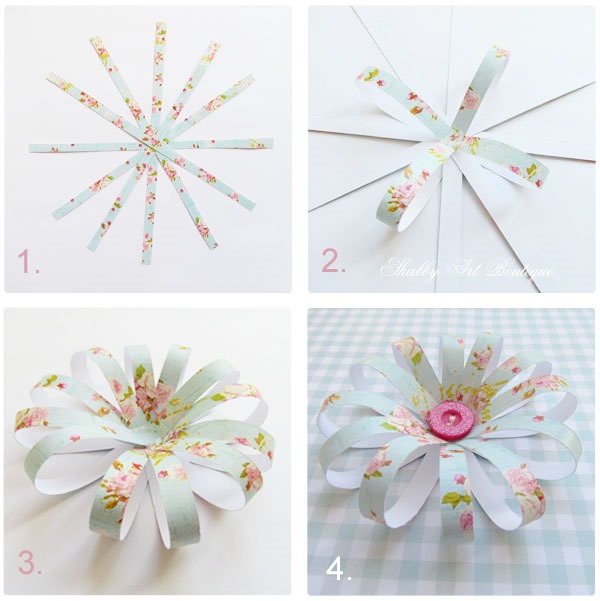
1. Cut 6 strips of paper and lay them out matching the 12 points of a clock. When you are happy with the arrangement, pop a dot of glue between each layer at the centre point of your flower.
2. Lay flower right side down on your work surface. Fold strips back to centre and attach with a dot of glue.
3. Continue folding the strips back to centre until you have completed the flower shape.
4. Add embellishments to the centre of the flower shape e.g. buttons, small pieces of doily, ripped paper, silk flowers etc.
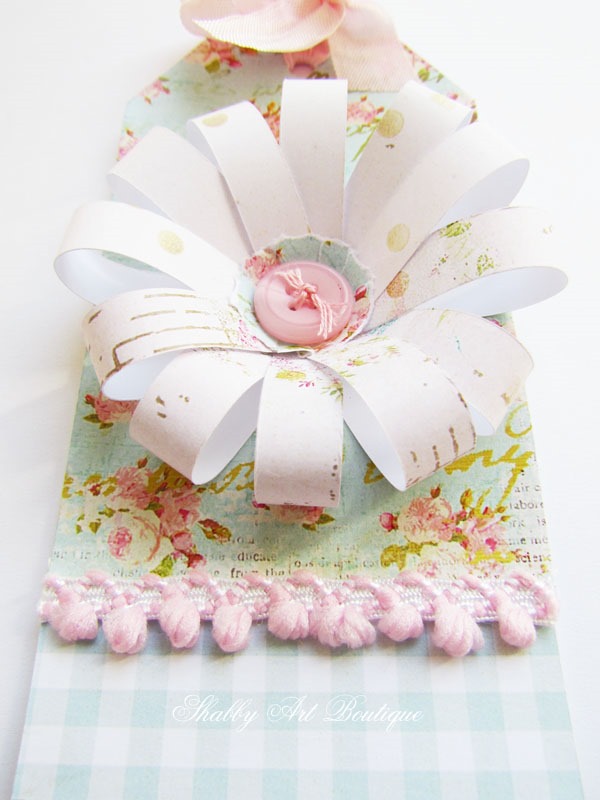
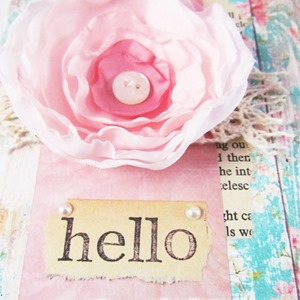
In the photo below you can see that I used a circle of hand ripped paper under my button. To get that effect, I simply ripped paper into a circle shape and then snipped little cuts all around the outside of the circle using scissors.
If you enjoyed this card making tutorial, you may also like:
Scrappy Fabric Flower Tags and Handmade Silk Flower Cards
Happy crafting,
♥
Kerryanne
I’d love for you to connect with me at:
Follow on Bloglovin
or if you’d like my posts delivered directly to your Inbox
Subscribe to Shabby Art Boutique by Email
If you’d like a private pass to all things ‘shabbilicious, sign up today for my fortnightly newsletter.
It contains personal stories, sneak peeks, recommendations, discounts and freebies.



These are just toooo cute!! Making some today!! Thanks for the sweet tutorial!!!!
So glad you like then Teri. I hope you enjoy making them as much as I do!!
Kerryanne, these flowers are just too cute!!!! Love them! I love your blog as well!!! So refreshing!!! Thank you for sharing this tutorial!!! Smiles, Deborah 🙂
Happy to have you here Deborah and especially glad that you enjoyed this tutorial.
Happy crafting,
Kerryanne
so cute!
Thanks Mary. I love the dimension they add to a card 🙂
Flowers…Thingies…whatever you call them they are lovely.
Thank you for the ‘how-to’.
Toni xx
Sometimes there aren’t exact words in sewing and crafting Toni 😉
Perhaps we have our own language where ‘thingies’ is universally understood!! xxx
Great idea:-))) I love such ideas:-)
Thanks Anita. I hope you enjoy this one 🙂
Sweet!
Thank you Fonda. They are just a bit sweet and can look quite different depending on what papers your use. I think vintage book paper is my favourite thought!