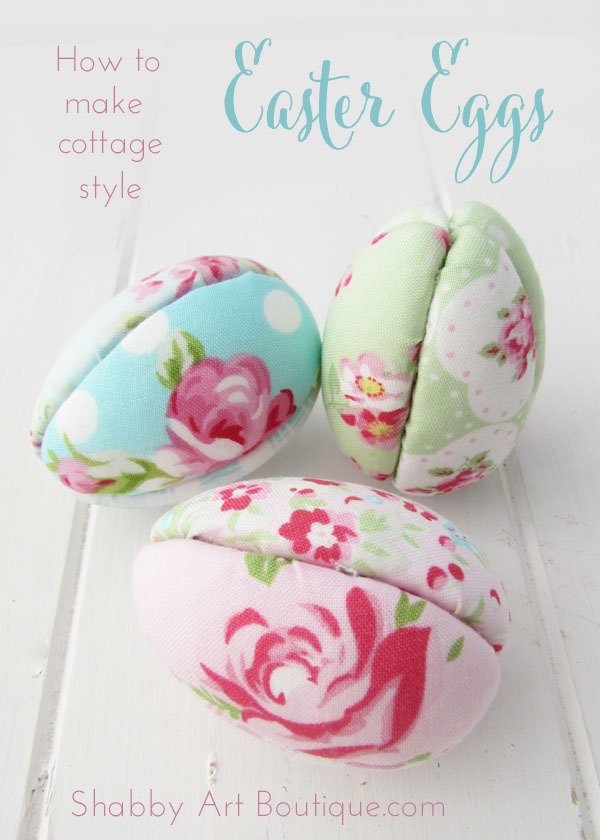
Today’s project was a little impromptu…
Definitely not what I had planned to show you today, but sometimes inspiration just takes you in a different direction.
Yesterday I dropped into our local craft store to pick up a few things and noticed packets of polystyrene eggs.
They sparked a memory of making padded fabric Christmas balls with my girls when they were young… and you know what that lead to…
As soon as I got home I grabbed my bag of scraps. I chose my Tanya Whelan Rosey fabrics in pink, aqua and mint… I got these from my friends at Shabby Fabrics.
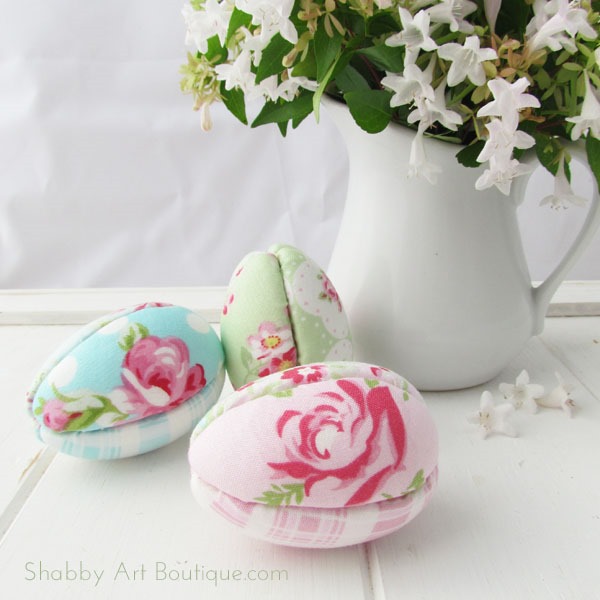
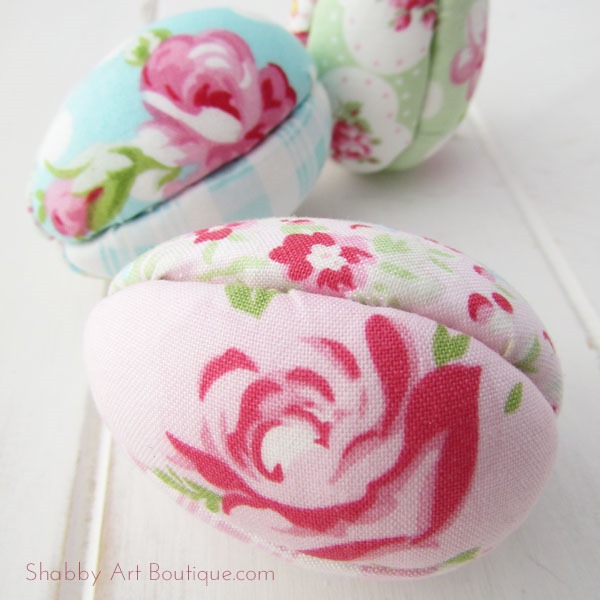
How perfect and adorable are these fabric eggs!!
Materials:
Polystyrene Eggs, rubber bands, scissors, butter knife, craft knife, tracing paper and pencil.
Instructions:
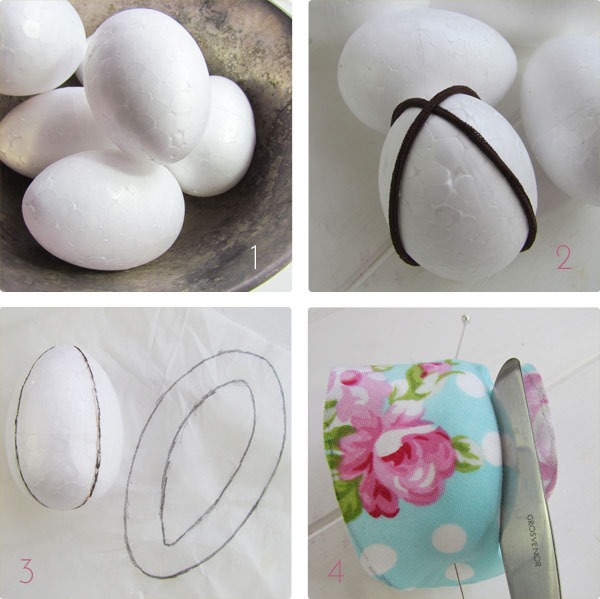
1. & 2. Wrap your elastic bands (I used hair elastics) around your egg, as shown below. Roll on a hard surface to make an indentation in the polystyrene egg.
3. Using the craft knife, carefully cut into the guide lines to a depth of approx.1.5 cm (1/2”).
Make a fabric template by tracing one of the egg segments. I simply laid the paper over the egg and roughly traced the shape of the segment. Add an extra 1.5 cm allowance around the first outline. This will be your cutting line.
4. Cut out your tracing template and use to trace the shape on your fabric pieces.
Position 1st piece of fabric over the egg and pin in place at top and bottom. Gently push the fabric into the indentation using the butter knife. I started in the middle and worked up and down until I had all the fabric pushed in. I trimmed the excess fabric and pushed any remaining fabric into the egg.
Continue with each fabric panel until all four pieces are in place.
This was such a fun, quick and easy project and I look forward to using these little sweeties in my Easter decorating.
Happy crafting
♥
Kerryanne
I’d love for you to connect with me at:
Follow on Bloglovin
or if you’d like my posts delivered directly to your Inbox
Subscribe to Shabby Art Boutique by Email
If you’d like a private pass to all things ‘shabbilicious, sign up today for my fortnightly newsletter. It contains personal stories, sneak peeks, recommendations, discounts and freebies.


These are lovely! Thank you so much for sharing your tutorial.
These are so pretty Kerryanne. A basket of these on a kitchen dresser would look lovely.
Toni xx
So pretty, they will look so delightful in a white basket. Thank you.Shirley
These are so beautiful! Love the choice of fabrics!
Thanks for the tutorial… Your eggs are lovely. A perfect addition to my Easter decorating..:)
Great project and cute. Thank you
Love these ! I will have to add some lace ribbon and put them in a doily bowl. My imagination is running wild ! Thank you !
Hi Kerryanne, these eggs are so cute! Thank you for taking time to give us a tutorial…… I couldn’t wait to make some! I did a post on the ones’s I made and gave my readers a link back to your tutorial….hugs….
Thanks most sincerely for the precious tutorial, sweet Kerryanne !
Wishing you a most wonderful end of your week
XOXO Daniela at – My little old world – (Dany)
Very cute, Kerryanne!
Very cute idea! Thanks for sharing,
Linda
Hi Kerryanne, I have used this method for years at Christmas. It was refreshing to see them in Easter Egg form! 🙂 Where they crease is and fabrics met I fill in with string pearls. Happy crafting and thanks for sharing on the eggs. Time for me to find some eggs and dig out some spring time prints. 🙂
These are so cute Kerryanne. I love them!
hugs,
Jann
Love these!
I love this idea and am going to try it next year for Easter. Yours are so pretty!