Hi creative friends,
I enjoy having quick and easy go-to project files in my collection that I can literally whip up in minutes.
You know those times when you need an easy last minute token gift or wrapping before guests arrive?
Well, today’s project will tick lots of boxes for you.
It’s quick, easy and cheap to make… and best of all, it’s free!
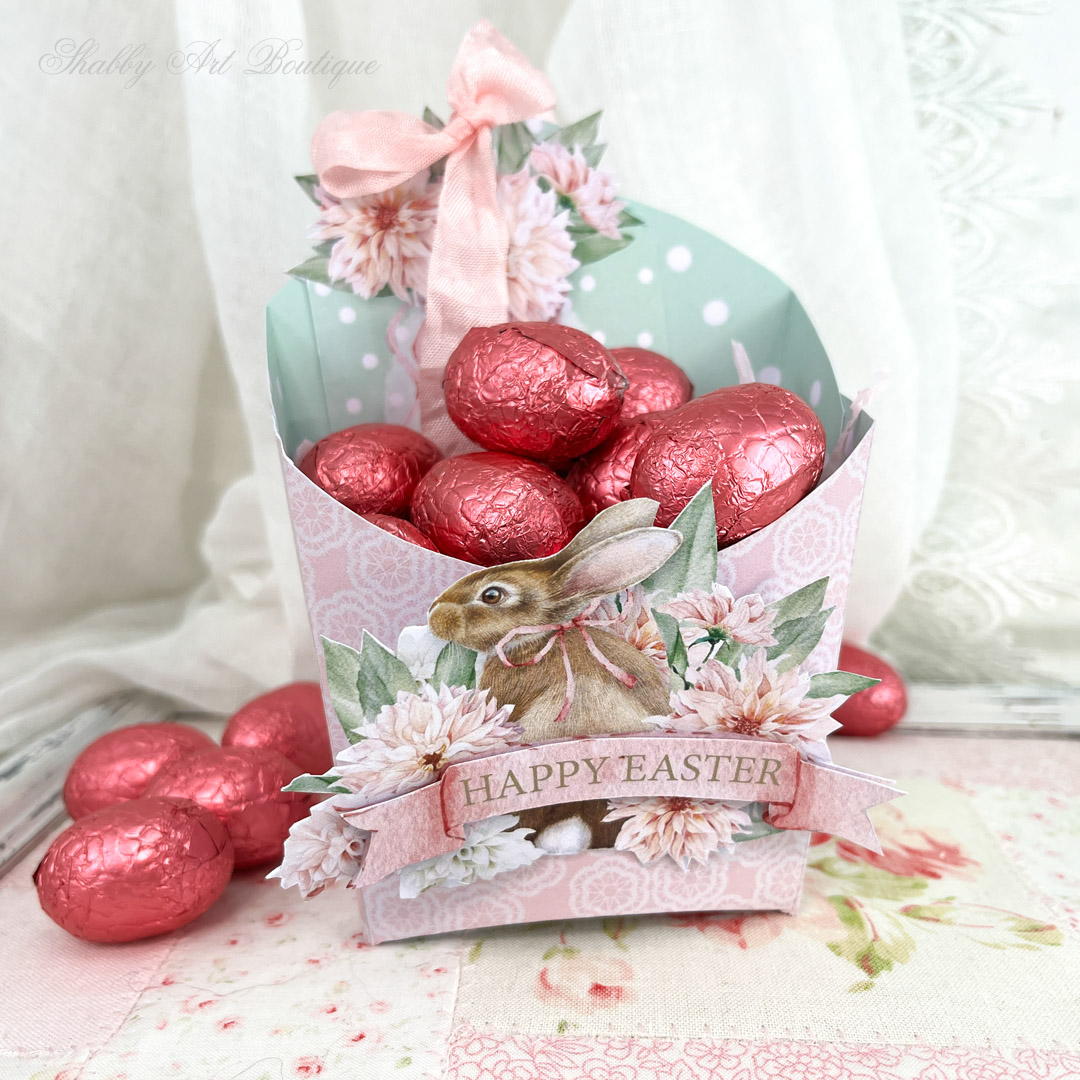
‘Print & Make’ Easter Egg Box
Size: 5” high x 4” wide x 3” deep (13 cm x 10 cm x 8cm).
Difficulty: super easy – good project for children.
Time to make: 10 minutes.
Materials
-
‘Print and Make’ PDF free printable – see below for how to download.
-
Craft knife and/or scissors to cut out shapes.
-
Bone folder or stylus to score folds.
-
White glue.
-
Any embellishments you may want to use.
How to download:
The free printable Easter Egg Box PDF is ready to download in the Newsletter Subscribers Printable Library – the password to this page is on the bottom of your latest newsletter.
Not yet a member?
No problem, simply sign up for the Shabby Art Boutique newsletter with an email address and get instant access to all of the free printables in the library.
Please note: you will need to add my email address to your email contacts list to prevent the newsletter going to your spam folder – kerryanne @ shabbyartboutique (dot) com
Note: This printable is for personal use only and not to be sold as either a digital or finished item.
Click here —> for my full copyright and policy disclosure.
Instructions
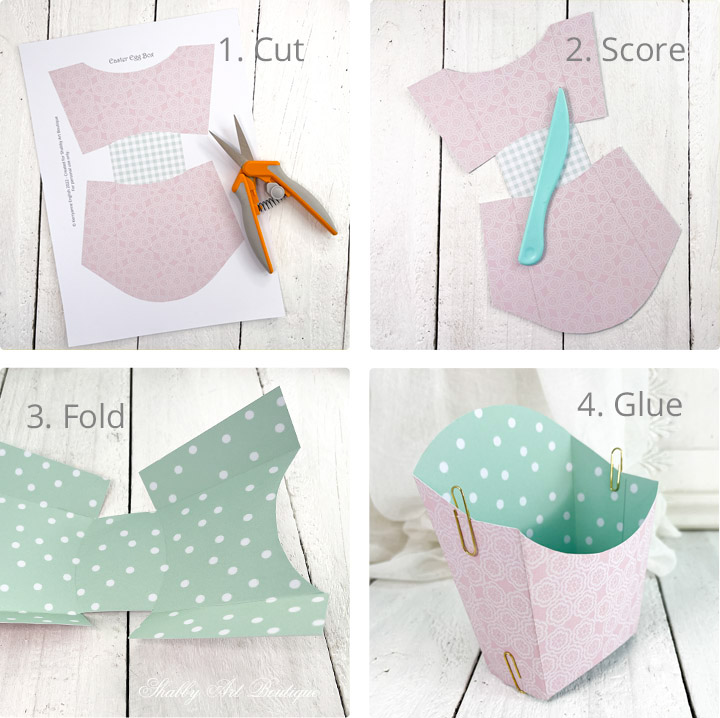
1. Print the Easter Egg Box on matte photo cardstock weight paper. I also printed the back of the main box page with the second paper supplied in the printable PDF.
2. Score the 6 grey lines already placed on the Easter box, which form the sides and the base. I used my stylus to score the curved lines.
3. Fold the sides into position.
4. Apply white glue to the front side flaps and close over the top of the rear flaps. Secure with a paper or bulldog clip while the glue dries.
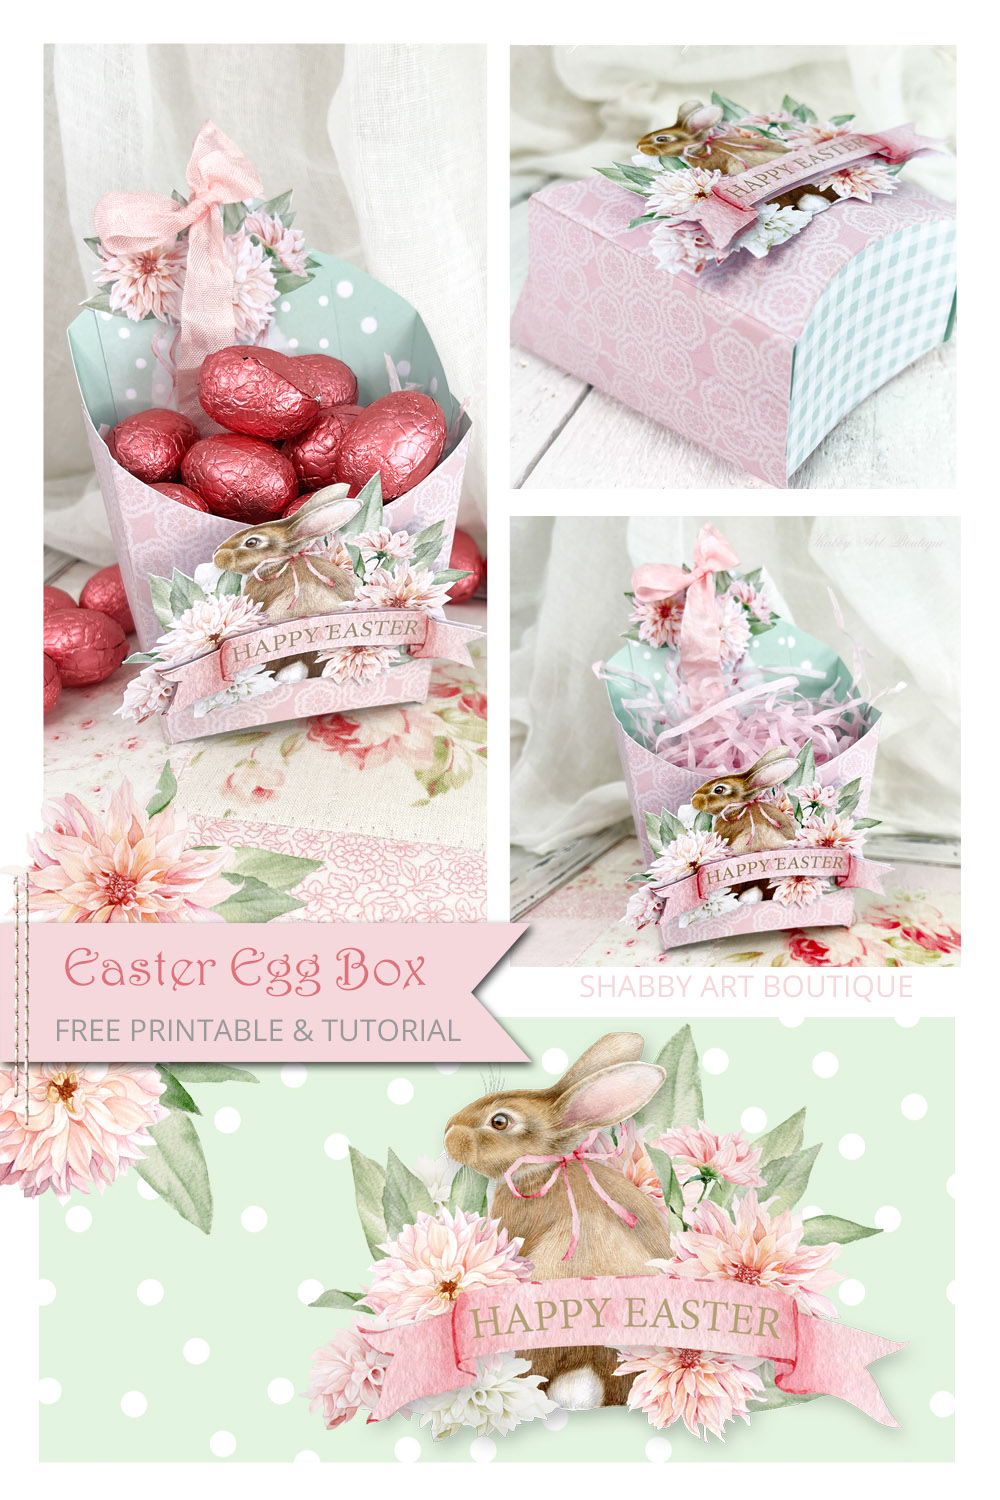
5. I’ve included a pretty bunny and banner for the front of the box.
I also cut the ‘Happy Easter’ banner out from the second graphic to pop up on a piece of foam tape for extra dimension. Then I added a squirt of white glue to the back of the bunny graphic (just in the centre) and adhered it to the front of the box.
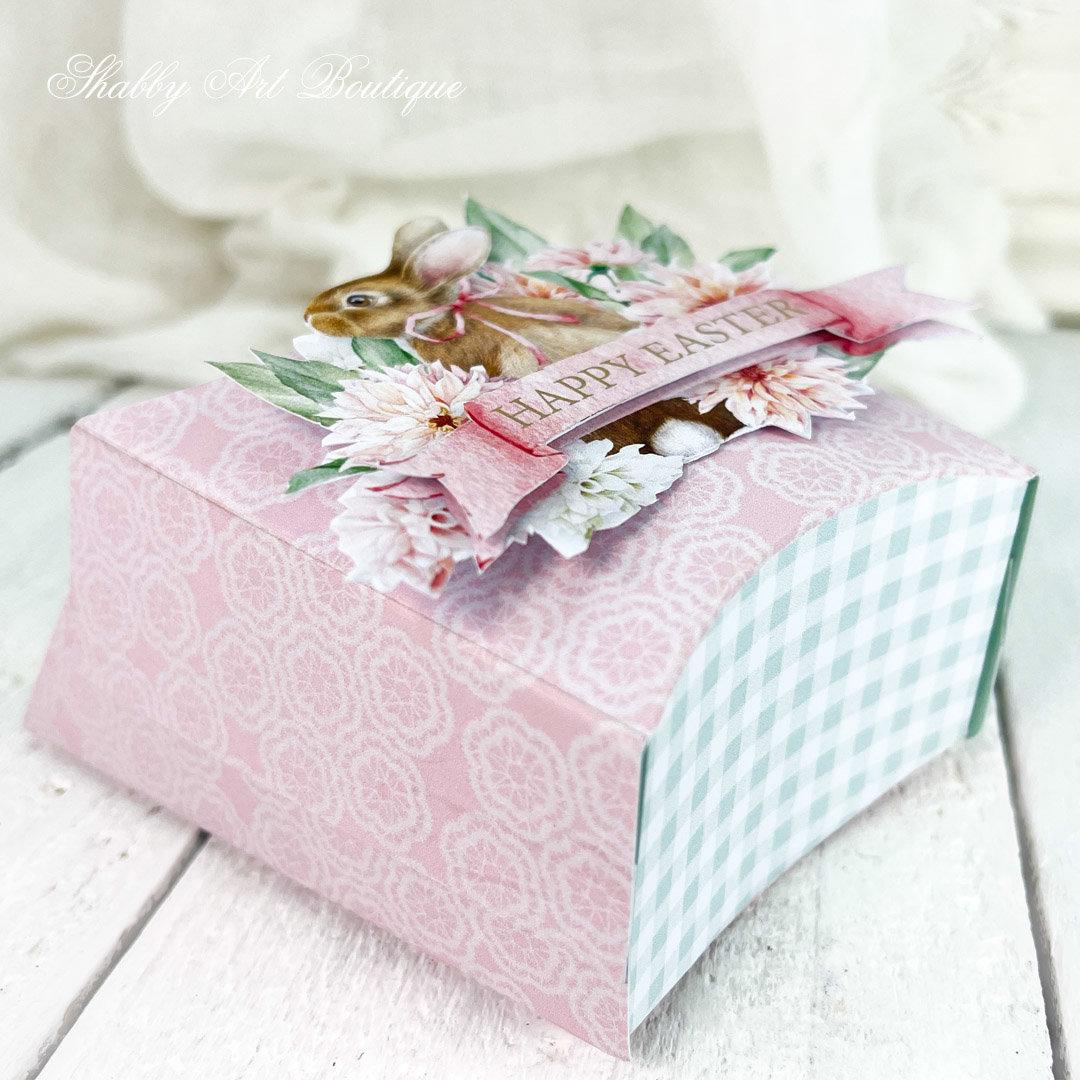
There’s also a tag printable included that you can tuck into the Easter box.
I added a pink bow to mine – shown here at the back of the box.
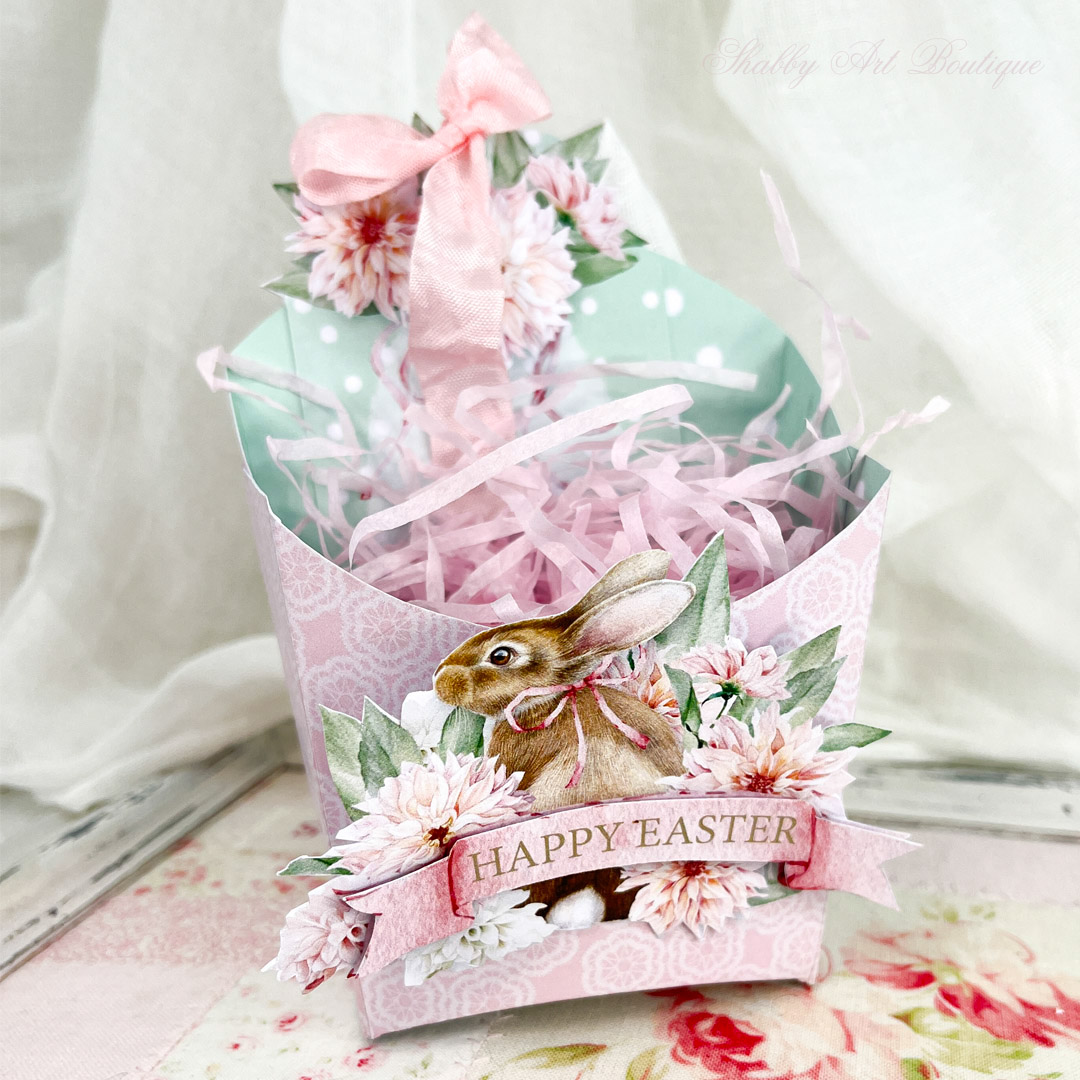
All that’s left to do after that is add the Easter eggs.
The kids will love making these for their friends….. or perhaps you can make one for the kids or grandkids.
PIN for later
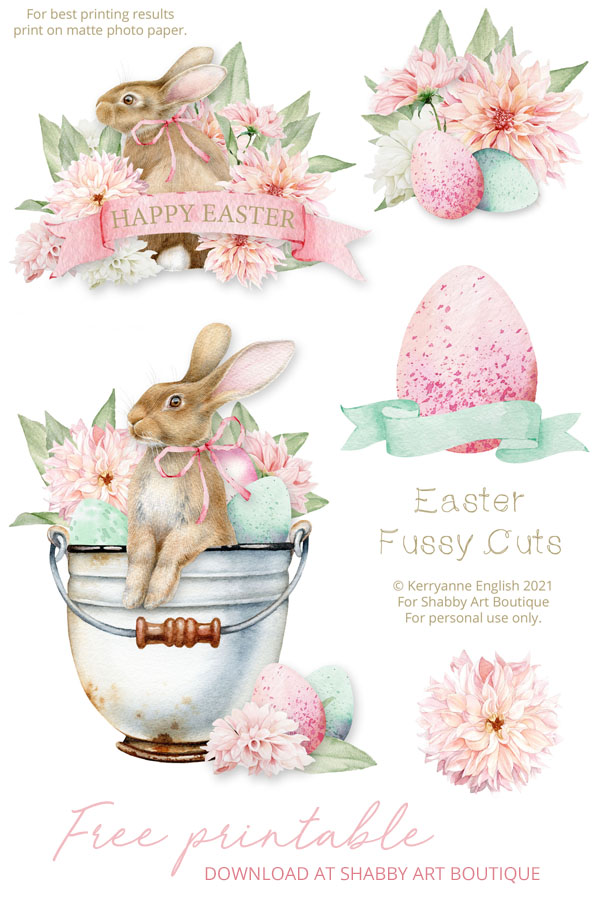
If you enjoy this project, you may also be interested in this free bunny printable too.
Happy crafting!
Hugs
♥
Kerryanne
Let’s be friends on….
Get instant access to the free printables in my Newsletter Printables
Library by joining my email newsletter subscriber’s list.
I send out a weekly newsletters with updates on all things
‘shabbilicious’ at Shabby Art Boutique.
I invite you to join our fabulous and friendly
Facebook group – Simply Shabbilicious
where you’ll enjoy our friendly banter and inspirational creativity.


Very pretty!