Hello friends,
Are you a creative thinker; someone that stores creative ideas or thinks of new ways to use an item…. kind of thinking outside the box.
I think as crafters we are often creative thinkers… and the beauty of the creative process is that creativity always sparks more creativity!
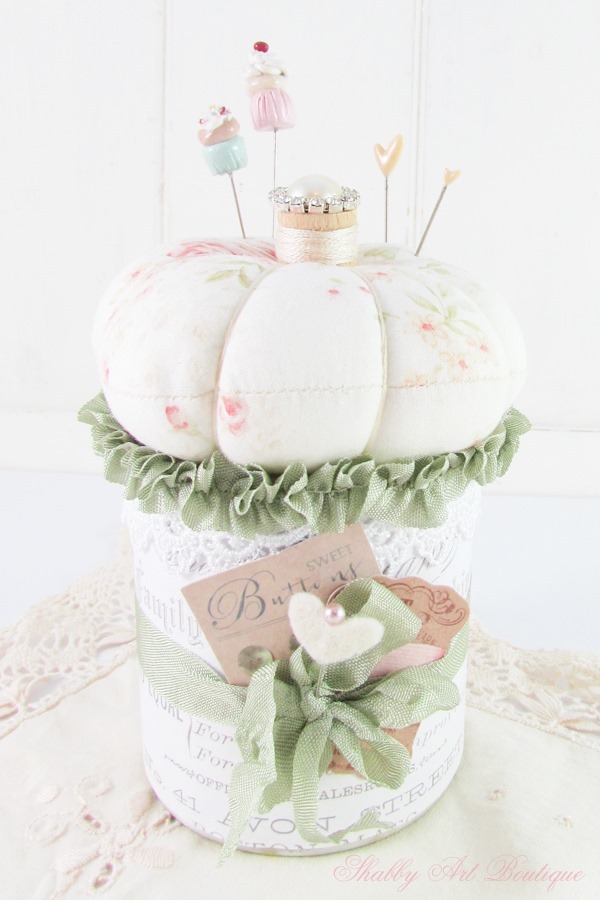
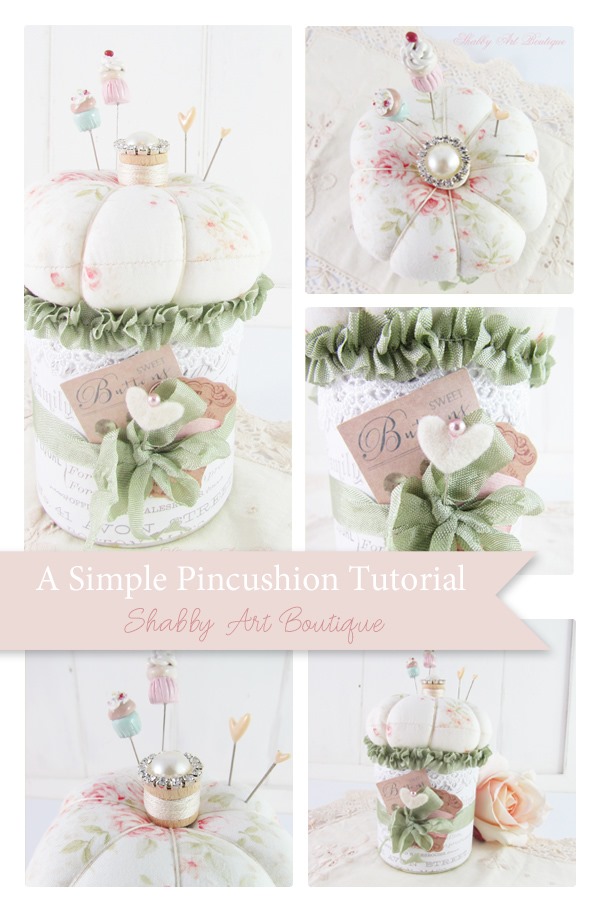
I know I engaged a little creative thinking when I decided to make something out of a few items I already had in the studio this week. In fact. it was the merging of two ideas.
Firstly, I had this cute little tin can that I had saved… it started out as a small 300 gram can of corn kernels. I wasn’t sure what I’d use the tin for, but I knew I wanted to put it in my crafting stash anyway.
Then, roll on a couple of weeks later and I was moving things around in the craft room and I liked how the sage green seam binding complimented my rosey shabby fabrics…. I knew right then that I had to make something using this duo.
So this sweet pincushion is the coming together of two ideas.
It was a quick project put together in a couple of hours and using only small crafting scraps.
How to make a simple pincushion
Materials:
- A small tin can – washed and dried
- Vintage paper eg. book paper, old ledger, music manuscript etc
- A scrap piece of fabric measuring 12 cm x 24 cm (5” x 10”)
- Co-ordinating embroidery thread for pincushion
- Lace, ribbon and buttons etc. to embellish
- Clear glue or hot glue gun
- Hobby and craft stuffing
- Sewing machine and normal sewing supplies.
Instructions:
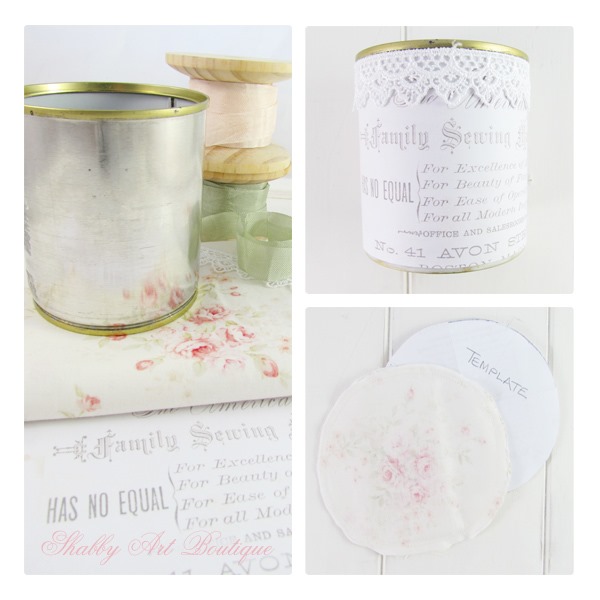
1. Cut a piece of vintage paper to fit around your tin can. Adhere with clear glue or use a hot glue gun.
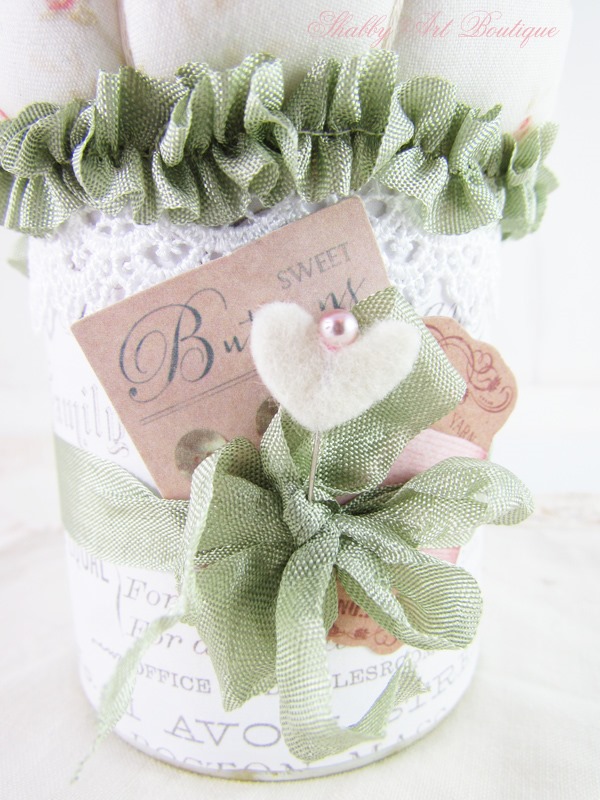
2. I added a piece of lace around the top of the can.
3. To make the padded pincushion for my can, which had a circumference of 25 cm (10”), I made a circle template that had a diameter of 11 cm (4.33”). If your can varies in size, you will have to adapt the size of your padded pincushion template. As a rough guide, I measured the diameter of my tin can and added about 2 cm (3/4”) extra on each side – that included the seam allowance.
4. To make the padded pincushion, cut out 2 pieces of fabric using your template. Lay them right sides together and stitch around the perimeter, leaving a small opening for stuffing. Clip seams and turn right side out. Press with iron. Stuff your cushion until quite firm.
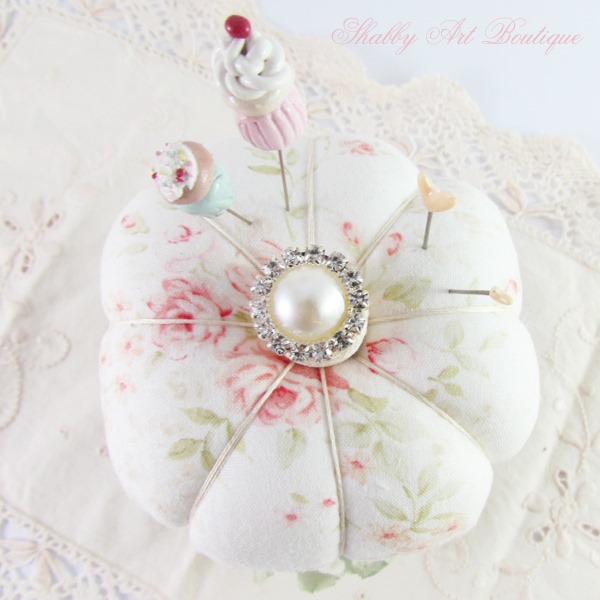
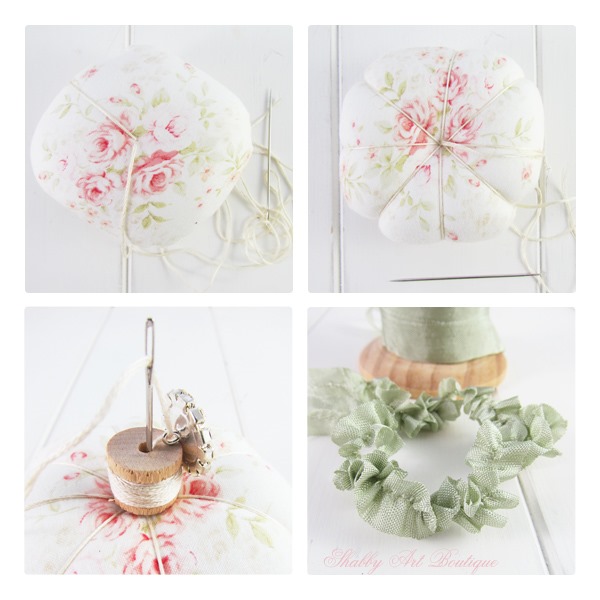
5. Using the large doll needle threaded with an extra large length of DMC embroidery cotton (I used all 6 strands), insert needle in the center of the ball from top to bottom. Take thread around the outside and insert in same spot again. Pull cotton tight to make a dent. Continue making the same stitch until you have divided the ball in eight equal parts.
6. I chose to embellish the top of my pincushion (optional). I used a little mini wooden cotton spool, to which I had wound cotton around and a pretty rhinestone and pearl button. Using the same DMC embroidery thread, I brought the needle back up through the centre from base to top and threaded the needle through the cotton spool and the button, then returned the needle back down through the pincushion and secured with a large knot at the bottom of the pincushion.
7. Now that your pincushion is completed, adhere it to the top of your decorated tin using either clear clue or a hot glue gun. Press your pincushion in place and hold firmly while glue sets.
8. I added a gathered piece of seam binding below my pincushion. I measured around the top of my tin with the ribbon and then tripled that measurement. Using a large stitch on my sewing machine, I gathered the ribbon with a seam through the length of my ribbon – this could also be done by hand. Adhere the gathered ribbon to the top of your tin.
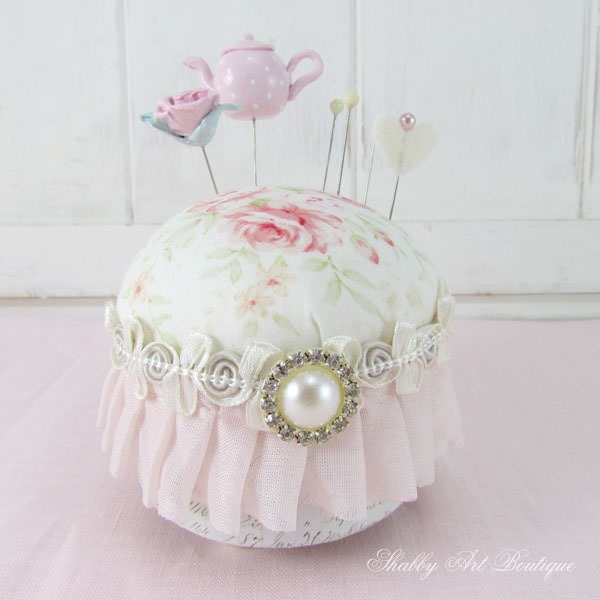
That’s your simple tin pincushion completed. You may like to use this idea as a starting point and embellish with whatever pretty scraps you have handy in your craft stash!
I’d love it if you Pinned this image.
If you enjoyed this pincushion tutorial, you may also like my other ones too….
Happy crafting my friends!!
Hugs
♥
Kerryanne
I’d love for you to connect with me at:
Follow on Bloglovin
or if you’d like my posts delivered directly to your Inbox
Subscribe to Shabby Art Boutique by Email
If you’d like a private pass to all things ‘shabbilicious, sign up today for my fortnightly newsletter.
It contains personal stories, sneak peeks, recommendations, discounts and freebies.



How cute is that????! I love it!
Thank you Barbara 🙂
Lovely. Where can we purchase the cute items that are on the pin ends. Thank you, mariana
Hi Mariana, I made the decorative pins myself from clay. I’m not sure where you could buy them already made, but I’m looking at doing a tutorial on making them. 🙂
that would be so cool!
That would be great. You are so blessed with talent.
Love this idea and will make it with my craft group. Love your blog too. Where can I find the adorable decorative straight pins?
I hope your group has amazing fun making tin can pincushions Rebecca. I made the decorative pins shown in my post from Fimo clay. They always spark a lot of interest when I show them, so perhaps I need to do a tutorial on how I made mine 🙂
I live in the USA, and wondering what fabric lines you use as I haven’t found anything close to what you show in many of the items you make. Also the green seam binding you used is something I would like to purchase but haven’t seen that here either. Could you direct me?
Hi Deb,
I know it can be frustrating to find the pretty fabrics. I mostly buy online and my favourite go-to for pretty florals is Etsy. I have several people I buy seam binding from and have recently found someone that is local to me, but was previously buying it on Etsy too. If you’d like to know which specific sellers I’ve used, please feel free to email me at [email protected] and I’ll send you the links. Happy crafting!
Grazie kerry anne.
Bellissimo, come tutti i tuoi progetti.
Thank you
You are welcome Concetta 🙂