This year I’ve taken a ‘simple’ approach to Christmas. . .
And by simple I mean that I’ve pared right back on the decorations.
I’m well known for my over the top. . . decorate every room. . . plus every nook and cranny. . . (and then some), approach to Christmas!
I adore the whole Christmas season and being surrounded by decorations fills me with joy.
I still love Christmas. . . but this year is just a little different for me.
It’s been a difficult year for various reasons. . . and I’m feeling quite nostalgic. . .
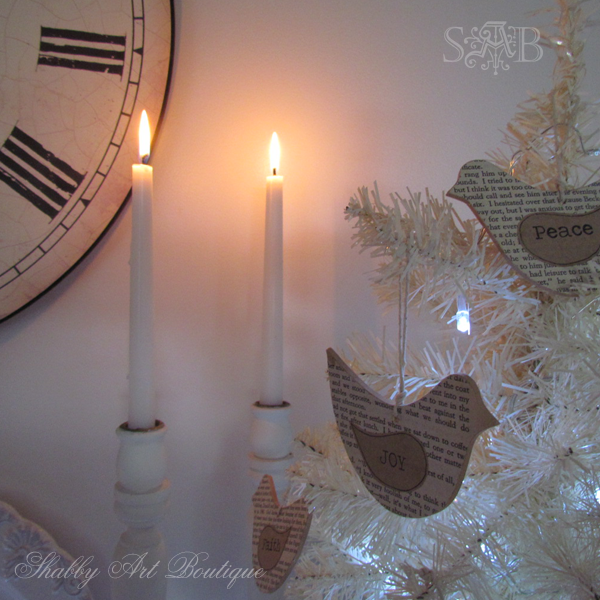
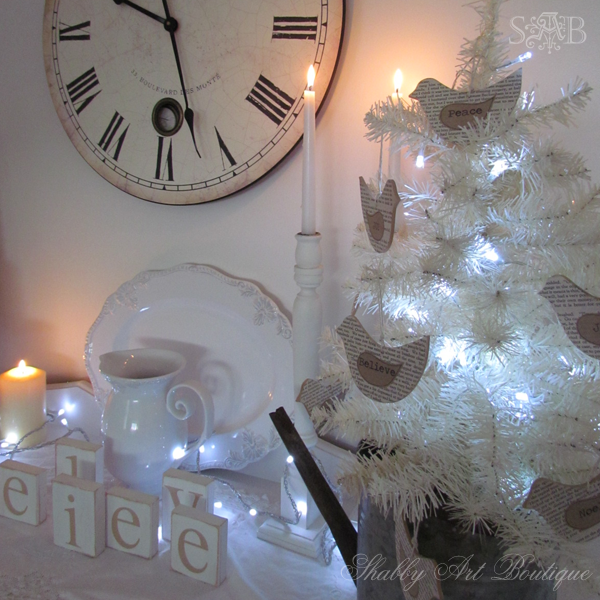
Perhaps that is why a simple shabby, vintage Christmas appealed to me this year.
Over the next few days I thought I’d share with you a couple of my Christmas rooms, plus a few DIY tutorials for some of the projects incorporated in my shabby, vintage decorating. Most of them can be used for a more traditional colour scheme too, if you’d prefer.
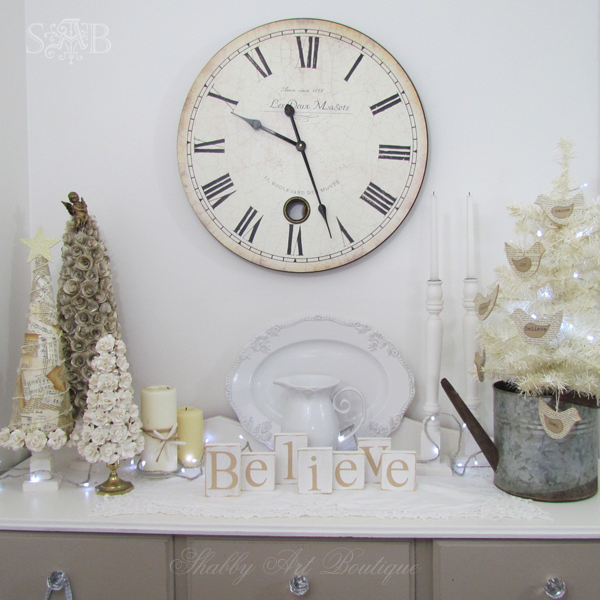
This dresser is in my family room. . . you may remember the book print and paper rose Christmas trees from last year.
The tutorial for the paper roses is HERE.
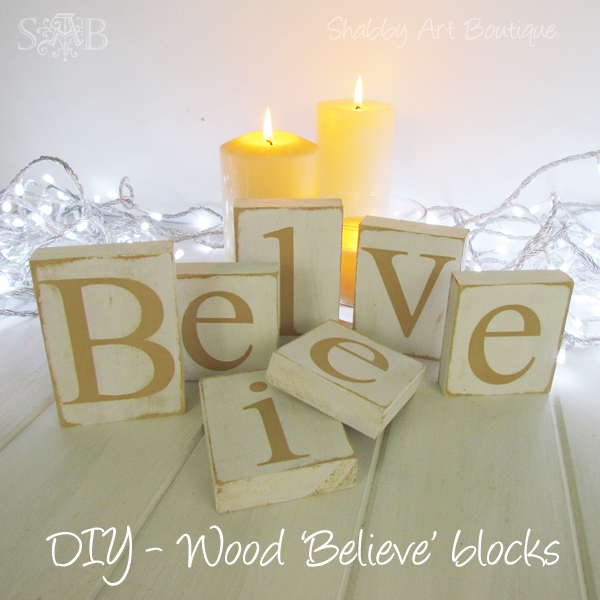
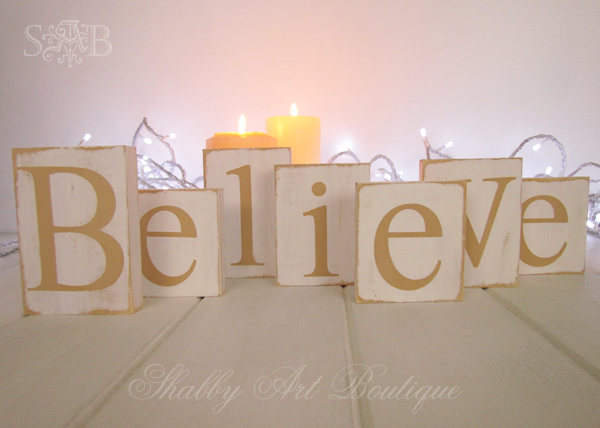
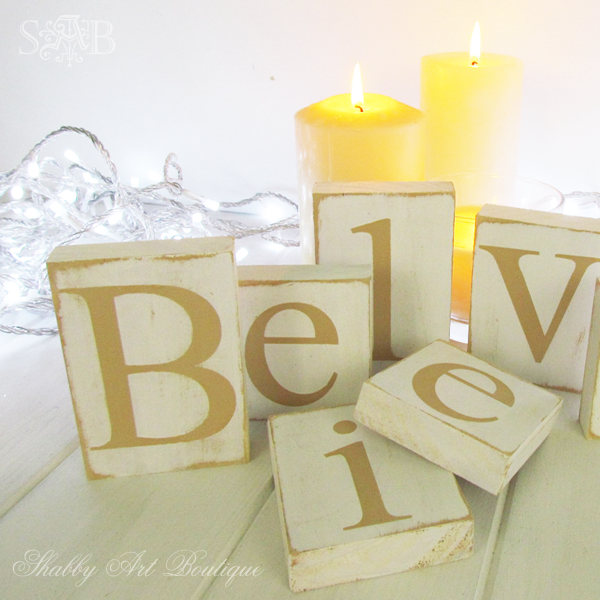
When I decorated my dresser for Christmas I had a blank spot in the centre, so I made these really quick and easy wood blocks that spell the word ‘Believe’.
This is a project that is completely adaptable. . . made using standard dressed pine, with either power or hand tools.
Requirements:
24” (60 cm) of 7 cm wide dressed pine,
Drop saw or hand saw for cutting lengths of pine,
Sandpaper,
Paint colours of choice – I used DecoArt Americana Toffee and Warm White,
Matt spray varnish,
Template for lettering – see note,
Normal painting supplies.
Note: I used my silhouette machine to cut out the lettering, but you could use a stencil or enlarge lettering in Microsoft Word and trace and hand paint the letters on your blocks.
Instructions:
-
Cut pine as follows – 3 x 3” blocks, 2 x 4” blocks and 2 x 31/2” blocks.
-
Sand all edges smooth.
-
I painted all my blocks with Toffee, before applying my vinyl letters.
-
Paint all surfaces of the blocks using 2 coats of Warm White.
-
If you used a Silhouette machine, peel off the vinyl letters now.
-
Sand and distress your blocks for that shabby look. . . the white paint should appear chippy, with some of the Toffee undercoat showing through.
-
If you are painting the lettering by hand, trace your letters on now and fill in the traced outlines with paint. The letters are as follows; B and L on 4” blocks, E’s on 3” blocks, V and I on 31/2” blocks. Note – I enlarged the letter ‘V’ so it would stand taller.
-
Seal all surfaces with matt spray varnish.
This technique could be used to make blocks spelling any word combination and in any colour.
I’m sharing my Believe block project at this week’s link parties and with these friends: French Country Cottage, The Vintage Farmhouse, 36th Avenue, Clean and Scentsible, Live Laugh Rowe, The DIY Dreamer, Transformation Thursday, At The Picket Fence, Nifty Thrifty Sunday.



Thank you so much for visiting my blog and leaving such a sweet comment. I truly appreciate it! I love you blog! You are so full of creativity! Hope to see you visit again! I will be back for sure! xo
So nice shabby Christmas ! I love the DIY rose paper ! Just going to look if I have some wood left !!!!
have a great day. Here in PARIS, raining is the must !
xoxo
Joëlle
Your dresser looks amazing and those blocks are just perfect.
Thank you for your lovely comment on my blog – so much inspiration here on your blog has me full of ideas but so little time to carry them out.
Toni xx
I love all your projects and decorating–so pretty!
wow gorgeous projects stunning photos..awesome hugs sasyxxxxx
Kerryanne, I’ve cut way back on my decorations this year as well. I just don’t need the feeling of being overwhelmed this year! Glad to see I’m not the only one. I love your blocks! 🙂
Hi Kerryanne, I like your simple approach. Everything is really beautiful. Love the blocks…Connie
Just lovely, Kerryanne! It seems like a lot of people are going for simple this year. I love the vignette on your dresser. Those trees are great.
I really love your less is more approach to Christmas decorating, Kerryanne! The creamy whites are just so dreamy and soothing. Hoping the new year brings you peace:)
I love the little tree in watering can. It is just so beautiful. Great touches.
Cynthia
beautiful tree with the watering can, its awesome!!!!
And for Anonymous we arent here to check her spelling, we know what she means and we love her creations!!!
Paula
wonderful!! thanks for telling us how.
blessings
barb
Oh Wow! Those are fabulous! Thanks for the tutorial on a great project!
Thank you for the Believe blocks tutorial. Best of all is the way you displayed them in the last photo…strewn about with some standing and some lying down…much more creative than just standing them to spell believe.
Merry Christmas, and “Believe” even during the difficult times. It’s easy to believe during easy times; real belief is during the hard times.
Hi Kerryanne! Love your blocks, and especially love that little tree full of birdies!! Just so cute! Always a joy to visit and see what you’re up to!! Thanks for sharing at BWW!!
Hugs,
Becky
The BELIEVE blocks and all your Christmas decorations are just beautiful. So calming and serene. I love the look.
All your projects are exceptional. Thanks so much for providing beautiful graphics for the big blocks, so incredible. The vintage look of graphics is exceptional, you always have the best style and inclinations for what is appropriate. Thank you for sharing your talents and time. Hope your holidays are wonderful and the happiest. Sure glad I went on Facebook tonight. I really love the Believe blocks also. I would have printed all this out but my printer and pc aren’t speaking to each other correctly when I”m in Google Chrome, have to go to Internet Explorer. Will see if I can get hubs to cut out the blocks for Believe blocks also. If we have time we’ll make them for our daughter’s home, think she’d really love them.
Love the blocks and want to make them. Is the lumber 1 by 4 or 2 by 4.s.? Cant wait to try them.