I know that like me, many of my readers are enamoured with the whimsical Tilda patterns from Tone Finnager of Norway.
Tone’s pattern books for adorable dolls and characters have featured quite prominently on my blog for the past 10 years. At some point or another, I’ve made just about every one of those patterns, but certain favourites get made again every season…. and of course, I still never follow patterns as they are intended, preferring to add my own touches that make these projects uniquely mine.
An affiliate link has been used in this post and should you purchase a product using this link,
I may receive a small commission payment that I use to buy more craft supplies.
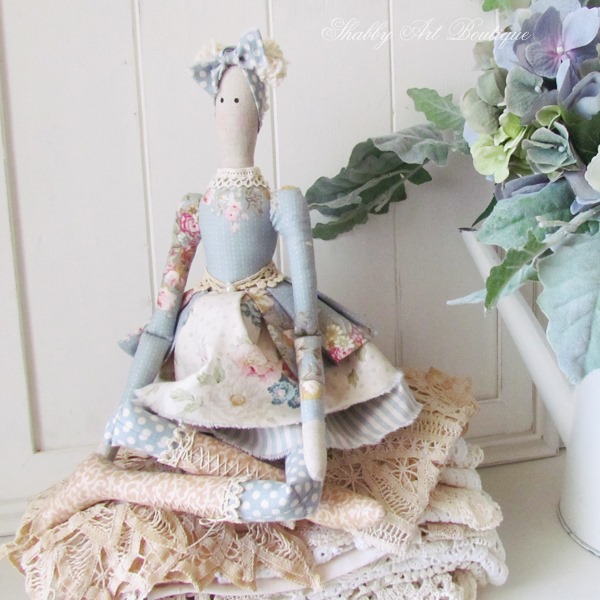
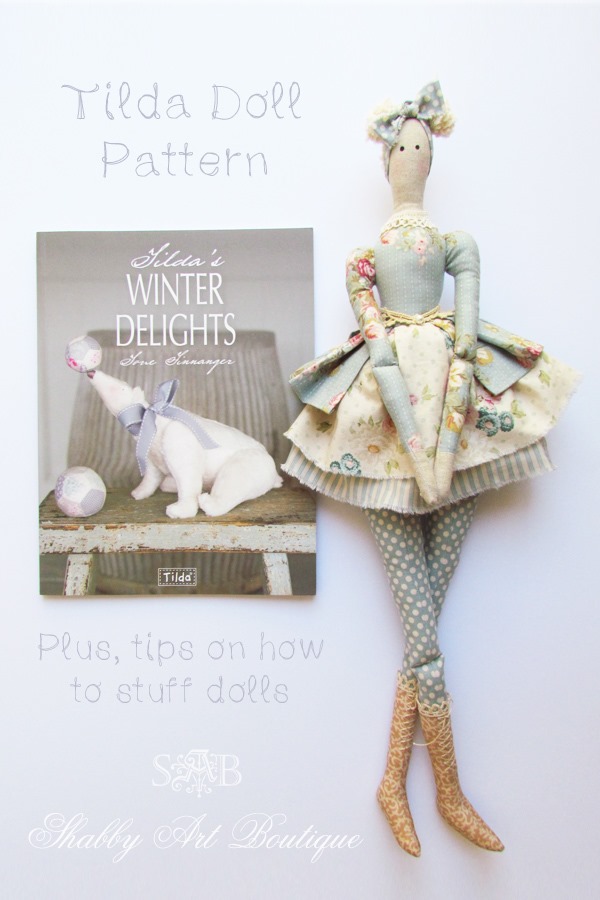
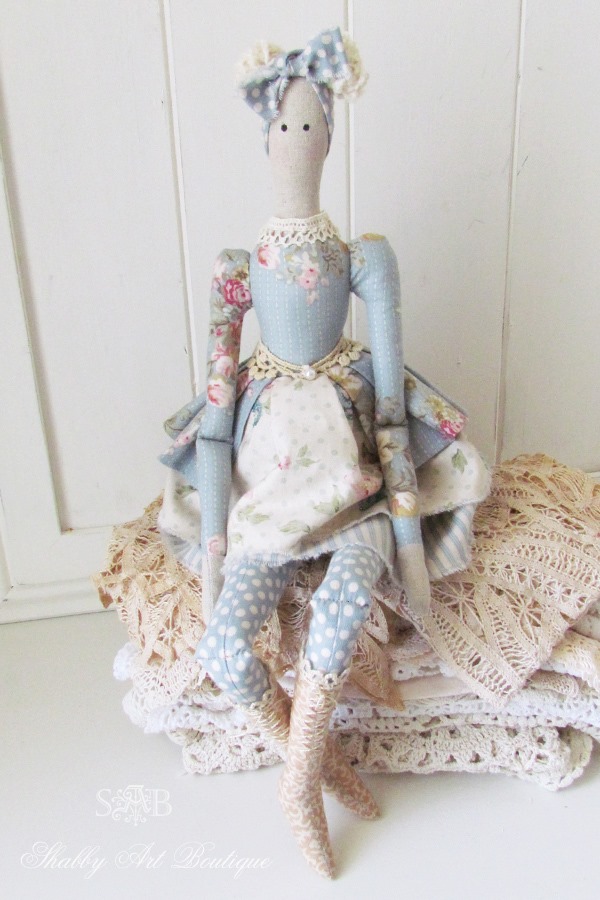
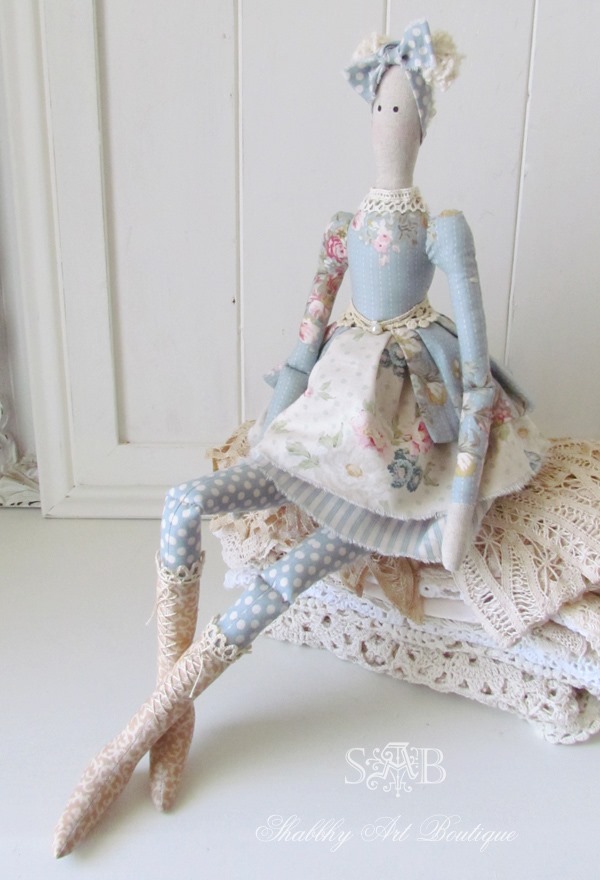
I decided over the weekend to make an Autumn themed Tilda doll using a pattern I have made several times before from the Winter Delights book.
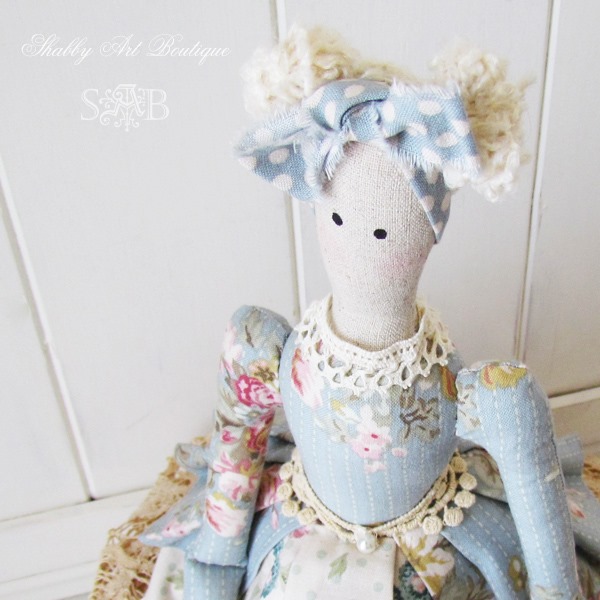
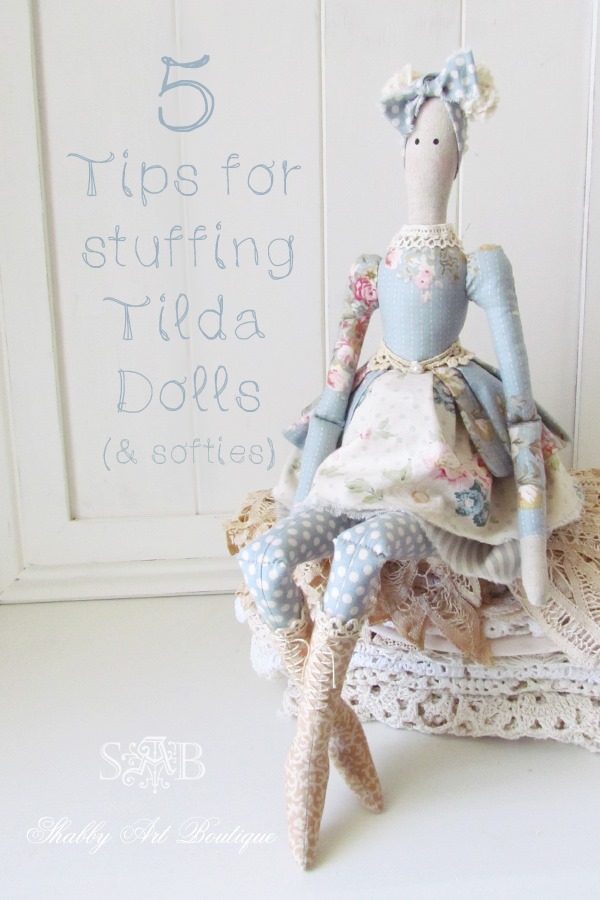
The pattern is for the Skating Doll. I gave my doll long brown boots with a petite cream cotton lace feature on top. Her shabby skirts are made using strips of ripped fabric that has been gathered and attached under the pleated jacket bottom. I also made hand sewn elbow creases in her arms, so she can bend her arms.
You can see my Christmas Angel from last year that I made using this same pattern HERE. She looks completely different!!
You can buy the Tilda Winter Delights book HERE.
I also have a page, Shop My Bookshelf where you can see all of the other Tilda books I love and use.
5 Tips for Stuffing Tilda Dolls (and softies)
1. Thread
Be sure to use a good quality polyester thread, as it is much stronger than cotton and will stand up to the pressure of stuffing.
2. Seams
When sewing the seams of your softie, be sure to set your machine to a small stitch. I also use a triple stitch in areas that are going to be under pressure from stuffing eg. narrow necks, arms, long thin legs. Even basic sewing machines usually have this stitch available.
To ensure a great quality finish on your dolls and softies, take the time to press your seams open and be sure to clip all the curves. Carefully use sharp pointy nose scissors on the inside curves, taking care not to cut through the seam. Pinking shears can be used to cut the outside curves, which will alleviate any puckering of the fabric.
I take particular care on the necks of my Tilda dolls because their shape can lead to an unfortunate crease across the neck. Be sure to cut a notch out where the neck meets the body. This step, together with correct stuffing technique should help avoid that dreaded neck crease that we see so often on Tilda dolls.
3. Type of Stuffing
Not all stuffing is created equal. So how do you tell if you have a good quality stuffing?
Take a small wad of stuffing and roll it into a ball using your fingers. If the stuffing remains in that ball shape and has no spring back, it’s probably not the greatest quality and may produce a lumpy finish in your doll or softie project.
Here’s another tip I use on all my sitting softies and dolls. I stuff the bottom third of the dolls body with rice (or pellets if you have them). This weights the doll and also, because the rice can move, it will allow you to easily position your doll so it will sit unassisted. Most often, when I’ve filled the body with rice, (using a funnel), I then finish off with some small wads of stuffing on top of the rice before I close the seam across the body.
4. Stuffing Size
If you are new to stuffing Tilda dolls, or any softies, you’ll be surprised just how much stuffing is required to achieve a great looking doll. Quite often poor results are from not using enough stuffing. To avoid the lumpy, cellulite look, be sure to use small wads of stuffing and gently push it into every crevice of your doll.
Stuffing should be quite firm, especially in areas that support another area eg a firm neck will hold your head up straight. When you think you have stuffed your doll enough, stuff a little more in. Honestly, you’ll always be able to squeeze a bit extra in.
5. Stuffing Tools
I know I’ve shared this numerous times before, but my most favourite stuffing tool is an old chopstick.
I now have quite a few different chopsticks in my doll making tool bag, but I still like my first one best. I guess it is just the perfect size with a rounded point at one end and a larger stuffing pushing end at the other.
Over time I have gathered a few other ‘stuffing’ tools including a paint brush handle, popsicle stick and plastic tweezers that came from a medical kit. The point is, various things can be used to push that stuffing into your doll, you just need to find what works best for you.
I get asked about stuffing dolls and softies quite frequently, so I hope these tips are useful to those new to making them.
Hugs
♥
Kerryanne
I’d love for you to connect with me at:
Follow on Bloglovin
or if you’d like my posts delivered directly to your Inbox
Subscribe to Shabby Art Boutique by Email
If you’d like a private pass to all things ‘shabbilicious, sign up today for my fortnightly newsletter.
It contains personal stories, sneak peeks, recommendations, discounts and freebies.



This doll is a masterpiece, Kerryanne. I too have most of Tilda’s books, but I must say your version is prettier than Tilda’s. I shall endeavor to make it after Christmas, following all your suggestions. Thank you so much, dear friend, for being so helpful to your less accomplished admirers. We appreciate you!
She is just the sweetest, love the fabrics!
She’s lovely. I made one. I was taught to loft, loft and loft (loft=tear your piece of stuffing into a lot of smaller pieces) your stuffing yet again before stuffing a small amount. Seems like a lot of work, but worth it. Yes, it takes an unbelievable amount of stuffing. I recently came across some small pillows (a.k.a. pinkeeps) I made in the 80’s and they were loosely stuffed. I took out the stuffing and soaked the pillow, then re-stuffed them until they were nice and firm. They look so much better now.
Hey Kerryanne! Your new dolly is a sweetie. :0) A bear making tip can be paired with your use of rice to weight a softie … Rather than pouring your rice straight into the body of a bear or doll, snip off the toe of an old stocking & push it into the softie with the cut end out through the opening … Pour the rice into the stocking & then tie or slip stitch the stocking closed before adding more stuffing to finish. This way, if your softie pops a seam, you don’t have rice spilling everywhere. :0) Happy crafting! Bear Hugs! KRIS xx
One of my favorite things to do is read all the comments after one of your incredible posts. Always learn so much as commenters leave tips also, very helpful. Since my hands don’t wok well at this point in my life 78, I don’t attempt enuf of your projects, I was going thru my folder with all the projects of yours have printed out the other night looking for inspiration for the holidays. Would so love to make the bunnies, neglected to print out the skirt for the dress, was there a pattern for that? Id so could you direct me to it?,Pretty please?
Is it stil oossible to boy books thru you? If so when I get some money,haha,like that’s going to happen around the holidays. But anyway would love to buy the Elizabethan embroidery book for my grand daughter who is in college now.she is a self taught embroiderer and a bit artistic on the side so believe she would love that book.,she makes me wonderful things for holidays and my b/d. A wonderful embroidery piece is what I got from her for my 78th.b/d. It’s framed and hanging right by the back of our sofa by where I always sit and can see it. Means so much to me since was only b/d gift I received except for getting to go to lake for the day..I absolutely adore your blog and all your incredible projects, also appreciate every freebie you share with us.REALLY! Happy weekend
Just a little hint about stuffing, different sized paint brushes are good as they cling onto the stuffing. It’s so annoying when you have a small part where the stuffing won’t stay put but the brushes do help.
Your working is amazing. I’m a quilter at heart but just stated my journey into doll making. How do you turn the limbs inside out? I have a touch of arthritis in my hands and find theses tiny tubes a chore to turn.
Ahh Tammy… the tiny narrow arms and legs are the bane of any doll maker. I think we each find our own little way of doing it; personally, I carefully use a wooden chopstick. I can see how it would be more difficult if you have arthritis. Hope this helps a bit.
Happy doll making,
Kerryanne
Hi
Just saw your comment. You can get a set of fabric tube turners off Amazon. There’s one called Turn it all which is good.
Happy crafting
Alison x
Thank you for this brilliant set of Tips when making a Tilda doll. Very timely, as I’ve been willing myself into making my first, but hesitant, however your Tips have been the gentle nudge I need. As I’m a beginner, please can you explain in more detail how to put the notch in the neck when it meets the body? I am unsure as to what you mean? Is there a picture of this step anywhere please?
I do seem to get the dreaded neck wobble so the points you have made are invaluable, Kerryanne. You have such great knowledge and I love reading your ideas. Sew much to do and so little time!